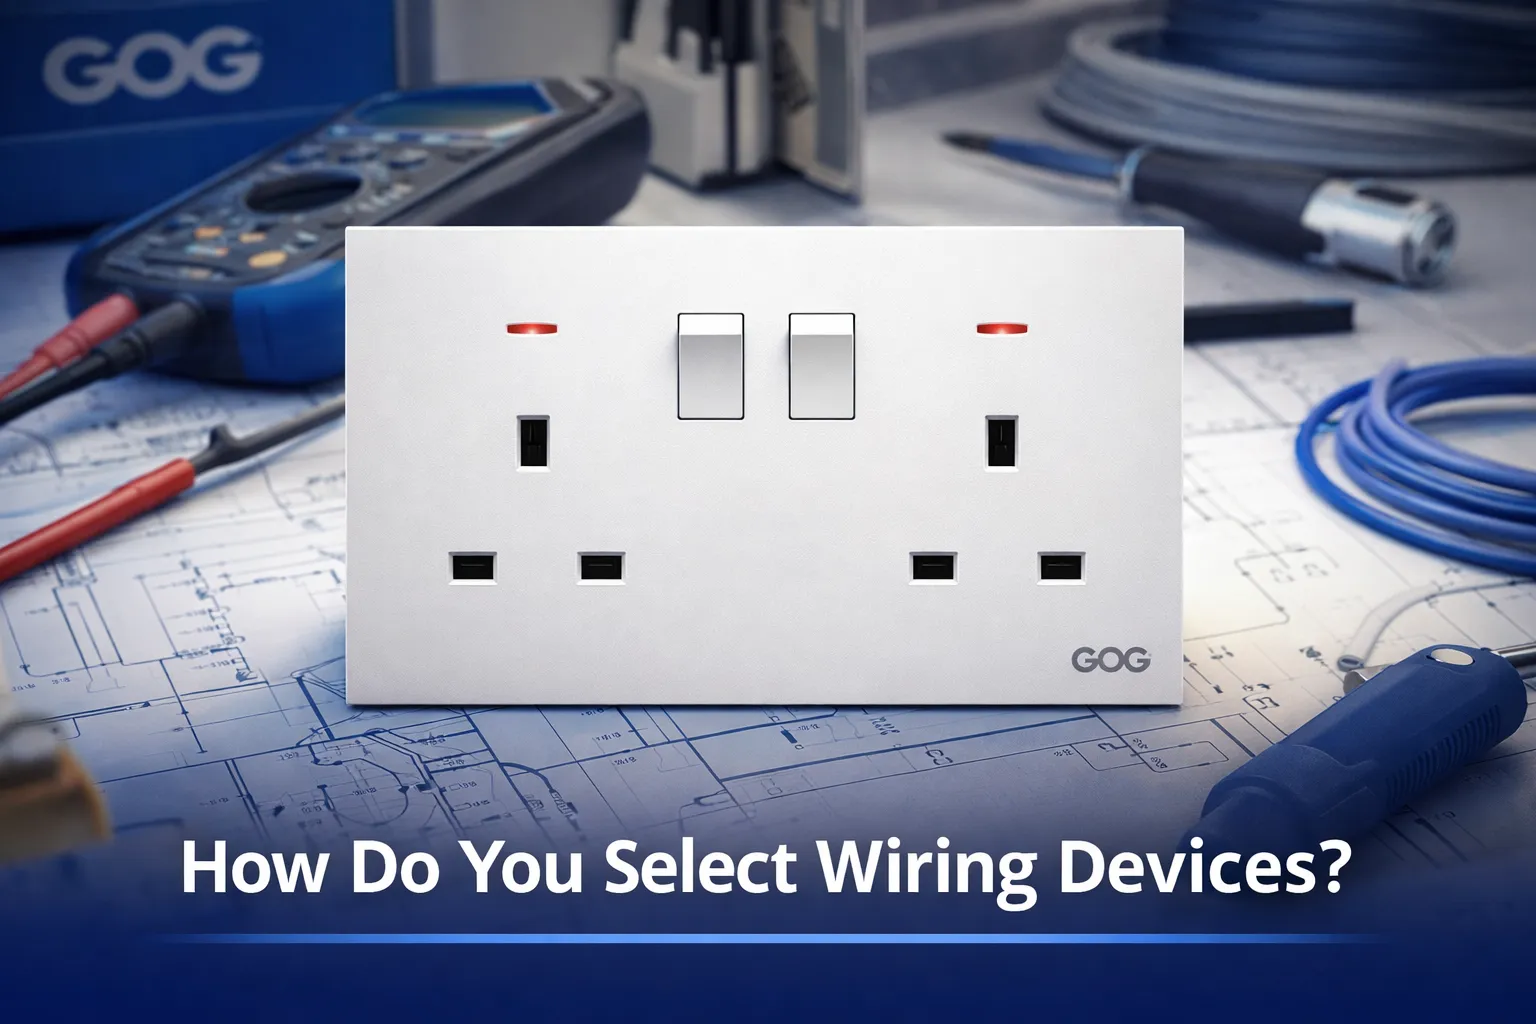
The usefulness of a switched outlet for both home and at work can be negated if done incorrectly. For example, if you want to wire a switched outlet to control a lamp, supply power to a small appliance or provide light to an area. This guide will provide you with step-by-step instructions on how to properly wire a switched outlet and will help you gain confidence that you can complete this electrical task. In addition to providing step-by-step wiring instructions, we will answer some of the frequently asked questions about light switches and outlets, so you will have a full understanding when completing this project.
Switched Outlet Definition
Before we begin to wire a switched outlet, we should take a moment to provide you with a quick definition of what a switched outlet is. A switched outlet is an outlet where one side or receptacle is controlled by a switch installed somewhere in the wall. Thus, you can turn off or on the power to the receptacle with the switch, just like a light. Switched outlets are typically used to control the power supply to a floor or table lamp or to a small appliance.
Switched outlets are very beneficial when you have minimal ceiling lights in a room. A switch will allow you to activate and deactivate your lamp without having to touch the lamp itself.
Switched Outlet Location
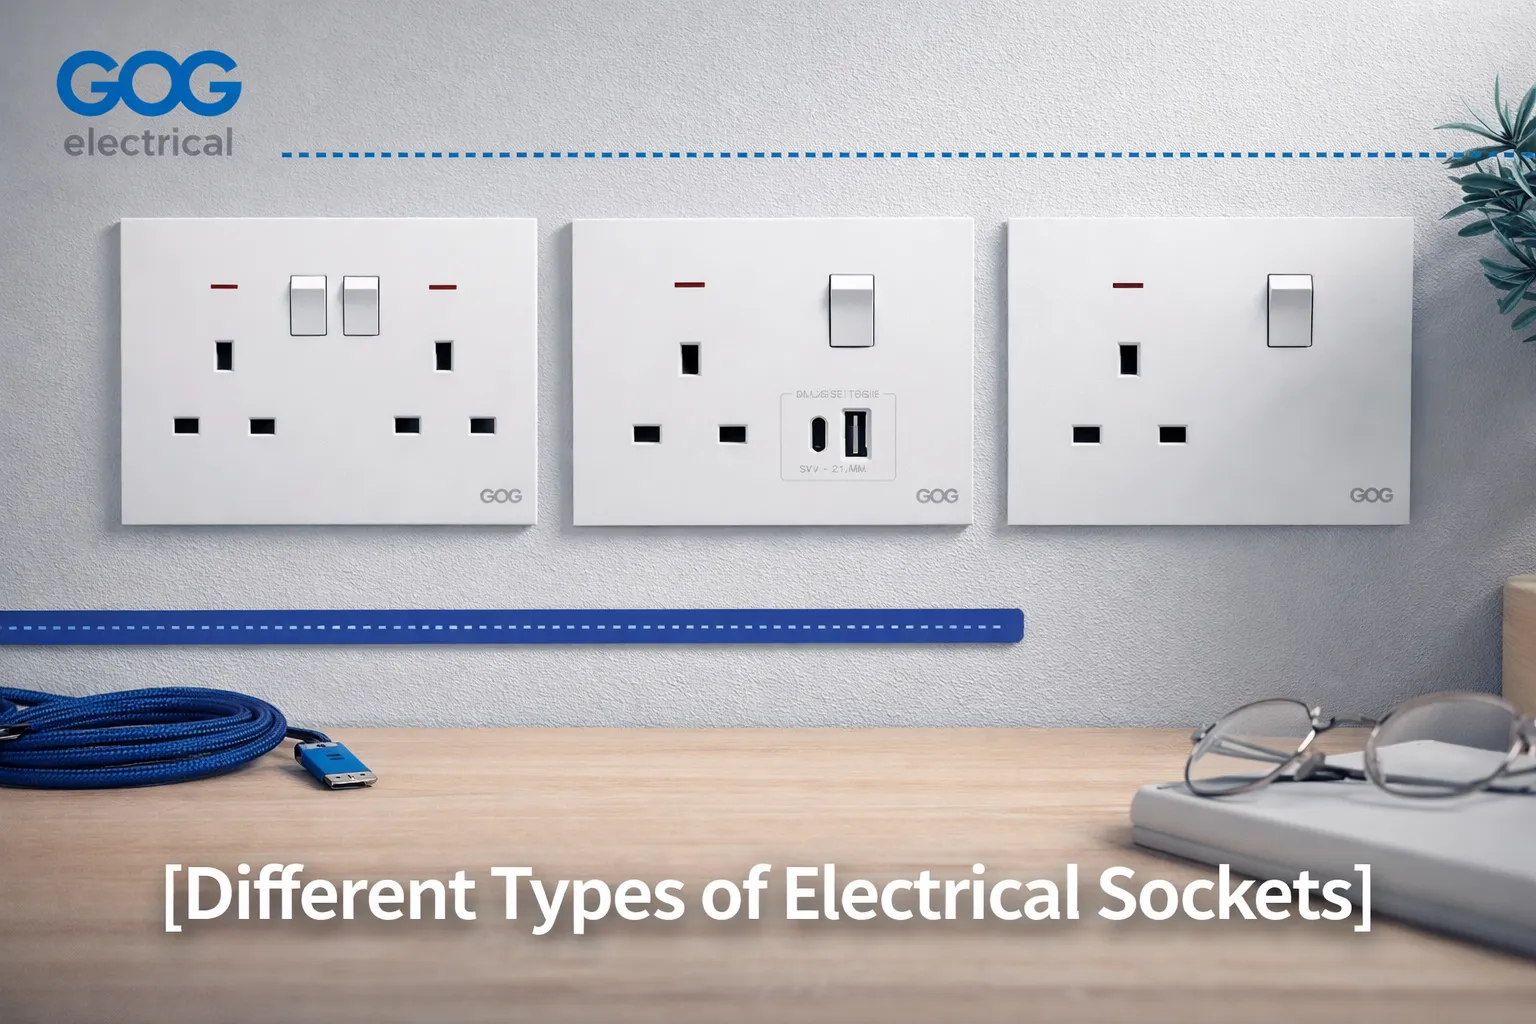
With a switched outlet, you can control whether or not power flows to an electrical outlet’s supply via the switch located in the wall. Most switched outlets are duplexes, meaning they will contain two separate electrical outlet receptacles, and the two outlet receptacles will typically behave as follows: One outlet will have its own switch that controls the supply of electrical power to that individual outlet receptacle, and the second outlet will always have power flowing into that second outlet receptacle (the second outlet receptacle will not be controlled by a wall switch).
In order to have the capability of controlling the supply of electrical power to an electrical outlet via a wall switch, a switched outlet must break the connection between the two outlet receptacles. Breaking the connection between the two outlet receptacles is done using a brass tab (which separates the two outlet receptacles) on the side of the duplex outlet. I will show you how to make this connection so that you are safe and can install your duplex outlet as intended.
The Wiring of a Switched Outlet: Steps Required
Before you begin any work on a project involving a switched outlet, you must have at least a basic understanding of electrical circuits and be able to verify that the circuit is turned off at the circuit breaker box before proceeding with the project. If you do not have experience working with electrical wiring, then I would highly recommend that you call a licensed electrician to perform the work for you in a safe and proper manner.
Tools Needed and Materials Required:
- Flat blade screwdriver
- Philips screwdriver
- Wire stripping tools
- Voltage tester
- Electrical tape
- New outlet receptacle and switch (if necessary)
- Wire connector (or pigtail)
Guidelines for Wiring a Switched Outlet:
- Turn Off the Power: You should always verify that the circuit is OFF by using the voltage tester before attempting to work on it. This is critical to your safety.
- Remove the Old Outlet: Before removing the old outlet, you will need to remove the cover plate and unscrew the old outlet itself from its electrical box. Once you have done this, it is important to be careful when disconnecting the wire connections: hot (black), neutral (white), and ground (bare copper).
- Locate and Break the Brass Tab: You will find a single brass tab or jumper connecting the two brass screws located at the sides of the outlet. Remove this tab to separate the two sides of the outlet so that one side will always provide power and the other can be controlled by the wall switch.
- Wire the New Outlet: Connect the hot (black) wire from the power source to the first brass screw of the outlet; this will keep power to the outlet at all times regardless of the switch’s operation. Connect the black wire leading to the wall switch to the second brass screw to link it to the controlled outlet.
- Wire the Neutral and Ground Wires: All white (neutral) wires will be connected to the silver screws on the outlet, and all ground (bare or copper) wires will be connected to the green ground screw.
- Test the Configuration: Once you have wired the new outlet and turned on the main electrical breaker, use a voltage tester to ensure you have wired everything correctly. Then, test the switch to confirm it works with the outlet you wired.
- Make the Final Installation: Now that you have confirmed the outlet functions correctly, safely push the wires back into the outlet box, screw in the outlet, and replace the cover plate on the front of the outlet.
Things to Keep in Mind When Wiring a Switched Outlet
Make sure to follow local codes when wiring your switched outlet. Here are some important facts I would like to share with you about electrical outlets.
- The “6-foot rule” provides guidelines for safe and convenient outlet placement throughout your home by requiring that one outlet exists within 6 feet of any wall space.
- It is helpful to label multiple outlets and/or switches within the same area to simplify troubleshooting and expansion of the electrical system in the future.
FAQs
What is the function of a switched receptacle?
The function of a switched receptacle is to control the electricity to one or more receptacles via a wall switch. When installing a switched outlet, break the connection between the two receptacles and re-wire them so that one receptacle is controlled by the wall switch.
What does the “6-foot rule” mean?
The “6-foot rule” means each wall space within any room in your home must have one receptacle located no further than 6 feet from any wall. The purpose of this rule is to minimize the use of extension cords, which can pose safety hazards.
Can I make both outlets in a duplex receptacle switched?
Yes, both outlets in a duplex receptacle can be switched; however, it is usually more practical to keep one always hot while the other is switched for increased flexibility. Typically, you would not break the brass tab for this configuration.
Wiring a switched receptacle gives you more options for controlling receptacles supplying power to lamps and other devices. Following all steps provided will allow you to safely and successfully wire and install the outlet(s) within electrical code in your area. This will create a safe, efficient, and functional electrical installation for your new switched receptacle.