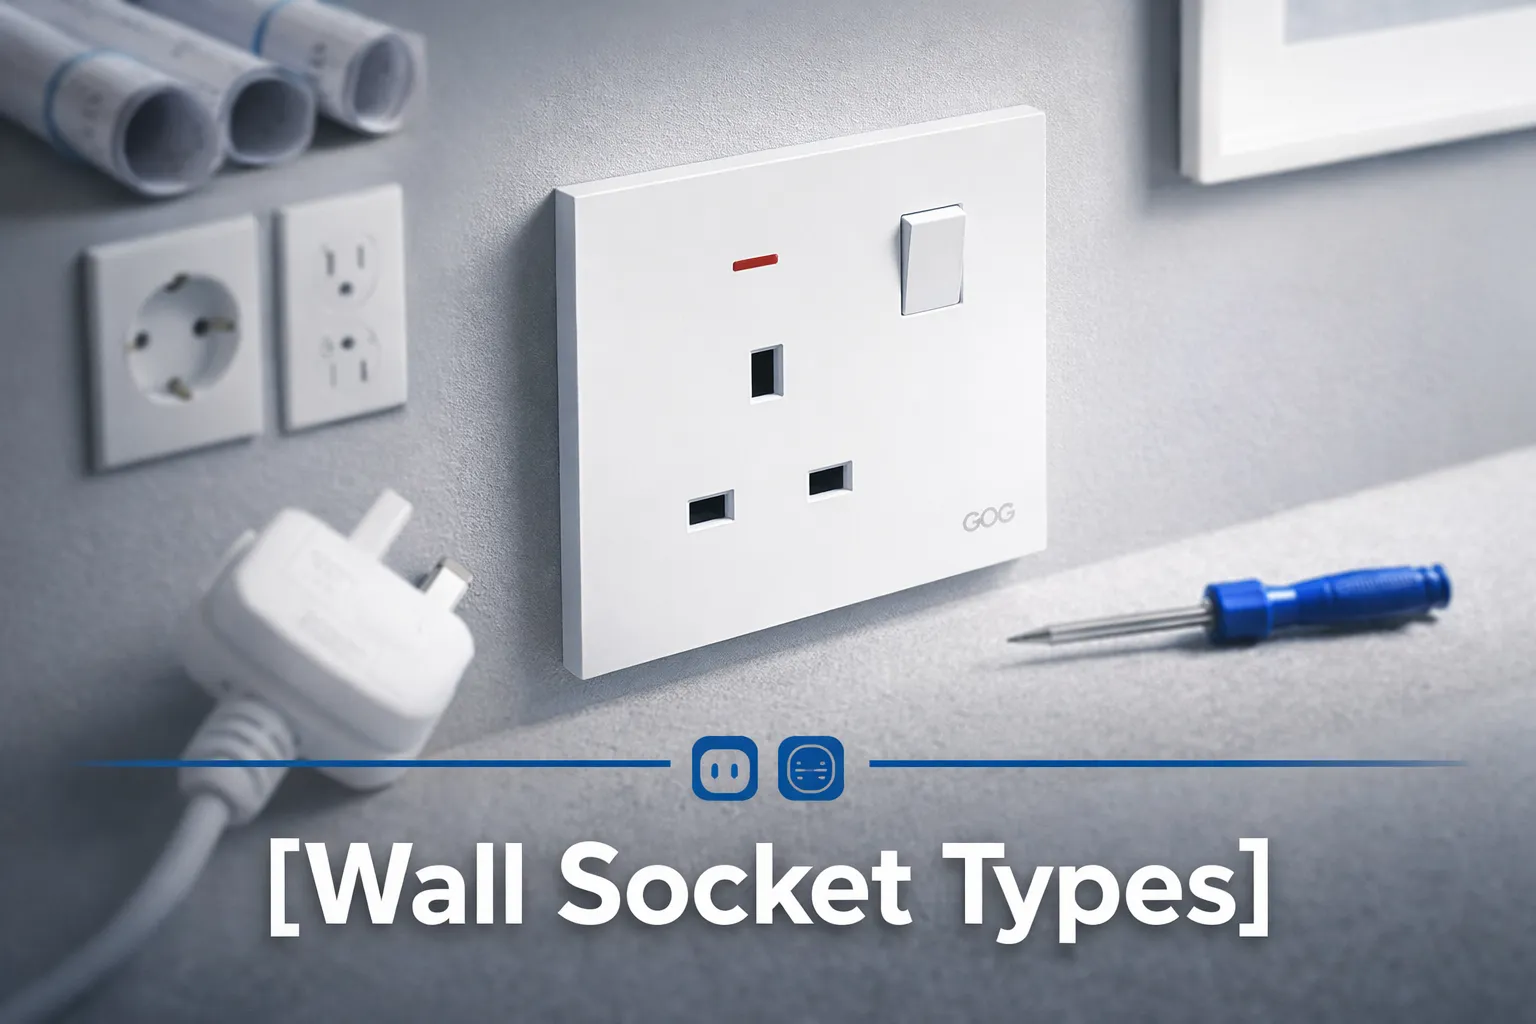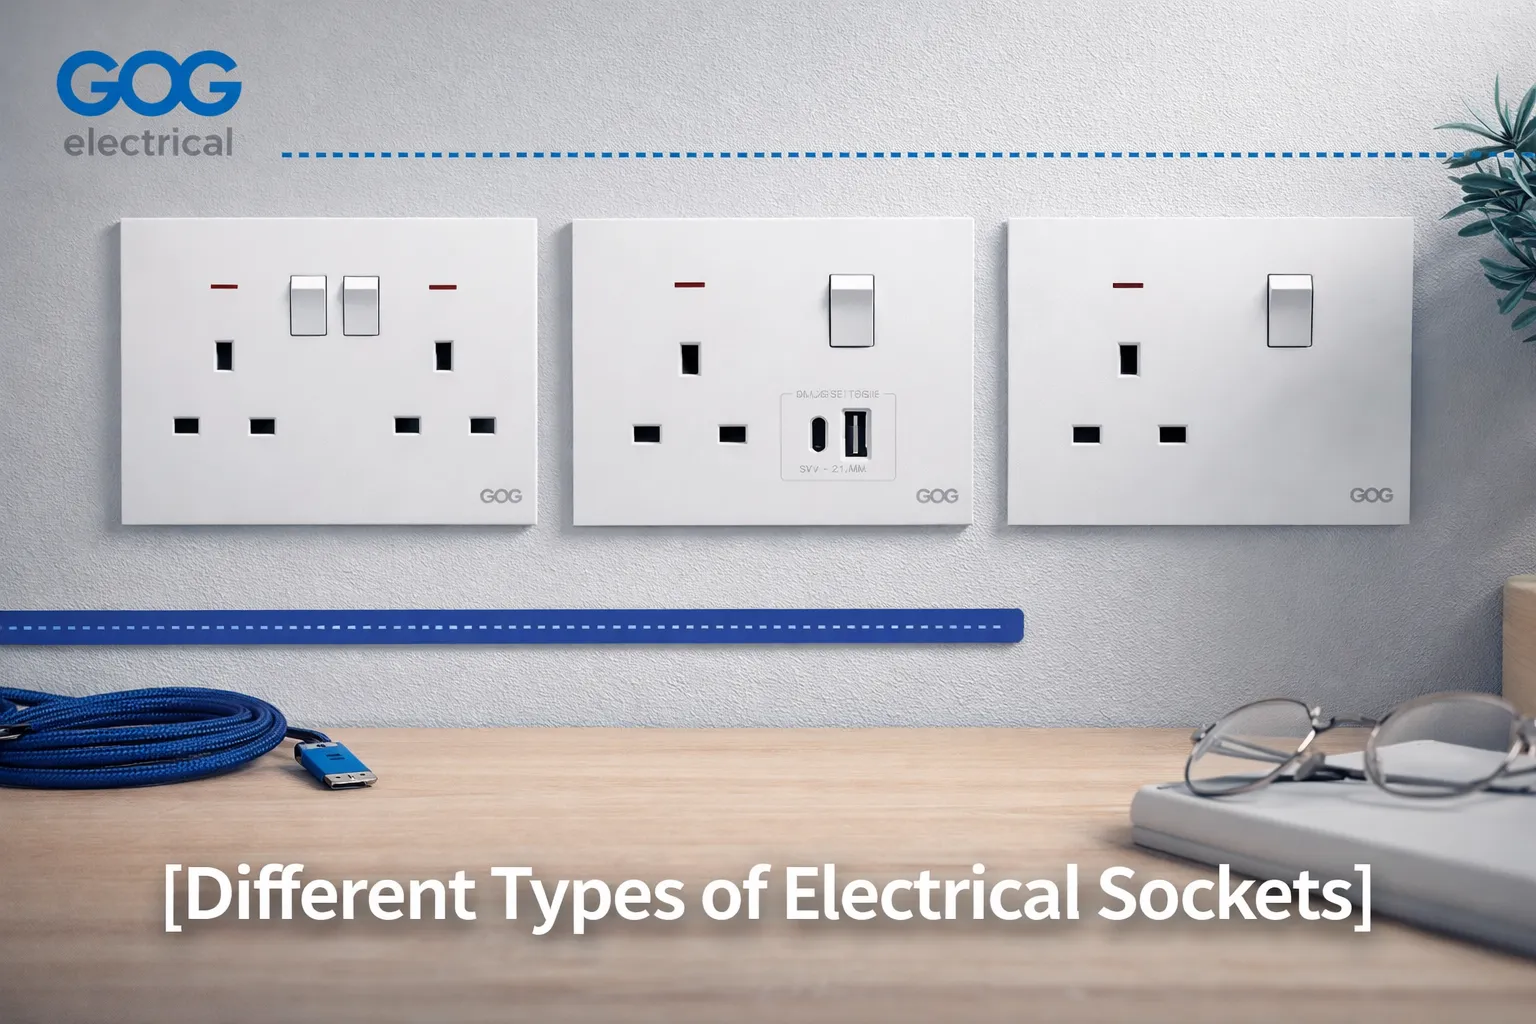
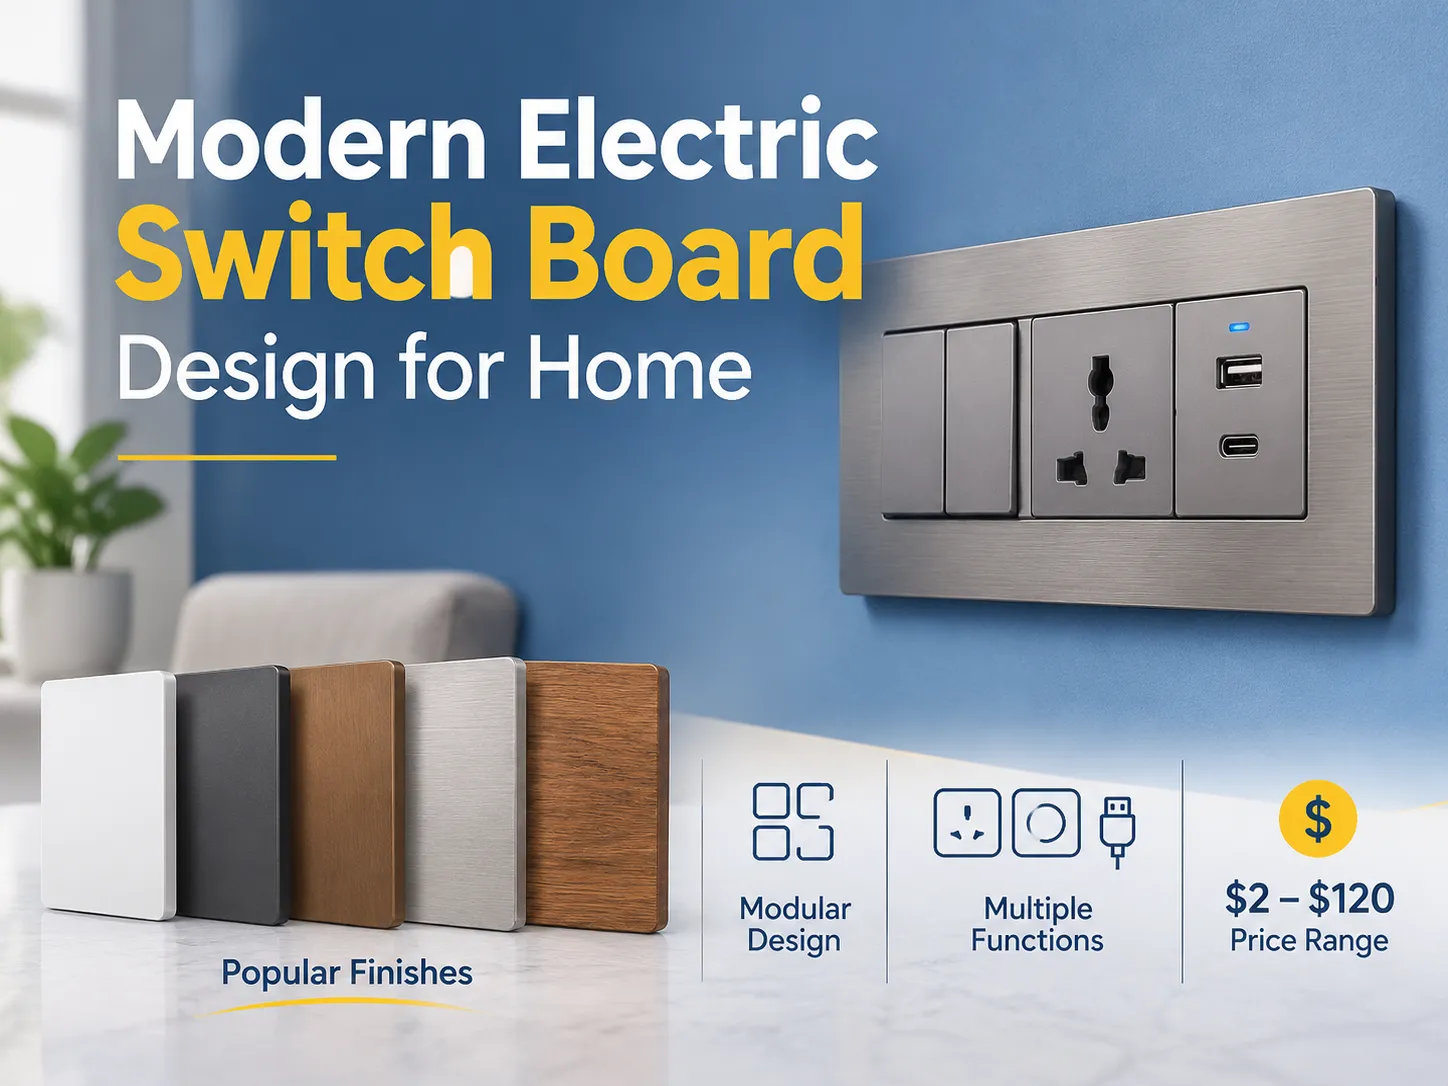
One of the last things you decide on while renovating your home is the switch board, but it will most likely be one of the first things people see when they walk into your home. The wall of bright white plastic switch plates standing out against the contrasting colours of the wall (e.g. light grey, khaki brown, etc.) will be the largest items (in size and perceived value) that will be in view when someone enters your home.
Modern Electric Switch Board design is based on four primary decisions: plate colour and finish; plate material; the format of the modules on the switch plate; and the number of functions placed on each switch plate. In other words, although most homeowners will still choose a matte white finish for their plates (the least expensive colour option), more and more designer-style finishes (including anthracite, bronze, brushed stainless and wood-effect) have been introduced to the general market as more and more people are now interested in a variety of choices in finish options for their plates. Most switch plates come in four materials, including PC, aluminium, glass and stainless steel, with the first two materials comprising the majority of the switch plates in most residential applications with modular systems designed to allow for versatility and ease-of-use of all functions placed in a two-gang switch plate assembly.
The following sections of this article will explain the four decisions above in detail and will also explain how national standards such as the National Electric Code affect the design options for their switch board. Finally, the final section will discuss which room(s) in your home are suitable for you to think about when designing your switch board.
What “Switch Board Design” Means in a Modern Home
In present-day homes, the term “switch board design” has two distinct definitions that should be recognised as such prior to moving forward. The first definition as stated by South Asian and Southeast Asian cultures refers to a switch board simply as the flat plate mounted to the wall of a room and containing the electrical switch(es) and outlet(s) located throughout that room. This plate type is referred to in the North American culture as a wall plate, while the term switchboard describes a larger and more complex assembly that is usually located in a room put aside for the electrical distribution assembly.
This page refers to the first definition – the flat plate mounted to the wall, its finish, configuration, and function(s) are all important factors that the builder, designer, and homeowner consider prior to choosing an electrical switch plate and, by default, will influence the volume in which the builder/developer buys it.
In addition to the aesthetic appeal of a switch plate, there are many design issues that must be addressed prior to ordering. First, the switch plate must fit a standard electrical box, accept a standard type electrical module, clear a standard gauge electrical cable, and comply with national electrical codes that may differ from country to country. In general, a beautiful switch plate that does not fit the box and an average switch plate that does fit, but does not include a tamper-resistant shutter, will fail inspection in half of the countries of the world.
Colour: Once White Was the Default Colour.
Historically the reason white was the default colour for switch plates is because white matched the colour of the plastic used to make all electrical outlets. White also did an excellent job of hiding dust on the plate and since the polymer (the base material) used to create switch plates contains enough pigment to produce a colour other than white, the white switch plates were the least expensive to manufacture. The result is that for approximately thirty years white has been the default colour for the vast majority of switch plates in use throughout the world.
As the world of Interior Design continues to evolve, so do the products and their corresponding product materials and finishes. For example, the plating materials used to decorate the wall have changed dramatically over the years; they were once mainly painted in light colours, now painted in deeper colours with much greater texture and dimension. This may contribute to an overall effect that should be viewed in conjunction with the other elements of the room’s decor and design. The White Plate will appear to be a patch of colour in the room rather than simply a decorative detail.
The introduction of cheaper methods of producing metallic finishes at the residential level has changed the look of the plate from that of an industrial-produced product to one that can be created in small batches for the residential market. With the introduction of the smart switch, plates have been designed with a glass or metal face to provide a touch sensing surface. By changing the face of the plate to either a glass or a metal surface, the look of the whole category of wall plates has evolved from that of molded plastic to a more sleek and modern look.
Plate Colours
Currently, there are three distinct bands of colour when it comes to selecting a plate. Each band has different uses and will yield a different look depending upon the type of plate you choose. The first band is neutrals, which include white, off-white, and light grey, which are commonly used in homes where resale value is important and where the overall colour of the room is a light colour. In fact, if the paint used in the kitchen, bathroom or hallway is light in colour, then it would be recommended to select an off-white or light grey plate as well.
The second band is darks, such as anthracite, graphite and matte black. These commercial-grade plates are used to create a deliberate contrast with light-coloured surfaces, i.e., when the plate will be visibly located in the foreground of the room, and the wall behind it is light in colour.
The third band is metallic finishes, such as brushed nickel, bronze and champagne gold. These types of plates are often used on joinery hardware, doorknobs and taps. When these hardware items are already installed in the same or similar tone as the metallic outlet cover, they will provide a contrasting look.
The only thing that remains consistent across the three bands of colour is the practical rule: When selecting a plate, select the plate colour that is closest to the surface of the object, not to the surface of the plate itself. Thus, if the plate is located next to a wooden doorknob frame, the plate should match the doorknob frame. If the plate is located next to a stone backsplash, the plate should match the stone. Finally, if the plate is located in a white-painted hallway, the plate should be the same colour as the wall no matter what the rest of the house is finished in.
Plating Materials/Facts
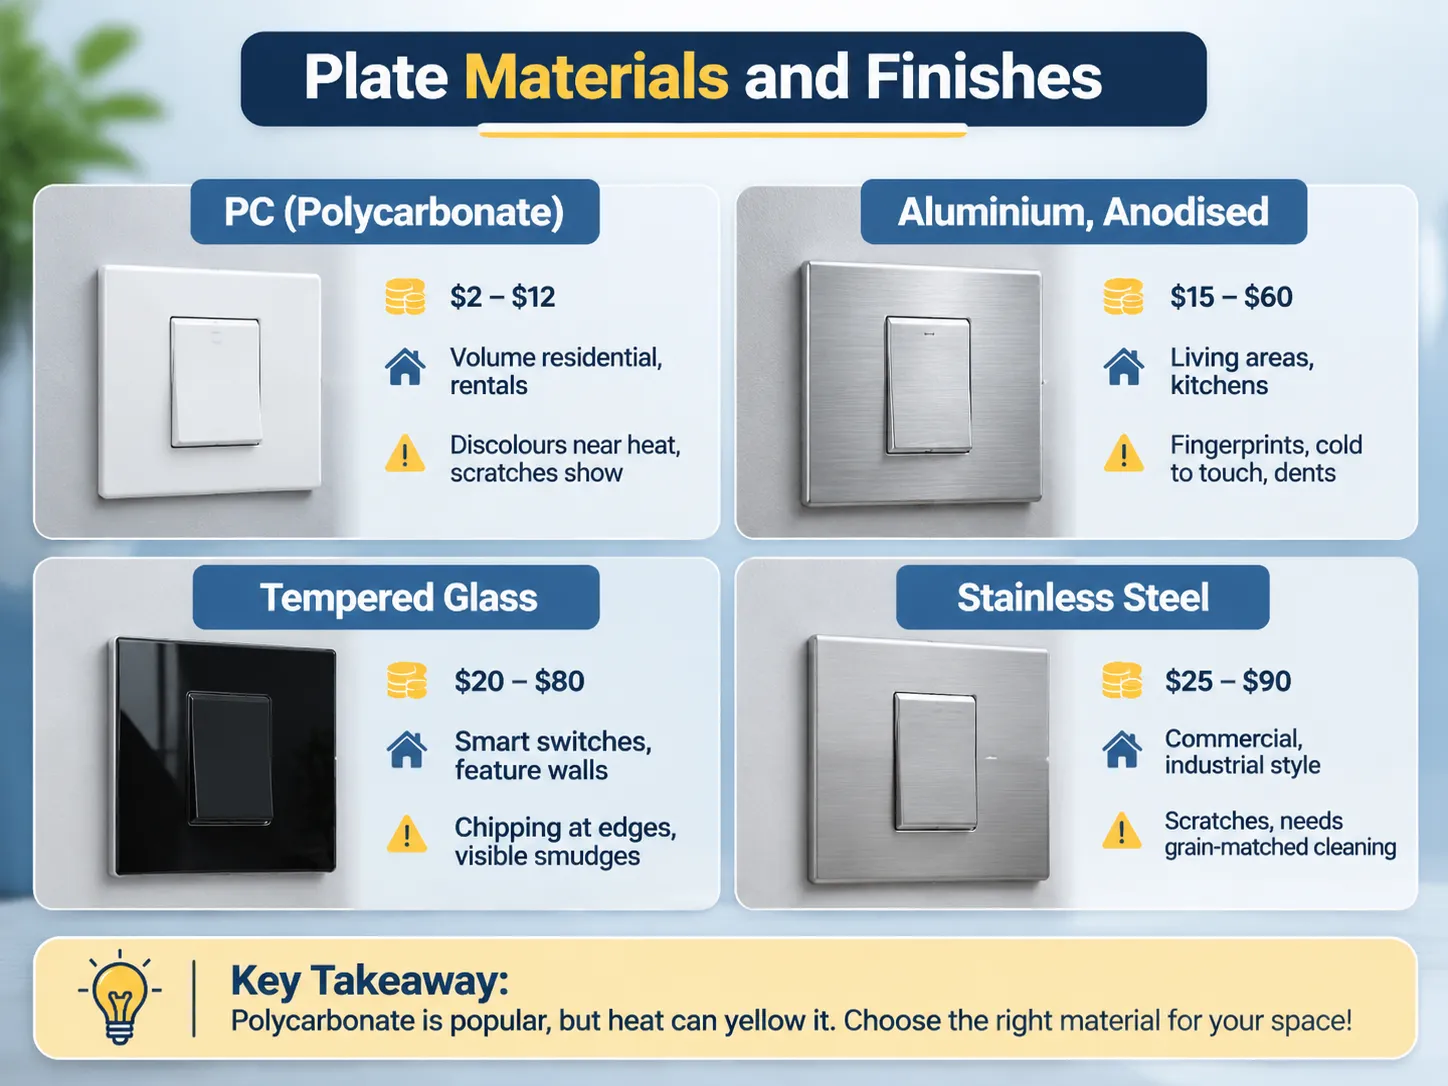
Four Unique Materials Constitute the Residential Market, and Each Material Has Unique Properties in the Kitchen/Bathroom/Hallway.
| Material | Price per plate | Best for | Cons |
|---|---|---|---|
| PC (polycarbonate) | $2-$12 | Volume residential, utility, rental property | Discoloration due to heat, scratches are noticeable on a gloss finish |
| Aluminium (anodised) | $15-$60 | Living areas, kitchens with metal appliances | Fingerprints, cold to touch, denting |
| Tempered glass | $20-$80 | Smart switches, feature walls | Chipped edges, visible smudges |
| Stainless steel | $25-$90 | Commercial, kitchens, industrial-looking interiors | Scratched surface, must clean in the grain |
The dominant material is PC (polycarbonate) due to being the most dimensionally stable, inexpensive and available in any colour, but is weak with respect to heat. Any PC product installed within 300 mm of a cook top or oven will yellow over the years and, unfortunately, there is no amount of UV stabilisation that can stop this from happening. Most frequently, the choice of material for a kitchen is determined by the heat source rather than by aesthetic appeal.
Aluminium and stainless steel plates are chosen for their feel as well as for the appearance they provide. A metal plate has a temperature and weight that a plastic plate does not have, and this characteristic becomes important when considering the use of these materials in an upscale home renovation. Both materials do have the disadvantage of being susceptible to showing fingerprints and, if scratched, an anodised finish cannot be repaired at home.
Tempered glass plates are typically paired with smart switches; therefore, the touch surface and the plate are considered to be one piece. Tempered glass plates photograph beautifully, but they will most noticeably display every smudge in the kitchen setting, which is why they typically are placed in living rooms and bedrooms instead of next to a cook top.
Modular Systems and Why They Matter
The modularity of materials is the least visible, but most significant consideration in this instance. A modular plate includes an aperture (the opening), that does not change with the installation of the different modules that can click into it (for example, a blank, switch, socket, dimmer, USB charger, data outlet, and hotel card reader). In comparison to non-modular plates, non-modular plates have all of the features/functionality built into the plate (the single moulding with no aperture).
The benefits of modular plates are obvious once the devices have been installed. A two-gang switch plate can easily turn into a switch and USB charger in ten minutes, without needing to touch the wiring or the wall paint, so that flexibility will be more valuable than any finish. If you have a home office that changes its usage every two to five years, the ability to easily change the configuration of plates will be more valuable than any finish option.
Modular systems also allow designers to achieve a consistent look throughout a house using one family of plates. In the example above, while the kitchen has a 13 A socket, the living room has a dimmer, and the study has a data outlet, they all share the same profile and screw position on each wall within the home. Without a single family of modular plates, the same products will be combined using four different product families in the same house, which creates an uncoordinated look and does not demonstrate a “designed” renovation.
The three main practical constraints that determine whether a modular system will work are:
- The size of the aperture must match the junction box’s aperture (most of Europe and Asia use 86 × 86 mm junction boxes and 146 × 86 mm wide multi-gang plates).
- The depth of the module must reach above the cables behind it (some shallow mounting boxes prohibit the installation of certain USB module types).
- The module must be finished in the same colour as the modular plate, because it is useless to have a modular plate family that is available in anthracite but the only colour in the USB module is white.
Configurations of Functions on Plates on Plugs
The positioning of functions on plugs is important to the user because he/she is finding it without any visual assistance.
Use room-based function groupings, not cable schedule groupings. The grouping for door lighting should be located on the panel closest to the door itself. If you were to follow the cabling schedule as a designer, the layout will result in mixing the hallway light with bedroom lights; therefore, your guests will constantly select the incorrect light.
Place the most frequently utilized switch along the perimeter of the switch. When looking for a light switch inside a dark room, the user’s hand naturally moves to the outer edge. Consequently, the switch used to trigger the light should be positioned closest to the door frame. This is a minor difference, but it makes a considerable impact on the design of the room.
Separate high-current and low-current circuits on the same plate with a visual marker (or space) between the two. The socket symbol/module that is located next to the light switch is commonplace. Since a socket that looks identical to a switch, users may inadvertently plug into the wrong item. This can be solved by using a different design height, adding labels, or introducing a clear area (space) between the two modules.
Each room should have (1) empty location available. For example, during the installation of a bedroom’s 3-gang plates, it is possible that an additional functionality may be required with the addition of a smart switch or USB power charger. Leaving the unused space when installing saves money. Conversely, if you decide to alter the panel at some future point, you have the added expense of painting around it.
Comparing designs of light switches is a much quicker solution for settling the question of layout, because you can see the same wall in three or four different arrangements.
Types of Switch Designs: Rocker, Toggle, Dimmer, and Smart Switches
Mechanisms fall into five categories within the residential market, and the choice of switch types is generally dictated by the standards in each country rather than user preferences.
Rocker Switch: The standard switch type for the UK, Europe, Australia and large parts of Asia. This type of switch consists of a wide paddle that pivots along a centre line. It is available in three different styles: a single switch, a double switch, and an intermediate (two-way) switch. The Rocker type of switch is the easiest to use with one full hand, and it is the least expensive type of switch to manufacture.
Toggle Switch: This is a lever switch that flips up and down, and it remains popular in North America and older installations in Britain. The Toggle switch is an easily identifiable type of switch: it has an on/off position, which is clear from the action of flipping it. However, the Toggle switch is difficult to pair with a modern switch plate, so Toggle switches are mostly seen as retrofits.
Dimmer Switch: Dimmers are either rotary knobs, sliders, or touch-sensitive. When selecting a dimmer switch, the most important thing to keep in mind is the load type. For example, a dimmer rated for 400 watts of incandescent load can be rated for 100 watts for a LED load, meaning the LED figure will apply to any home equipped with LED light bulbs.
Smart Switch: Smart switches contain both a relay and a radio behind either a touch-sensitive or Rocker switch face. Smart switches can be controlled with a mobile app, voice-activated assistant, or wall panel. Most smart switches require a neutral connection at the switch location, meaning that this is the most common reason why smart switches cannot be installed in older homes.
Momentary / Retractive Switches. A spring-loaded push button is a type of switch that springs back when released. It can be used for control of relay circuits or for controlling elevators and building management systems (BMS). The push button switch is used in most hotels to turn on and off light fixtures in guest rooms. It is often designed so that one push button can control an entire lighting scene, rather than just one circuit. The lighting switch manufacturer provides comparative information to the designer about how the rocker action and contact rating will differ between domestic and project grade devices.
The Influence of National Standards on Design
In some cases, the design of a switch plate that works well in one country may not be able to be sold in another country. The primary reason for this is because there are dimensional and regulatory differences between the two nations. Therefore, a designer comparing the size of a plate for a switch to a switch plate for a different Country must not only be aware of the required size of the plate, but also the required mounting centres.
| Market | Plate Size | Mounting Centres | Other Requirements |
|---|---|---|---|
| UK | 86mm x 86mm | 60.3mm | BS1363 switched sockets with shuttered |
| Europe (Schuko) | 86mm x 86mm | 60mm | Round recessed sockets with side earth clips |
| Australia and NZ | Standard plate, 84mm centres | 84mm | Switched outlets with insulated pins (since 2005) |
| North America | 4.5 inches (114mm) standard | 3.281 inches (83.3mm) | Decora strap with tamper-resistant and GFCI options |
| China and most of Asia | 86mm x 86mm and 146mm x 86mm | 60mm | Type I or Type A switch plates with switched outlets |
In general, the biggest problem for a designer in Australia would be that the mounting centres for a European switch plate are 60mm and for a North American switch plate are 83.3mm. Therefore, unless a designer finds a switch plate with both sizes, it will not work for either application. The dimensional differences of 60mm and 84mm cannot be seen in photographs, but they are very important when installing a switch.
In addition to the dimensional differences, three additional regulatory differences exist between a switch manufactured to a European standard and one made to a North American standard.
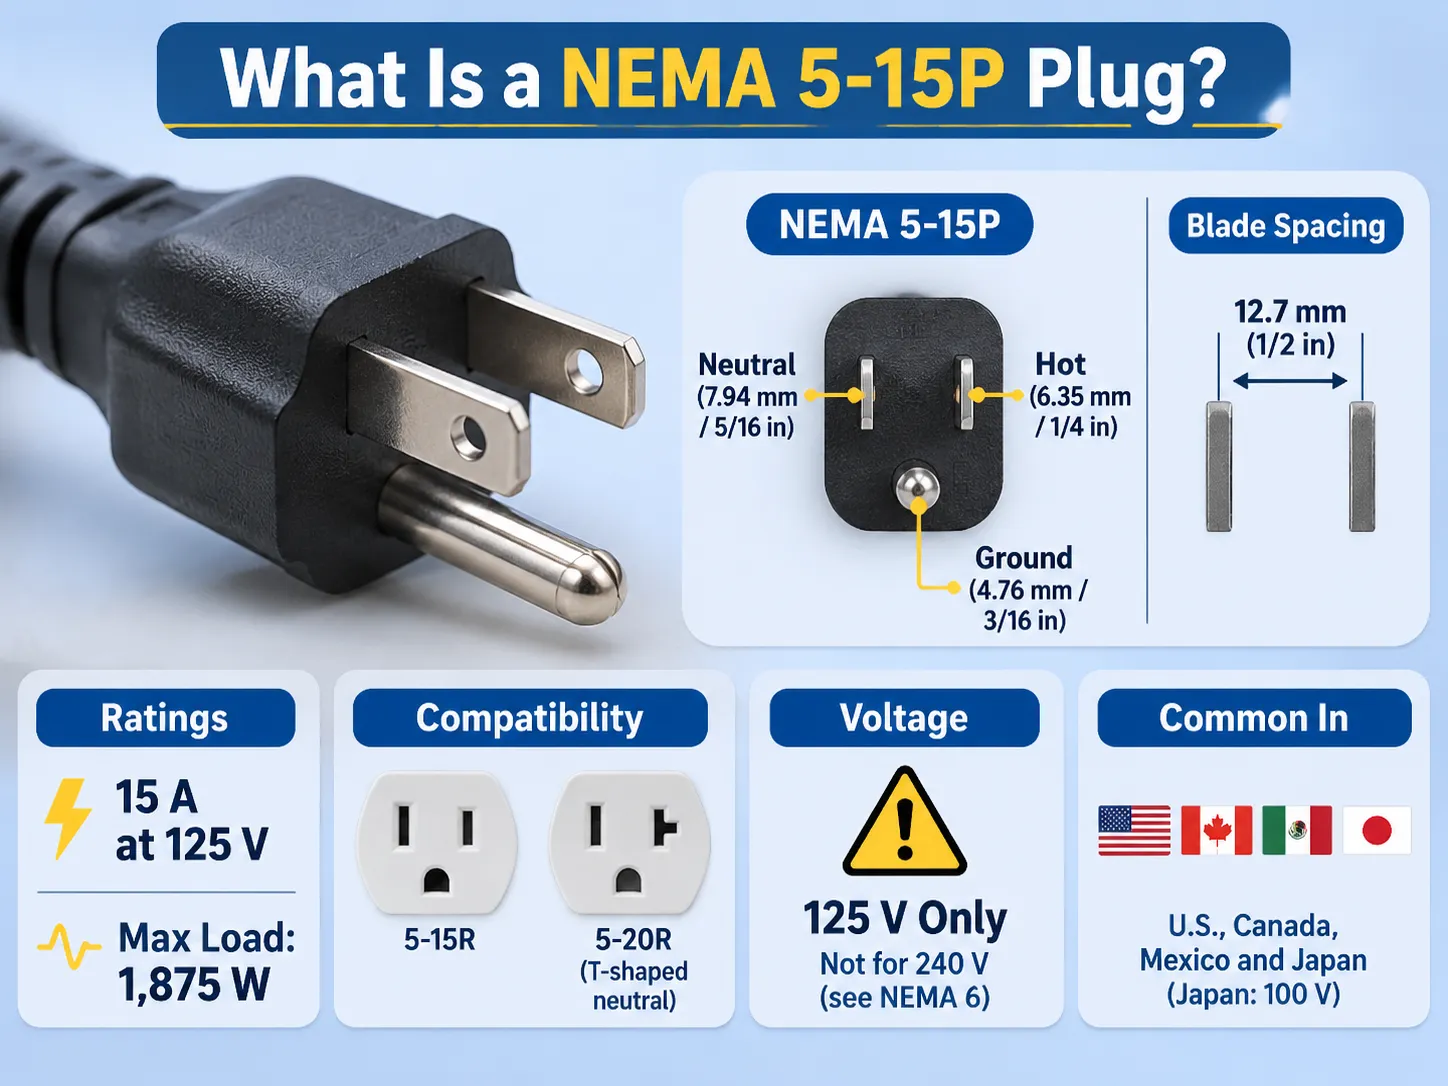
In the UK, all electrical outlets must have a switch and shutter along with the socket. Therefore, every socket in a British house will have a switch next to them. North America requires that all residential outlets are tamper-resistant by design and has GFCI protection built into the outlet. Australia requires all outlets to be switched and have insulated pins. Insulated pins were added to the Australian electrical code in a 2005 amendment and many imported products do not have insulated pins and therefore cannot be legally used under Australian law.
If a buyer purchases a design-led range of plates that does not comply with the above three requirements, there is a very high risk that the family of plates will look good in the brochure but fail inspection and as such, the buyer takes an unnecessary risk by sourcing a family of plates from a manufacturer that has not previously supplied product into that particular market.
Light Matters: Room by Room Applications
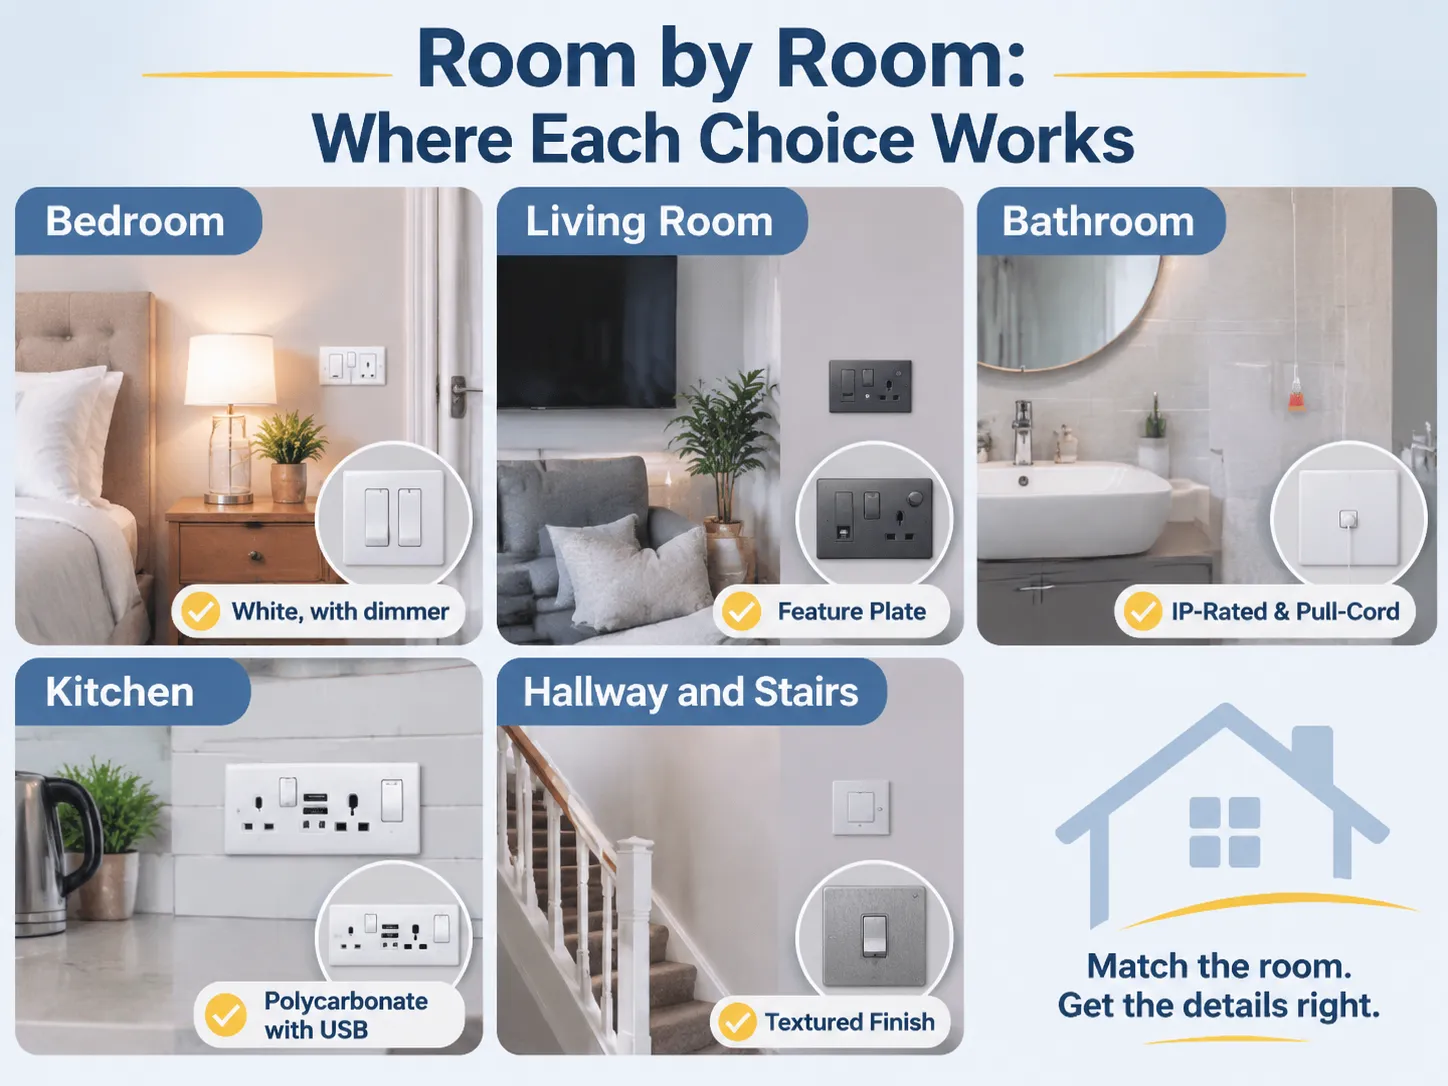
The same family of plate will look very different in different rooms, because of the differences in the wall colour, lighting levels, and surfaces.
Bedroom: In the bedroom, there will be a two-gang box next to the door for the main light and bedside circuit, and a two-gang box next to each side of the bed for table lamp and phone charger. The plates will be a matt white or off-white colour. The reason for this is that having a dark plate next to a pale wall at eye level when lying in bed will create an extremely strong visual impact that most people do not want to see at 6 a.m. The best upgrade to the bedside switch will be a dimmer as this is the highest rated upgrade based on user satisfaction.
Living Room: The living room is where the added value of a designer plate is maximised. This is because the designer plate will be seen against the backdrop of a painted or papered wall with furniture in front of it.
Anthracite or brushed metal will look better than white when the joinery is dark, and a four-gang plate with a dimmer and a scene switch combines three individual controls into one. Generally, a media wall will have a socket, a data outlet, and a conduit for the TV cable all on the same plate.
In the bathroom, regulation is the main restriction rather than aesthetics. Zone rules regarding sockets limit the amount of sockets available for use in proximity to a bath and/or shower and require any permitted socket to be protected by a Residual Current Device (RCD). Therefore, the available choice of plate coverings is more limited to either white or chrome and must be IP-rated for the specific location. All pull-cord switches must be installed in accordance with ceiling height restrictions. The selection of outlets/switches for modern homes includes greater detail regarding compliance with Zone rules.
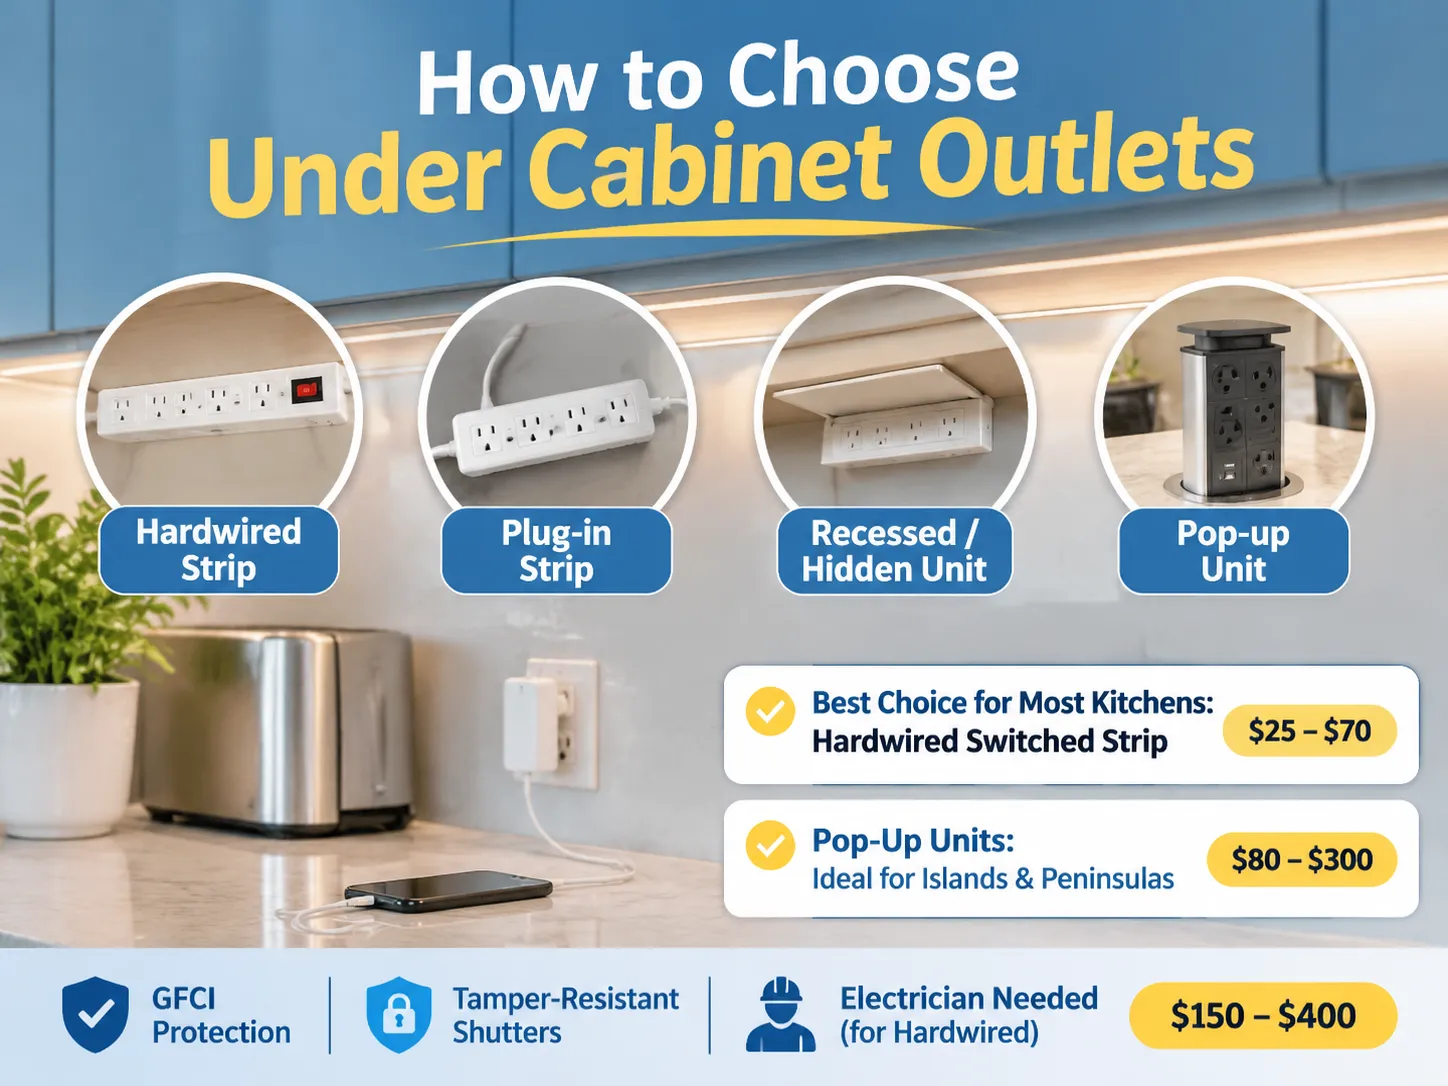
The kitchen is home to the most common multi-gang (four-to-six terminals) outlet configuration in the home, located above the worktop, and is powered from two separate circuits, providing both a USB module and a switch for the under-cabinet lighting. It is best to use polycarbonate, rather than metal plates, next to the hob due to the appearance of marks left on them from cooking activity and the elevated temperatures created next to the hob. The provision of power beneath cabinets typically involves separate arrangements and products.
Hallways and staircases will typically feature two-way switches at either end of the stairs, but this is primarily a wiring decision rather than a plate selection. The plate finish will also match the door hardware instead of wall colour. The appearance of the hallway switch will be seen in passing and under low lighting, so texture will show up better than colour.
What Are the Costs of Modern Switch Board Designs?
The following chart provides the retail price range for both Designer and Volume Switch Board Plates:
| Item | Volume | Designer |
|---|---|---|
| Single Plate/single switch | $2 to $6 | $18 to $45 |
| Two Gang Plate/two switches | $3 to $9 | $25 to $60 |
| Plate with one 13 A Socket, and one switch | $6 to $15 | $35 to $80 |
| USB Charging module | $8 to $20 | $20 to $45 |
| Dimmer Module | $10 to $25 | $30 to $70 |
| Smart Switch (Wi-Fi or Zigbee) | $18 to $45 | $45 to $120. |
The price difference in the two columns does not indicate a difference in quality. The differences are due to tooling and finish. Designer Plates are typically die-cast or CNC machined components with a finished coating, while the volume plates are produced in much larger quantities compared to the designer plates. Therefore, the cost of redesigning all of the switch and socket plates in a home using designer products will be more than the cost of replacing the lighting fixtures.
The switch and socket ranges are not grouped by room (as they would be for volume) but rather group by module type and finish, which is the most accurate way to quote an entire home.
When homebuyers are choosing to replace their switch plates, they often forget about the amount of time it will take an electrician to perform the installation. If a homebuyer is replacing a plate without replacing the wiring behind it, then the time cost to the electrician would be one hour of labour for every ten plates. However, if the buyer adds a USB module or smart switch, this will require the running of neutral service to the box, which requires wiring, rather than just a swap out of the plate. Homebuyers should always separate budget line items for installing the plate and running new wiring to the box.
Where GOG Fits
The items produced by “Where GOG Fits” include electrical components for home and commercial applications (including switches and electrical sockets) that are manufactured using a very narrow design style that consists of only flat faceplates (3 mm thick), 86 mm and 146 mm aperture widths and the finish options of matt white, anthracite and brushed metal effect. These products are intended to blend into the background of an aesthetically pleasing, visually balanced, and functionally efficient space.
The Vision LED switch was awarded the iF Design Award in 2026; however, this was based on design, and not functionality/electrical performance, and this award was given because the judges determined that the indicator light is integrated into the rocker switch and not mounted above the rocker switch. This results in the faceplate appearing as a single surface with the light within the rocker switch either on or off. This integration of indicator light and rocker switch is what separates modern-looking faceplates from faceplates that are still considered to be modern once the room is complete.
There are three specific areas where we add value to a project buyer. The modular product lineup consists of switches, sockets, USB outlets, dimmers, and data/network within the same finish; thus, a residence cannot have a USB wall outlet that is white, whilst having all other electric accessory elements in an anthracite finish. The mount distances for the modules are built to the specification required by the destination market (the 84 mm Australian pattern and the 60.3 mm UK pattern), and because of this specification, the same design can be sold in four countries. Lastly, we test our product offerings as a complete unit with modules, rather than simply selling the faceplate as a standalone item designed to accept one or more modules.
The way volume conversations take Place between manufacturer and distributor Is based around standardisation, finishing’s, and modular mixing; not via catalogue Page (product photo). Switchboard/Socket collections have been built up to suit volume conversations.
FAQ
Which switchboard is the most appropriate for a home?
For the majority of homes, a modular Polycarbonate Plate with Rocker Switches in Matte White is the most affordable option; inexpensive, can be easily expanded, and available almost anywhere. The best and most valuable upgrade options would be associated with the Module Mix; The Finish of the Plate is not as important; a Plate equipped with a USB Module and a spare position will still be useful to a homeowner In Five Years’ Time. Designer plates (Metal and Glass) are a good option for Living Spaces where they can be seen, however, they serve no purpose in Utility areas.
What are some examples of Switch Board Designs?
The switchboard format includes single, double, triple and multi-gang plates, along with the wider 146 mm plates available in China and parts of Asia. The switchboard material may be polycarbonate, aluminium, glass or stainless steel. Switches can consist of rocker-type, toggle-type, dimmer-type, smart-type or retractive-style switches. A homeowner’s greatest exposure to variation will come from the first two categories and provide most of the price variation by the second category.
How can I enhance the appearance of my switchboard?
To enhance the visual impact of your switchboard; match plates with the nearest surface (not with wall colour), use the same plate family throughout your home, align switch plates to the same height as the joinery lines, and consolidate functions onto single 4-gang plates instead of using three 2-gang plates. If you have a continuous floor, a single finish will give a better overall appearance than two finishes (white and metal).
What is Thermo-magnetic Circuit Breaker?
A thermo-magnetic Circuit Breaker provides two types of trip mechanisms; a bimetallic strip that bends during sustained overload and a solenoid that quickly trips the breaker when a short circuit occurs. The thermal component provides inverse-time protection for wire and the magnetic component provides fast release of the fault current. This is the most widely used protection device in distribution boards. It relates to the trip curve and not to a single rating.
References
- Legrand – Wiring Devices and Modular Plate Design
- Schneider Electric – Range and Plate Types of Switches and Sockets
- NEMA – Wall Plate Size and Wiring Device Standards
- iF Design – Product Design Awards and Criteria
- Standards Australia – AS/NZS 3133 Switches and Plates
Conclusion
A switch board consists of four basic elements; colour (the nearest surface), type of material (the type of use expected in the room), the unit format (the type of use without changing the switch plate), and the layout of the switches based on your hand more so than how the cable is run.
The first step in these four elements is to determine the National Standard, as if your switch plate does not fit correctly in the box or meet your local shutter requirements, you will not be allowed to install that plate regardless of its appearance. So, deciding on the standard and the unit format must be completed prior to deciding on the finish, as the finish is the part of the plate which will date over time while the unit format is what keeps the plate functional for twenty years.