El atenuador óptimo para sus luces LED no siempre será la opción más costosa ni la compatible con su placa de interruptor existente. En cambio, la solución de atenuación ideal es aquella que tiene las especificaciones adecuadas en cuanto a carga mínima, compatibilidad con control de fase y necesidades de neutro para la luz LED que se está atenuando. Si comete errores en estos tres criterios, sus luces parpadearán independientemente del atenuador utilizado.
Por lo tanto, examinemos cómo elegir el atenuador correcto del tipo adecuado con las especificaciones requeridas.
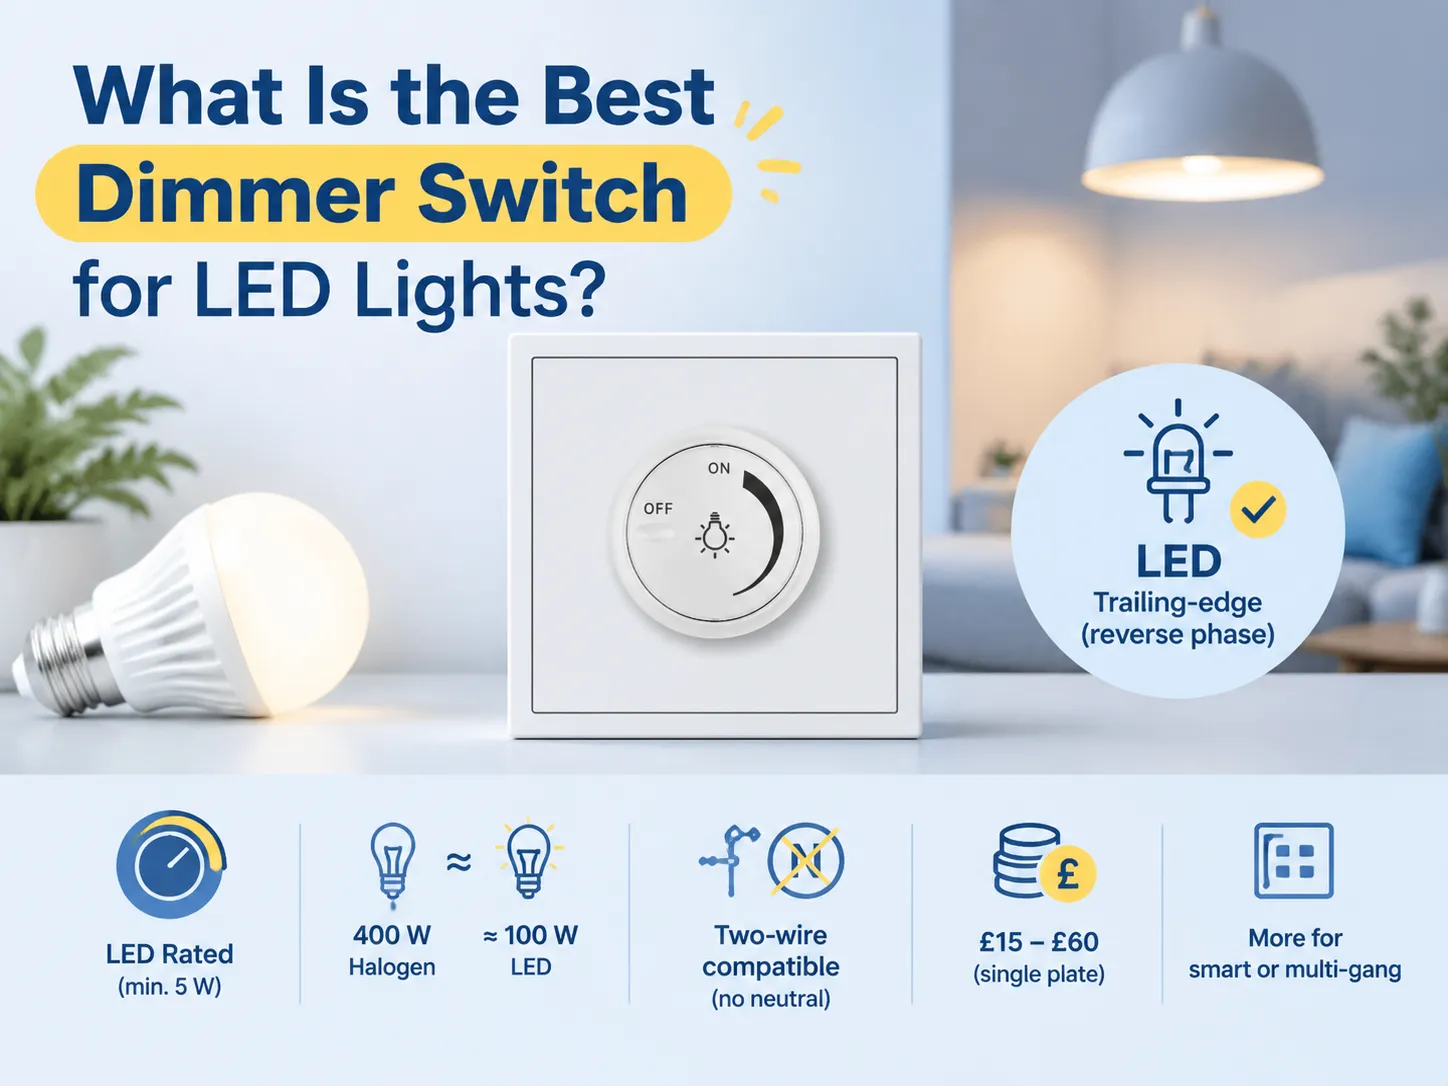
Respuesta rápida: Las bombillas LED regulables, así como los drivers LED, requieren un atenuador de borde descendente capaz de controlar cargas LED según lo indicado, con una carga mínima de 5 W o menos además de una clasificación LED basada en cargas LED especificadas en lugar de cargas halógenas. La clasificación halógena de 400 W es, en realidad, alrededor de 100 W de LED debido al menor consumo de energía. Asegúrese de probar la compatibilidad del atenuador con circuitos de dos cables si el circuito puede no tener cable neutro. El precio de un atenuador de placa simple debería oscilar entre £15 y £60, mientras que el precio de atenuadores inteligentes multi-gang será considerablemente más alto.
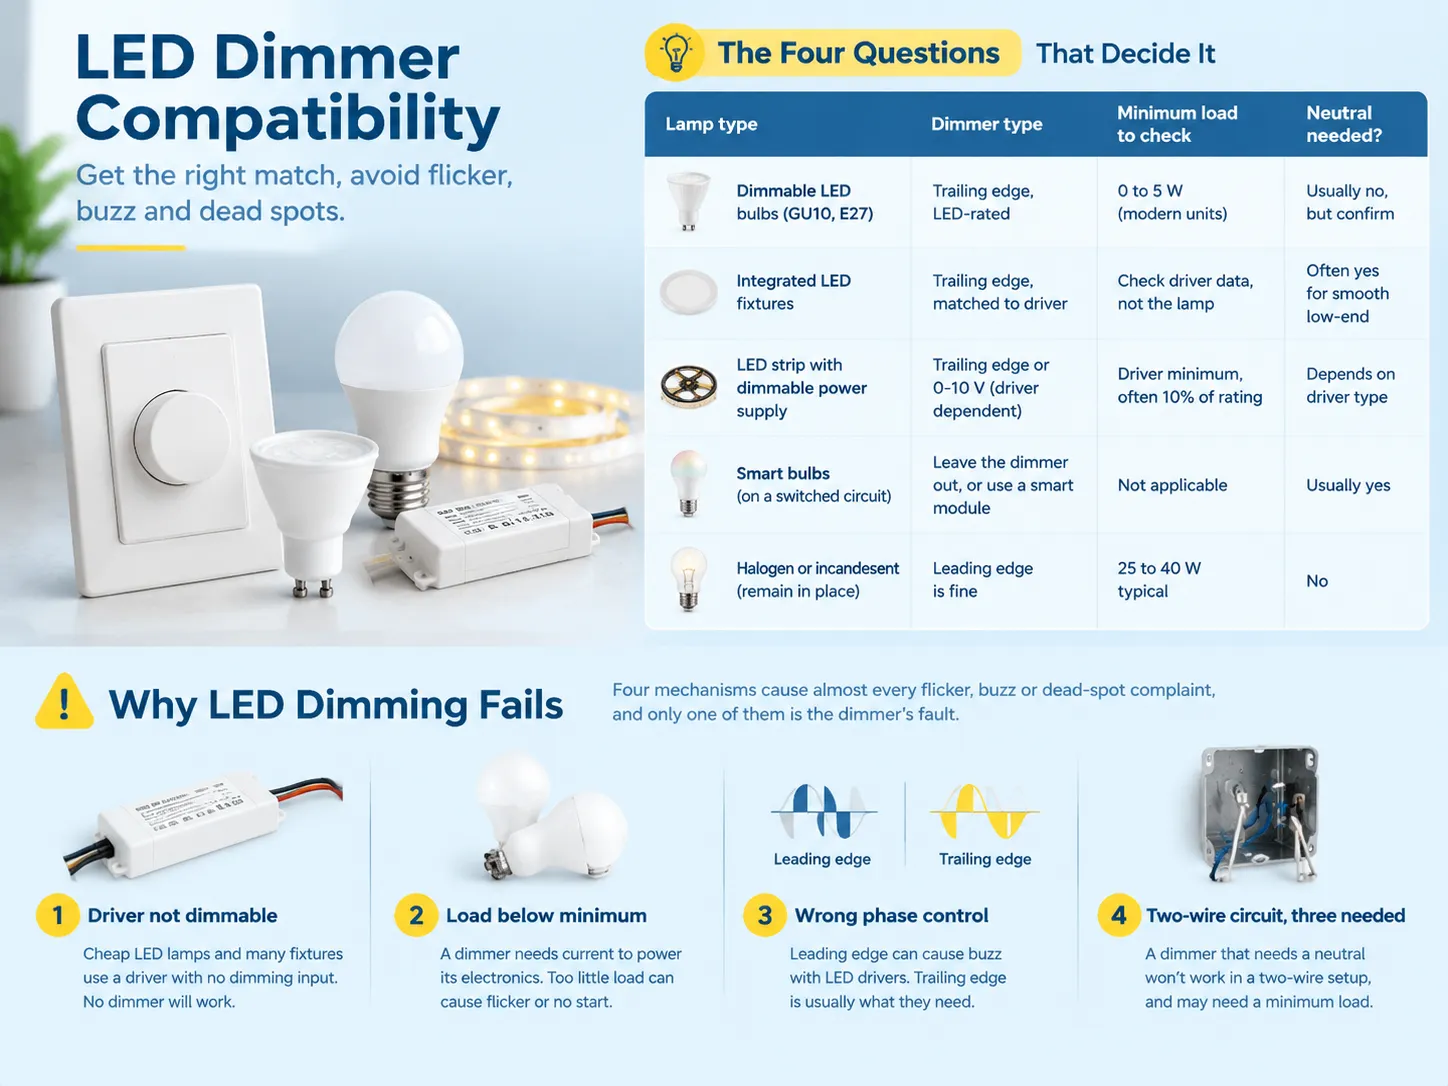
Las Cuatro Preguntas Que Lo Deciden
| Tipo de lámpara | Tipo de atenuador | Carga mínima a verificar | ¿Se necesita neutro? |
|---|---|---|---|
| Bombillas LED regulables (retrofit GU10, E27) | Borde descendente, clasificado para LED | 0 a 5 W en unidades modernas | Usualmente no, pero confirme |
| Luminarias LED integradas con driver regulable | Borde descendente, emparejado con el driver | Verifique los datos del driver, no de la lámpara | A menudo sí para un atenuado suave en niveles bajos |
| Tira LED con fuente de alimentación regulable | Borde descendente o 0-10 V, dependiendo del driver | Mínimo del driver, a menudo 10% de clasificación | Depende del tipo de driver |
| Bombillas inteligentes en un circuito con interruptor | Omitir el atenuador, o usar un módulo atenuador inteligente | No aplicable | Usualmente sí |
| Halógeno o incandescente permaneciendo en su lugar | Borde ascendente está bien | 25 a 40 W típico | No |
La información en la tabla se refiere a la lámpara que está instalando ahora y no a la lámpara usada en la habitación en 2005. La causa de la confusión es usar detalles confusos de dos situaciones diferentes: los atenuadores de borde descendente usados con carga halógena pueden actuar incorrectamente cuando su rango está en el extremo alto, mientras que los atenuadores de borde ascendente usados con LEDs causan problemas de zumbido.
Por qué falla la atenuación LED
Hay cuatro razones que explican todos los problemas de parpadeo, zumbido o puntos muertos, solo una de las cuales se atribuye específicamente al atenuador.
- Driver inadecuado. El driver en cuestión no es regulable. Hay muchas bombillas y luminarias LED económicas que dependen de drivers que operan sin funciones de atenuación. Por lo tanto, la atenuación es imposible y el parpadeo, los puntos muertos y los destellos brillantes pueden convertirse en características clave de las lámparas.
- Carga inadecuada. La carga conectada al atenuador debe corresponder a los estándares del atenuador. Por ejemplo, un cierto módulo de atenuación está clasificado para 400 W de salida pero tiene una carga mínima aceptable de 40 W. Por lo tanto, usar solo dos lámparas incandescentes de 5 W crea problemas ya que el atenuador no podrá encenderlas o no se encenderán.
- Control de fase inapropiado. El ruido producido al atenuar el driver se debe a que algunos atenuadores utilizan control de fase para los procesos. Las tecnologías de borde de ataque recortan las ondas delanteras, mientras que las de borde de salida recortan las ondas finales. Una configuración incorrecta del driver resultará en zumbidos y un rango limitado de niveles disponibles para atenuación.
- Cableado incorrecto. En algunas situaciones, las funciones no funcionarán simplemente debido a que un atenuador está diseñado como un dispositivo de tres cables mientras que un circuito de cableado específico es de dos cables.
La cuestión de la compatibilidad es más profunda que una suma de vatios, y la interacción entre el diseño del driver y el tipo de atenuador se expone en esta guía para compatibilidad de interruptores dimmer LED.
Borde de ataque y borde de salida, explicado simplemente
La tecnología de borde de ataque (fase directa o TRIAC) es un método de atenuación que es asequible, robusto y compatible con lámparas incandescentes y halógenas de tensión de línea. En los sistemas de borde de ataque, la corriente se enciende a mitad del ciclo, lo que provoca un aumento repentino en el voltaje. Esta es una tecnología que produce sonidos típicos de zumbido.
La tecnología de borde de salida es un sistema avanzado que funciona bajo el principio de fase inversa utilizando MOSFET. Es más costosa que la de borde de ataque y funciona de manera silenciosa y eficiente con sistemas LED y transformadores electrónicos. La corriente se apaga a mitad del ciclo, lo que no es tan perjudicial para los circuitos del driver y ofrece mejor calidad de sonido.
Hay un método más que no puede llamarse atenuador en absoluto: control 0-10 V o DALI. En este caso, el atenuador comunica el nivel necesario de luz al driver que realiza las tareas. Esta es una tecnología comúnmente utilizada en instalaciones comerciales ya que puede implementarse usando cientos de luminarias e integrarse con los sistemas de control de iluminación. En una casa, solo puede funcionar si la instalación tiene luminarias con un driver atenuable con entrada de control.
Qué buscar en la caja
- La clasificación para LED está claramente indicada. Un ejemplo de esto es una caja con “400 W” escrito, ya que simplemente es un atenuador halógeno con un nombre nuevo.
- Carga mínima: para las unidades recientes clasificadas para LED, esto es de 0 a 5 W; las unidades más antiguas requerirán una carga mínima de 20 W o más.
- Reducción de carga para interruptores múltiples: los interruptores de dos, tres o cuatro módulos típicamente sufren una reducción de carga del 10 al 20%.
- Requisito de neutro, claramente indicado: debe evaluarse y el cable debe verificarse si no está especificado.
- Brillo mínimo ajustable: esta característica realmente vale la pena ya que resuelve el problema del parpadeo a baja luminosidad.
- Norma y marcado: BS EN 60669-2-1 debe estar especialmente marcado según los requisitos de la etiqueta UKCA o CE y los enchufes fabricados para conductores de tamaño 1.5 mm².
Las clasificaciones declaradas, tablas de reducción y capacidades de terminales son parte de la especificación que resuelve disputas en el sitio, y nuestro centro de descargas holds the datasheets for the ranges we build.
Brands and Price Bands
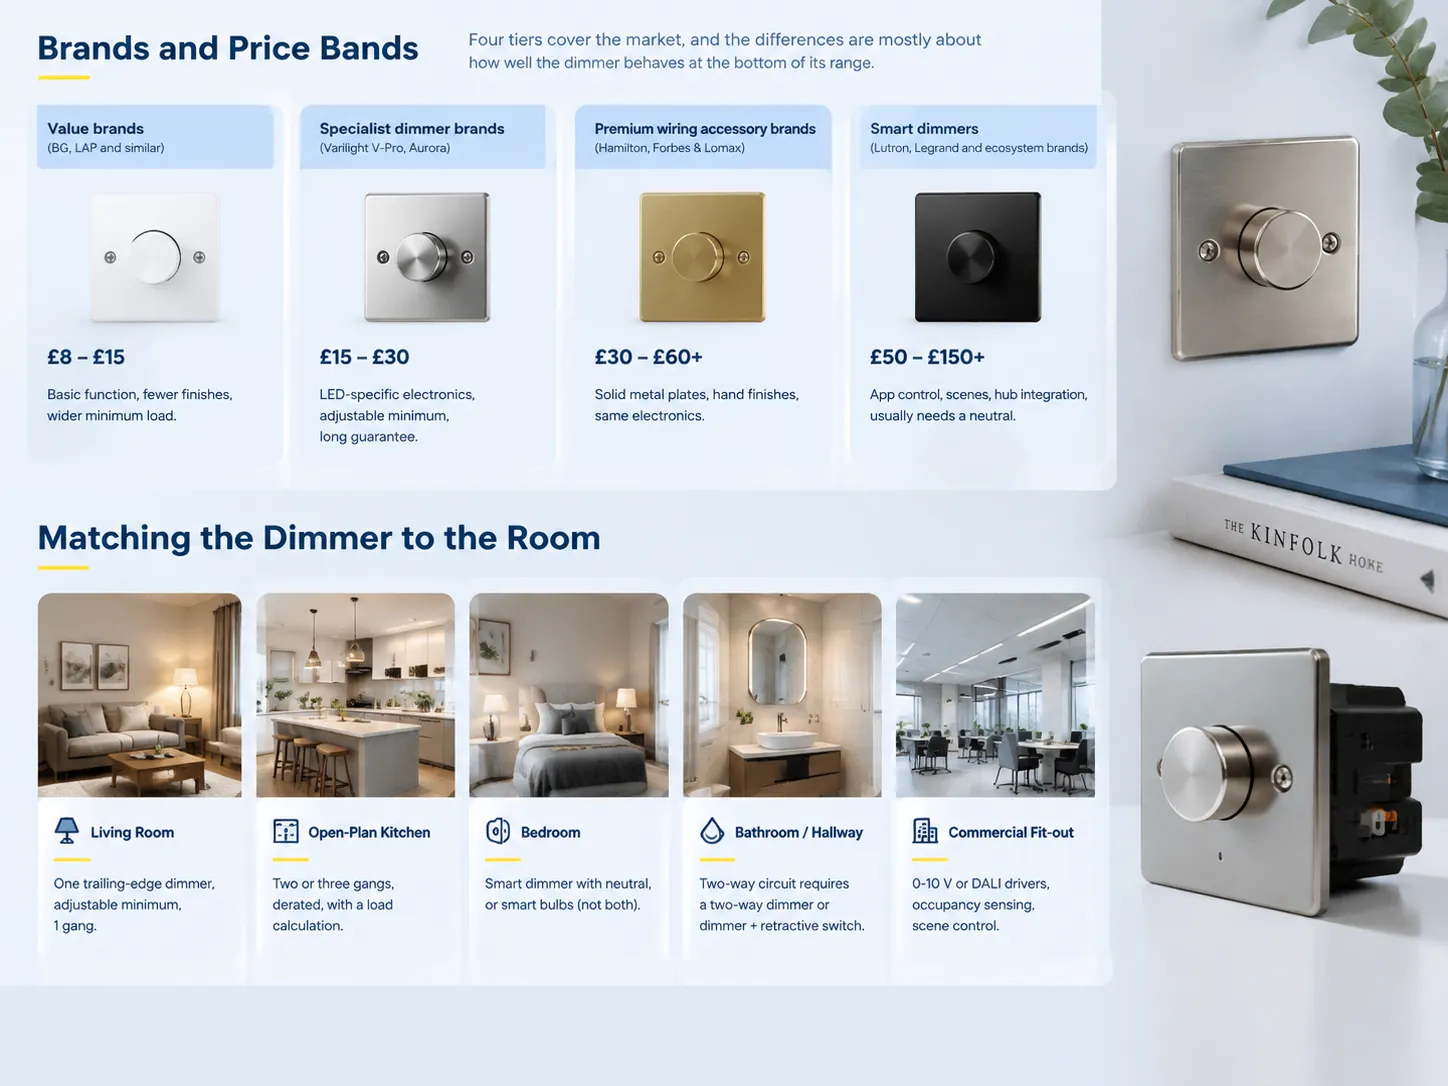
Four tiers cover the market, and the differences are mostly about how well the dimmer behaves at the bottom of its range.
| Nivel | Typical price, 1 gang | What you get |
|---|---|---|
| Value brands (BG, LAP and similar) | £8 to £15 | Basic function, fewer finishes, wider minimum load |
| Specialist dimmer brands (Varilight V-Pro, Aurora) | £15 to £30 | LED-specific electronics, adjustable minimum, long guarantee |
| Premium wiring accessory brands (Hamilton, Forbes & Lomax) | £30 to £60+ | Solid metal plates, hand finishes, same electronics |
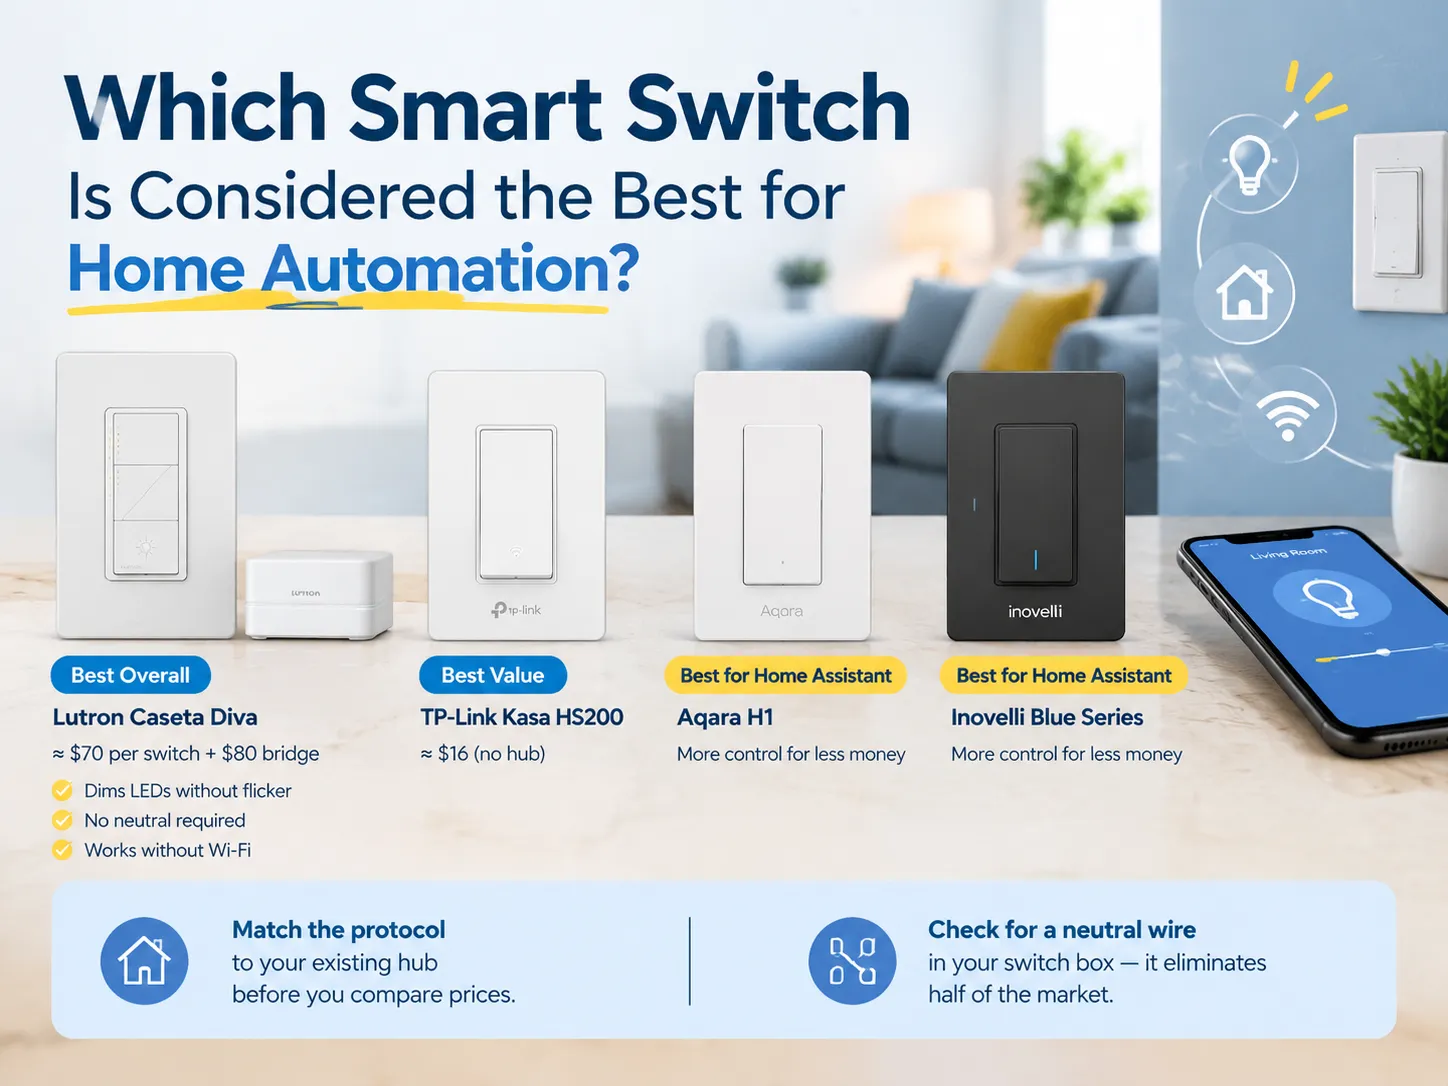
| Smart dimmers (Lutron, Legrand and ecosystem brands) | £50 to £150+ | App control, scenes, hub integration, usually needs a neutral |
One remark from this table. The electronic circuitry responsible for the smooth dimming operation of LEDs has hardly changed in the second and third tiers of the market and therefore an £18 dedicated dimmer often performs better than a £50 plate with standard internals. The cheapest tier is not dangerous, but rather less forgiving, meaning that the minimum load should be greater and the working range – narrower.
The manufacturing side of the same question is what our wall switch factory is built around, because a dimmer module and a switch plate have to be designed together if the plate is not going to buzz.
Matching the Dimmer to the Room
As soon as the technological match is perfect, the decision is about application.
- For the sitting area with few dimmable lamps. Only 1 trailing edge dimmer, which is adjustable for minimum setting and has only one gang. Here, the wattage shouldn’t be overrated and the smaller module should be bought, because the application of 400 W device for the load of 20 W is the case of wrong application.
- How about an open-plan kitchen with more than six fixtures? There must be either two or three gangs, with de-rating and load calculation beforehand, as in this case, the single dimmer rated by the whole load doesn’t work, since in case of three gangs the current reaches less than connected load.
- Bedroom with a smart speaker. It can be either a smart dimmer that has neutral or a traditional dimmer with bulbs that are always turned on. The mix causes the usual problem when the wall switch and the application work against each other.
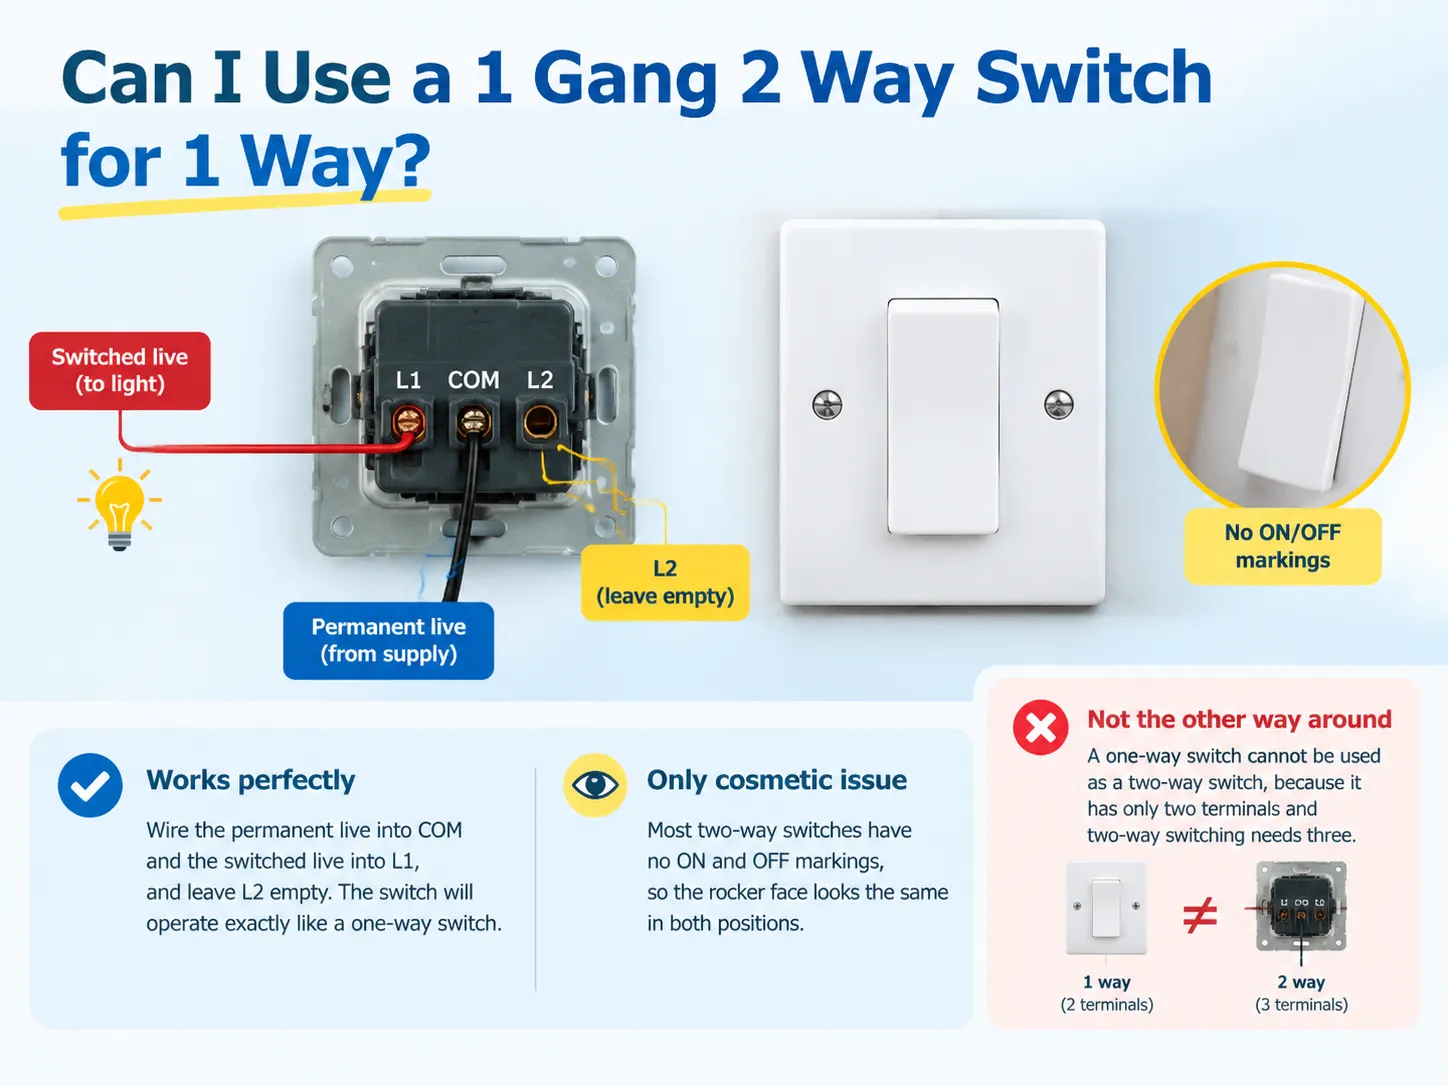
- Bathroom or corridor. The two-way circuit exists if two switches are installed, which means that either the two-way dimmer or the dimmer and the retractive switch should be used. The wiring differs in this case and should be calculated before plastering.
- Business installation. Not a wall dimmer, rather it is a lighting control system with 0–10V or DALI drivers, occupancy detecting and scene control. Thus, the plates act as control panels, rather than energy sources.
Instalación y puesta en marcha
Turning a dimmer into a quality device requires three checks.
- First, set the minimum. Most LED-friendly dimming solutions come with a small adjuster at the back of the cover plate. The key is to set it to just above the point where the flickering stops; it is worthwhile to check again after dark, as the flicker is much more noticeable after dusk.
- Test from maximum to minimum both ways. Turn the dimmer slowly from maximum to minimum and back again while listening. If there is a buzz at high level only it indicates a leading edge dimmer with LED; if there is a buzz at low level, the driver is the culprit.
- Lastly, check the earthing and the torque. The metal cover plate has to be earthed, and loose terminals create a lot of heat that can shorten the life of the dimmer. The wiring sequence and terminal details are in this guide to instalación de un interruptor atenuador.
Where GOG Fits
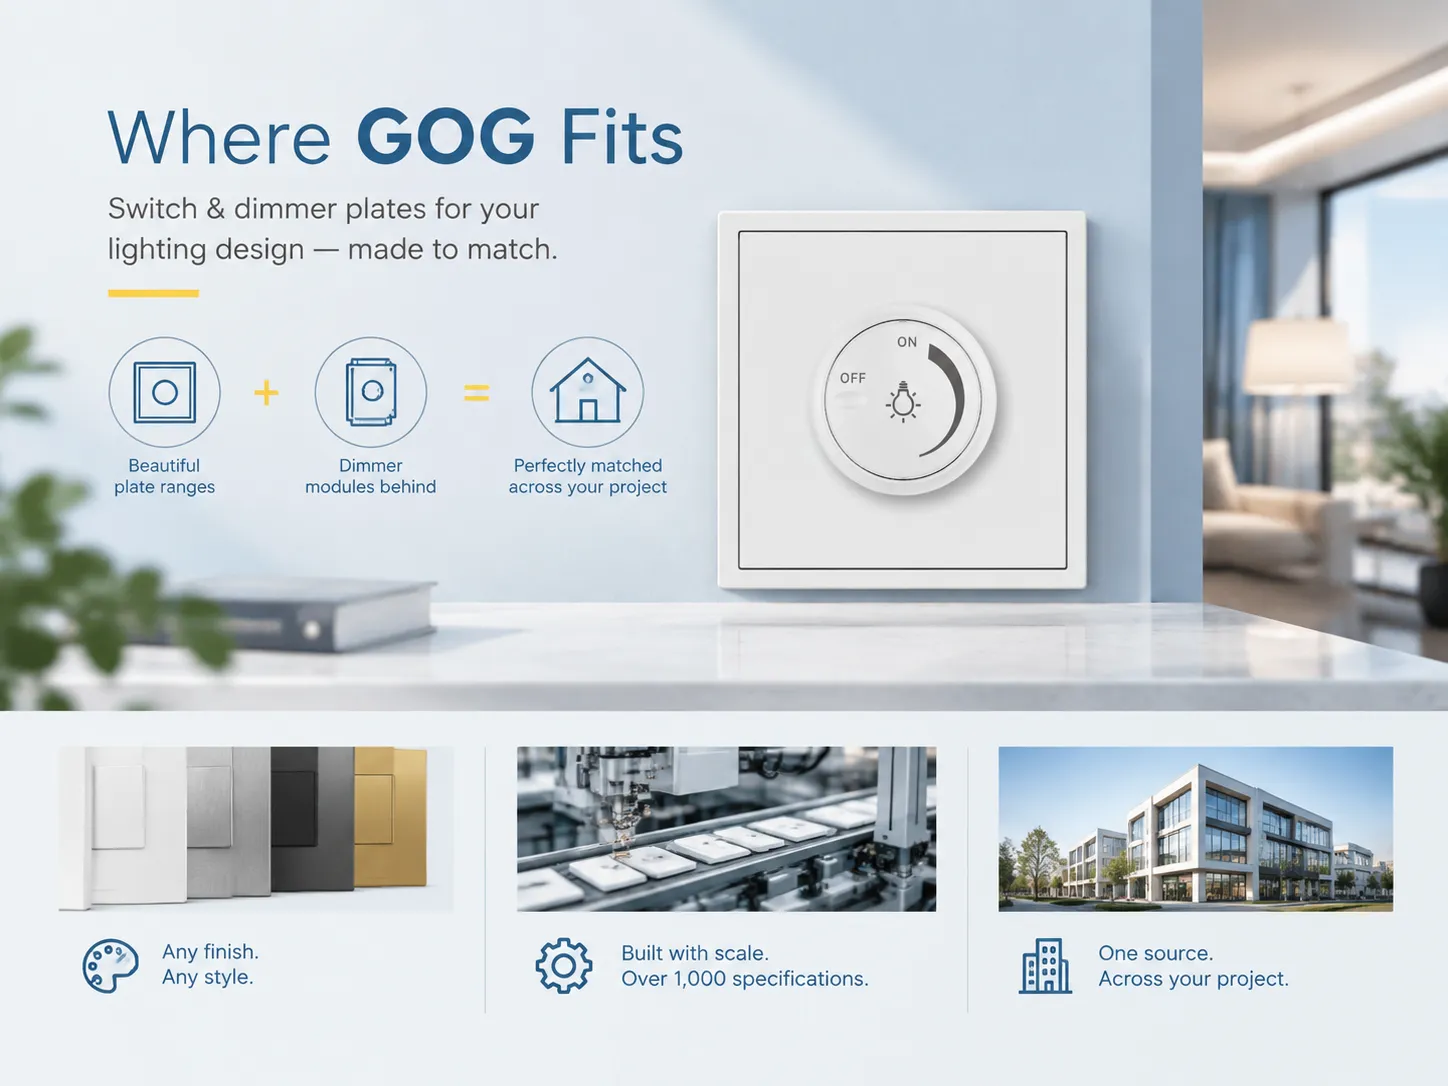
We focus on the production of switch and dimmer plates, rather than dimmer electronics for the general populace, and that is why our true meaning about our status is as follows: If the need is for a comprehensive lighting system, buy it from one of the companies mentioned above. If the requirement is a plate system with a dimmer module behind it, created especially for an entire building and available in the required finishes specified by the designer, that is what we do.
There are more than fifty types of products and more than one thousand types of specifications that are under production in three automation shops, which is the reason behind a project being able to take one dimension of a plate, one size of a screw and one color standard from one supplier rather than three.The engineering side of that is described on our fabricación de interruptores de iluminación página.
Preguntas frecuentes
Do LED lights need a special dimmer?
Yes. In order to use LEDs, it is necessary to have a dimmer that has been specifically made for LED load. This means that it must be a trailing edge dimmer and one that has a minimum low load. A regular dimmer for halogen may work, but it is not the best choice.
Why does my LED dimmer flicker?
Usually non-dimmable driver, load less than dimmer minimum, or incorrect phase control. Verify whether the lamp is dimmable first, then confirm the load is more than minimum, and lastly ensure the correct dimmer type.
Can I use a normal dimmer with LED bulbs?
You can try it, and it might work if you’re using dimmable bulbs and the wattage of the load is adequate. However, results vary from lamp brand to lamp brand; this is part of the reasoning behind the existence of dimmers designed for use with LED bulbs that include adjustable minimum brightness settings.
What wattage dimmer do I need for LED lights?
To find an equivalent halogen rating, multiply the total LED wattage figure by roughly four and select a dimmer whose LED rating more than offsets this figure. A 60 watt LED will require a dimmer rated at around 250 watts LED, rather than the 60 watts rating.
Referencias
- Varilight — V-Pro LED Dimming Technology
- Signify — LED Lamps and Dimming Compatibility
- Legrand — Dimmer Selection and Load Ratings
- U.S. Department of Energy — Lighting Controls and Energy Savings
- NEMA — Lighting Systems and Dimming Standards
Conclusión
It has a trailing edge, LED compatible, low load below 5W, and neutral check before purchasing. Everything else boils down to the finish and app functions.
If the project requires a specific type of module, finish or gang configuration, get in touch with us with the load per circuit and plate series and we will suggest the corresponding module.