Flooring industry is evolving with new technologies and practices associated with it. As such, there are many new ways of doing business that can benefit the future or potential of your company. In this guide, I will explore the current state of the flooring industry, including technology, installation options, materials, and design to give you everything you need to implement new technologies and techniques into your business.
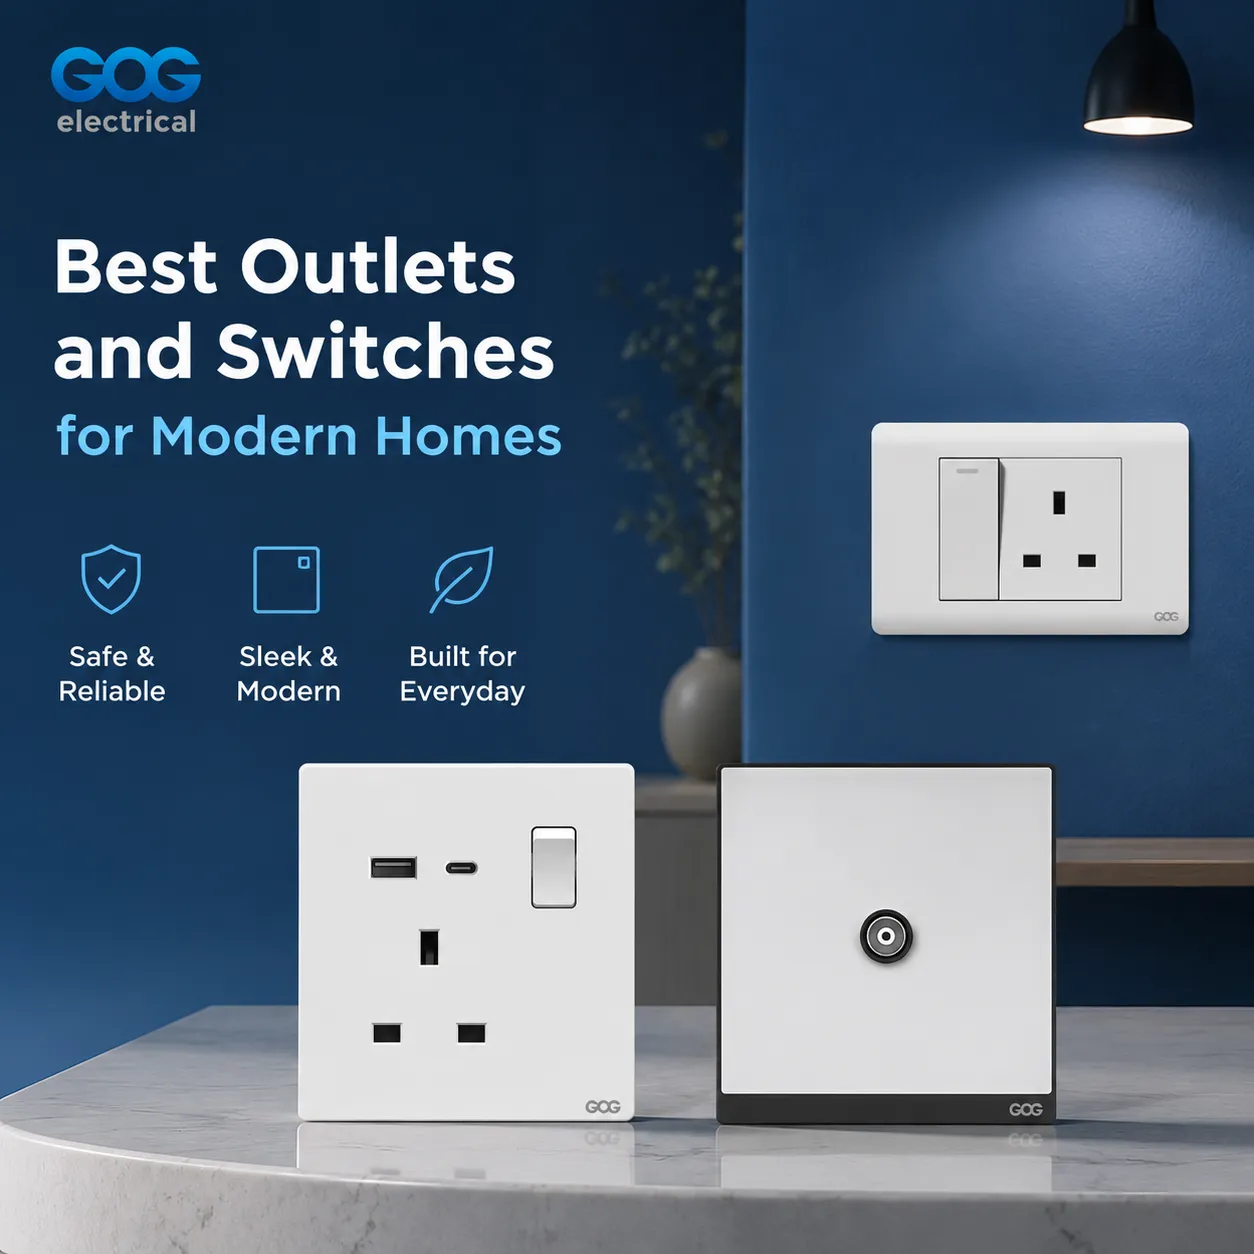
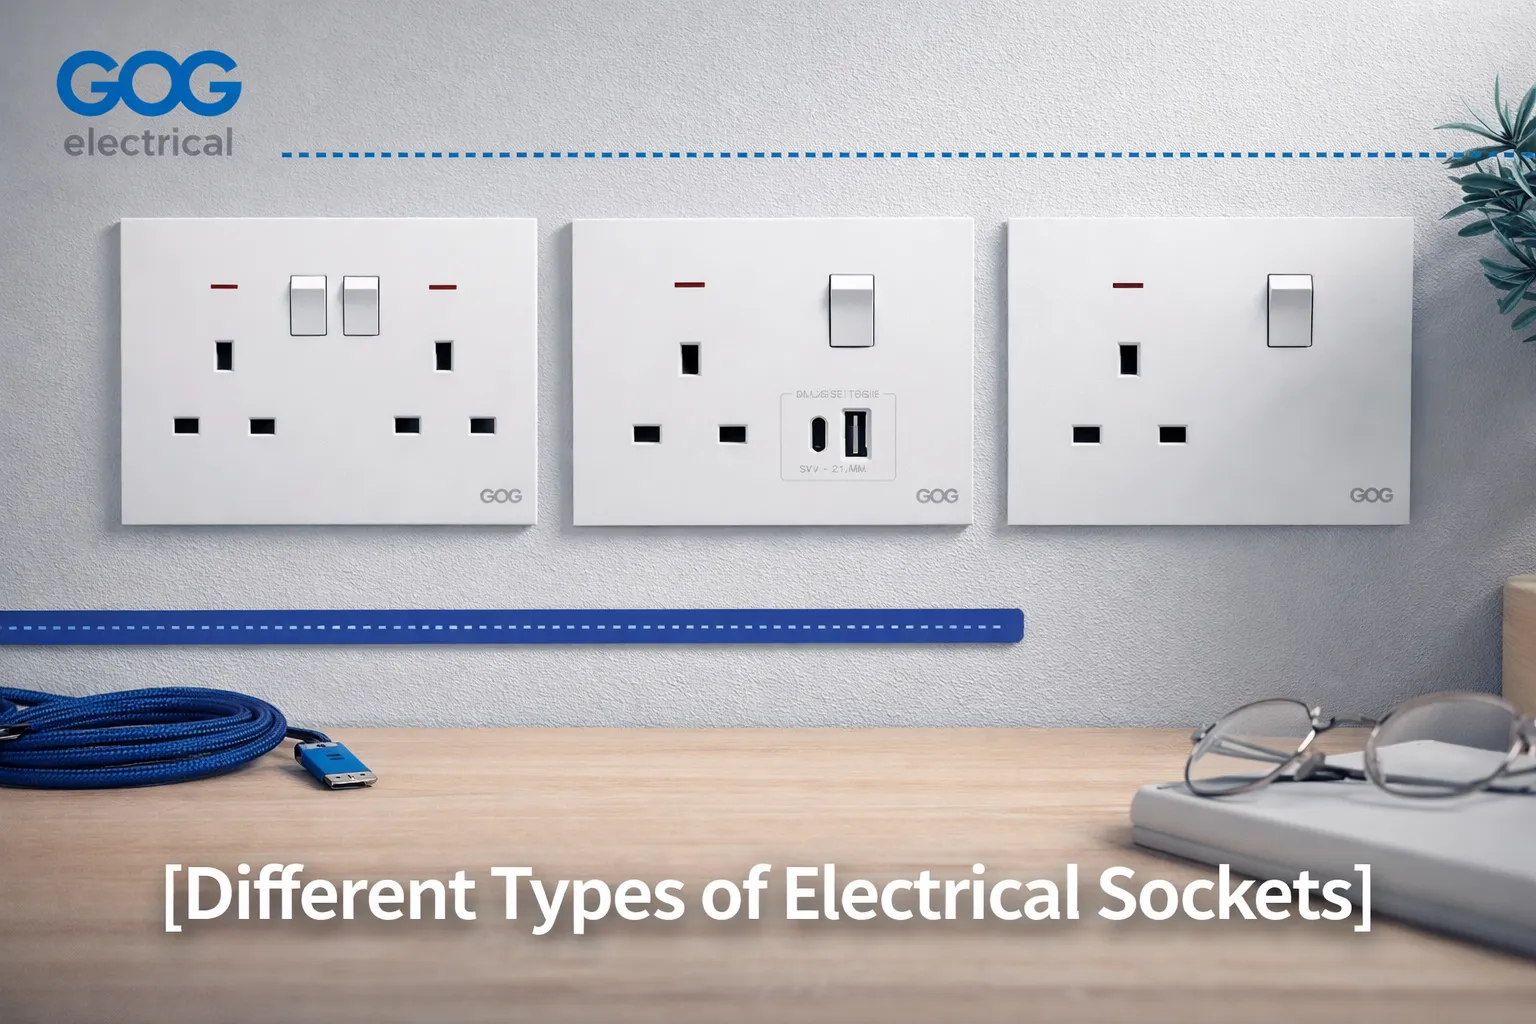
Benefits of Installing Floor Sockets
One of the many benefits of installing floor sockets is the increased versatility of your facility, which will allow you to make full use of all available space (i.e., reducing vertical/radial restrictions), creating a greater number of customers and/or increasing revenue. Floor sockets will enable you to take full advantage of available electrical service (i.e., reducing the amount of time required for electrical service).
Questions Before Installation
When considering whether or not installing floor sockets is right for you, there are some important questions you should ask yourself:
1. Where would the best place to install floor sockets be? This may be near workstations (offices), seating, and any other areas where electrical appliances are located.
2. What type of flooring are you working with? There are many different types of flooring, and each type of flooring requires a different type of installation method.
3. Where are your existing electrical connections? This will help you determine if floor sockets will conflict or conflict with your existing wiring (i.e., will you have to reroute your circuits?).
4. How much customer traffic do you currently have, as well as how high of a volume of employee traffic do you currently have? You may want to install floor sockets only if the volume of traffic is great enough to require them.
5. What is the layout of your facility? The layout of your facility will help you determine how many floor sockets to install. Some facilities have an equal amount of floor sockets on each floor (vertically), while some will have different amounts of floor sockets based on the number of floors (horizontally). Are you following local laws? All building projects must meet relevant construction codes and meet recognized minimum requirements for safety.
6. Do you require help from a professional? While DIY projects like simple wall-mounted fixtures can be completed without help, more complicated electrical installations require a licensed electrician for safety purposes.
Tools and Materials Needed
It is helpful to gather your tools and materials before you install a floor socket. In order to install a floor socket, you will need the following items:
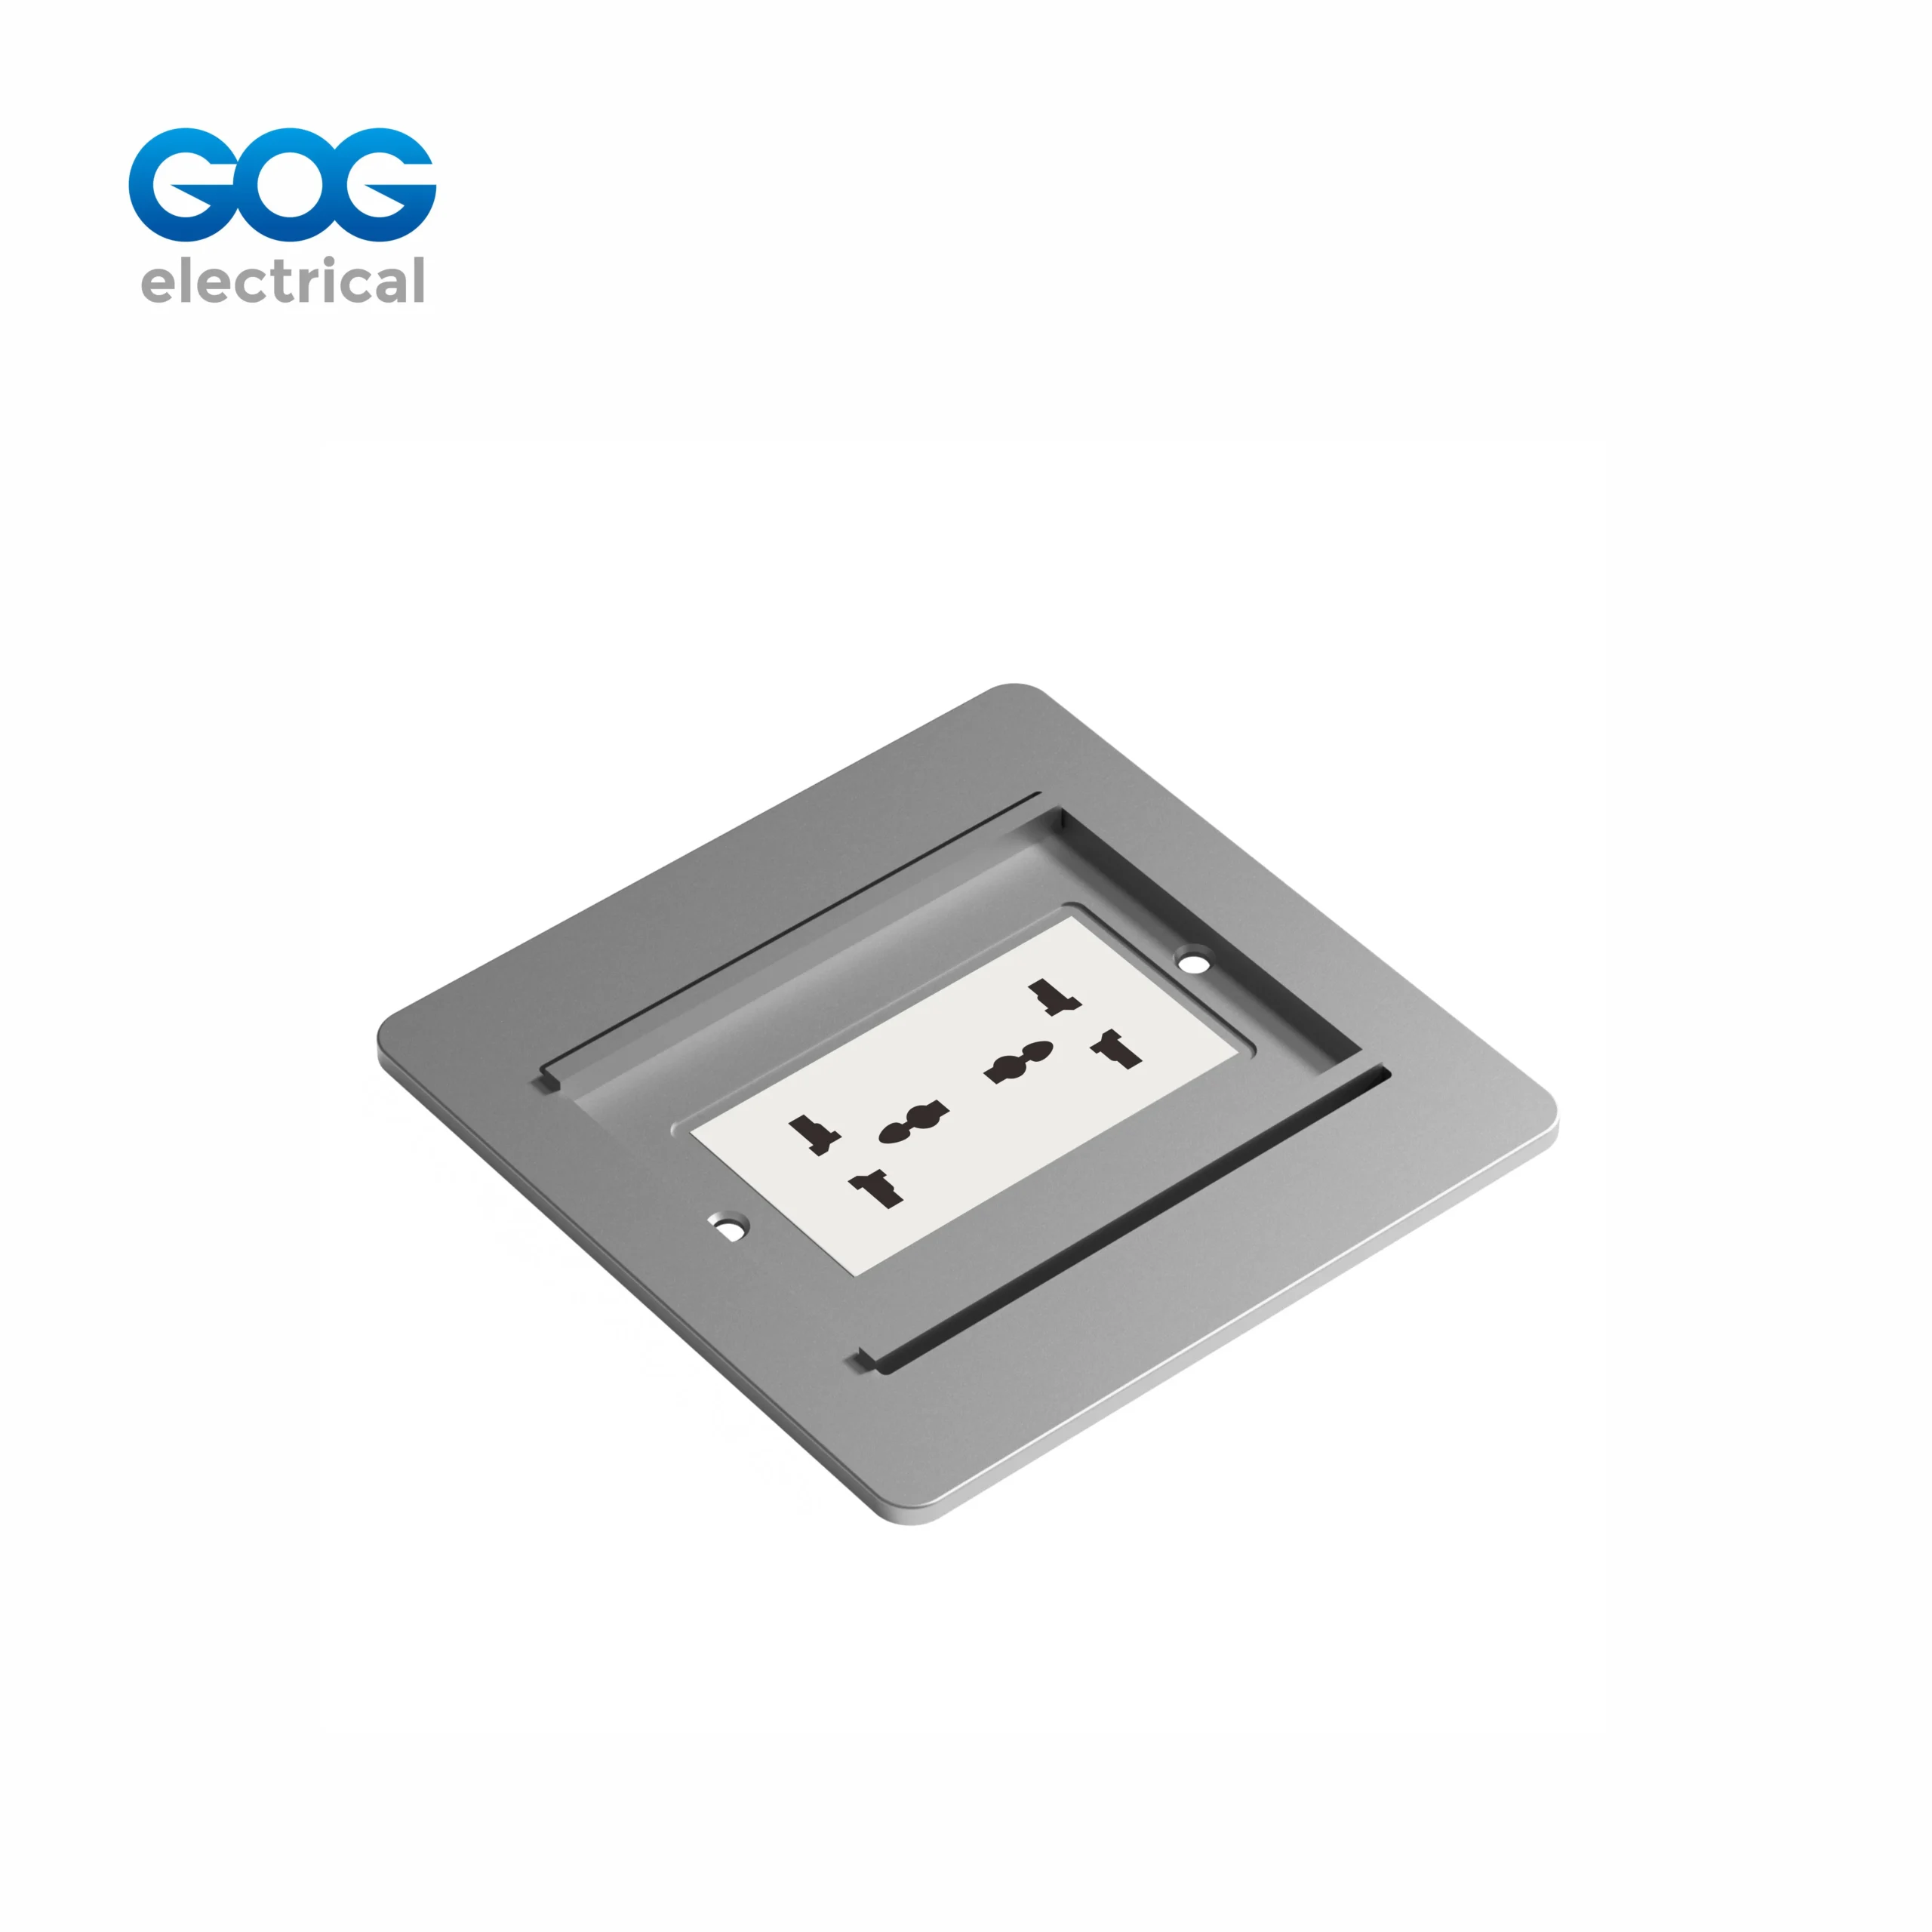
- A floor socket kit (a pop-up or flat floor socket, depending on which type you prefer).
- A power drill with the proper size drill bits.
- A measuring tape.
- A jigsaw or a hole cutter (if your floors are made of wood or carpet).
- A screwdriver.
- A pencil or chalkline (to mark out locations).
- Wire connectors.
- A voltage tester.
- Electrical wire (to connect the floor socket to the electrical panel).
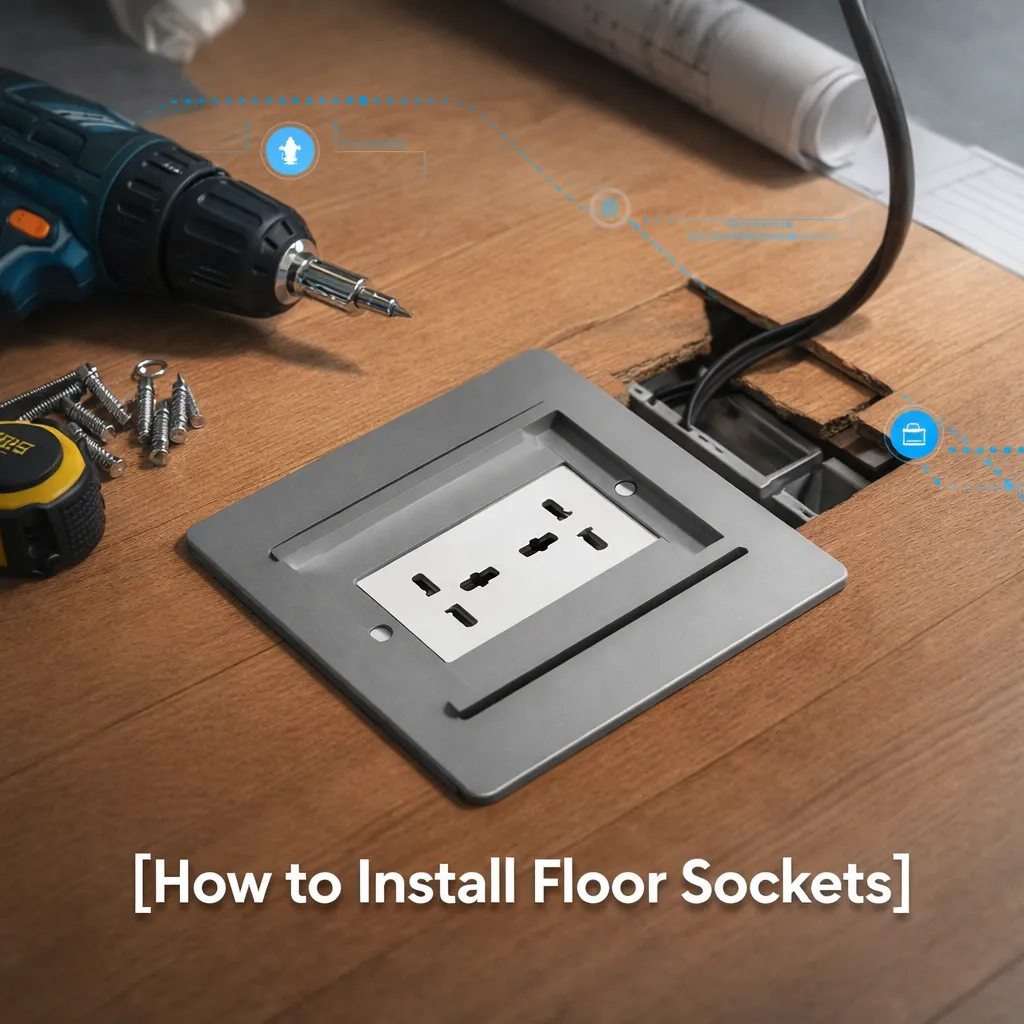
Step-by-Step Installation Guide for Floor Sockets
Step 1: Determine the Location of the Floor Socket
The first thing to do is find the right place to put the floor socket. To find out exactly where to put the socket, you should measure from the walls of the room to where you want the socket and use a pencil and tape measure to mark the exact position of the socket. Then check to see if there is anything in the way that would prevent you from putting the socket in that location, such as floor joists, water pipes, or heating/cooling ducts.
Step 2: Cut a Hole for the Floor Socket
Using a jigsaw or hole cutter, cut a hole for the floor socket. If your floor is made from concrete, you must use a core drill to create the hole. While cutting any type of floor, you should always wear safety glasses and gloves for protection.
Step 3: Connecting the Electrical Wiring
Before you can connect the electrical wiring, you must turn off the power and use a voltage tester to be sure there is no electricity running through the wiring. Next, run the wiring from the nearest available power source to the socket that you prepared. Ensure that the wire you use can handle the voltage load of the socket you will connect it to.
Step 4: Securing the Floor Box
Place the floor box into the hole that you cut out. Use the screws that came with the floor box to secure the box in a snug and tight fit to the floor so it looks seamless.
Step 5: Wiring the Socket
Wire up the socket following the wiring instructions provided in the installation kit. Use wire connectors to make the wires secure and check your connections with a voltage tester before proceeding.
Step 6: Attaching the Cover Plate
Attach the cover plate of the socket to the floor box using screws or clips in such a way that it fits snugly with the surrounding floor surface.
Step 7: Testing the Socket
After turning the electricity back on, test the socket by plugging something into it. If it works properly, double-check that none of the wires are loose or causing the receptacle to become too hot.
FAQs About Floor Sockets
Are floor sockets a good idea?
Yes! They are an excellent and super convenient way of reducing clutter and giving you access to power. They are particularly great in contemporary or open-concept homes where using wall-mounted sockets would not look as good.
What’s the cost to install a floor socket?
The costs can vary widely depending on many factors, including how difficult the installation is (how thick your flooring is), how easy the wiring is, and whether or not you decide to use an electrician to install your floor sockets. Generally, you can expect to pay somewhere between $100-$300 each for the floor socket itself, and an additional cost (labor) from your local electrician will vary from place to place.
How does a core drill work for installing floor outlet boxes into concrete?
If you’re going to install an outlet box in concrete, you’ll need to have the right equipment, tools, and methods to do so. To get started, select and mark the hole where the floor outlet box will be installed, then drill the hole with a core drill bit and clean the hole edges before installing it in position. If this seems like too much work for you or beyond your skill level, contact an experienced electrical contractor to help with your installation.
Maintaining and Caring for Floor Sockets
The following are ways to maintain your floor sockets and ensure that they stay functional for years:
- Regularly cleaning/replacing the cover plate to avoid buildup of dirt and dust.
- Conducting an annual inspection of the socket wiring to ensure that they are safe and functioning properly.
- Avoid overloading the outlet so that it doesn’t cause overheating and damage to your floor outlet and surrounding areas.
- If the floor outlet is installed outside, ensure that it is watertight and that the seal is checked/maintained on a regular basis.
Overall, if you decide to add floor outlets to your home or office, you’re making a valuable addition by including them. By utilizing the installation steps and recommendations outlined above, you can install your floor sockets safely and effectively. For more complicated arrangements, you should hire someone who can do this for you without any issues. As long as you take care of your floor outlets, you should continue to benefit from them for many years to come and enjoy the great features that make them such a great modern upgrade to your home and office.