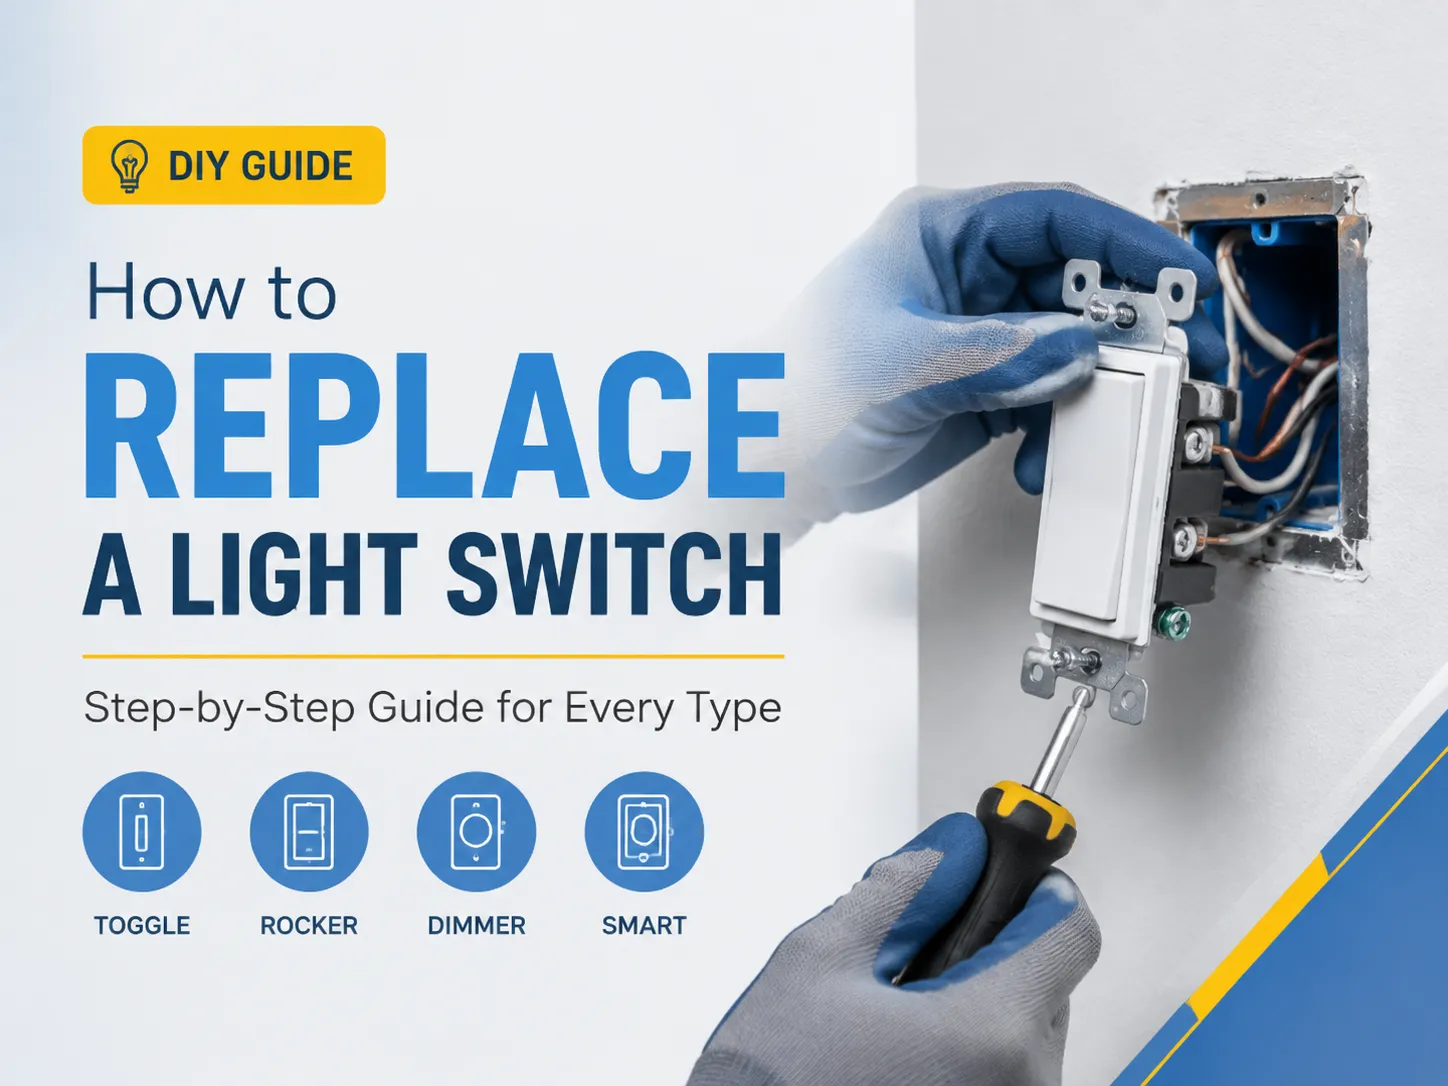
If your old switch is broken, doesn’t function properly, or if you simply want to upgrade to a more stylish model for your kitchen, an electrical switch replacement is one of the most fulfilling and easiest DIY tasks you can do. The process itself is quick and doesn’t cost more than a few dollars for the parts involved, but you must adhere to the steps involved if you wish to succeed. The following guide explains all necessary steps: preparation, safety precautions, proper removal and installation, differences between different switch models, common damages made during the process, and when to hire an electrician.
The answer is yes, you can do the light switch replacement with your own hands—this is not a hard job for someone who knows how to work carefully: simply turn off your circuit breaker, test if the voltage is off, take off the old switch, take a photo of the wiring, take out the wires, insert them into the new switch in the same order they were in the old switch. In case you have a single-pole switch, it does not matter which wires go where; in case you have a 3-way switch, the common and travelers have to be in the same way they were before.
What to Prepare Before You Start
Make sure you confirm three factors before beginning work:
- Ensure the new switch is of the same type as your old one; either a single-pole switch must be replaced with another single-pole switch or a three-way switch with another three-way switch (or you’ll have to know more about the switching configuration).
- Ensure the new switch will fit into your existing electrical wall box (note that smart switches and dimmers are larger than conventional switches and switches are approximately 1 inch deep).
- Confirm the location of the breaker (find out which circuit operates the switch you will be working with and make sure that it is powered off).
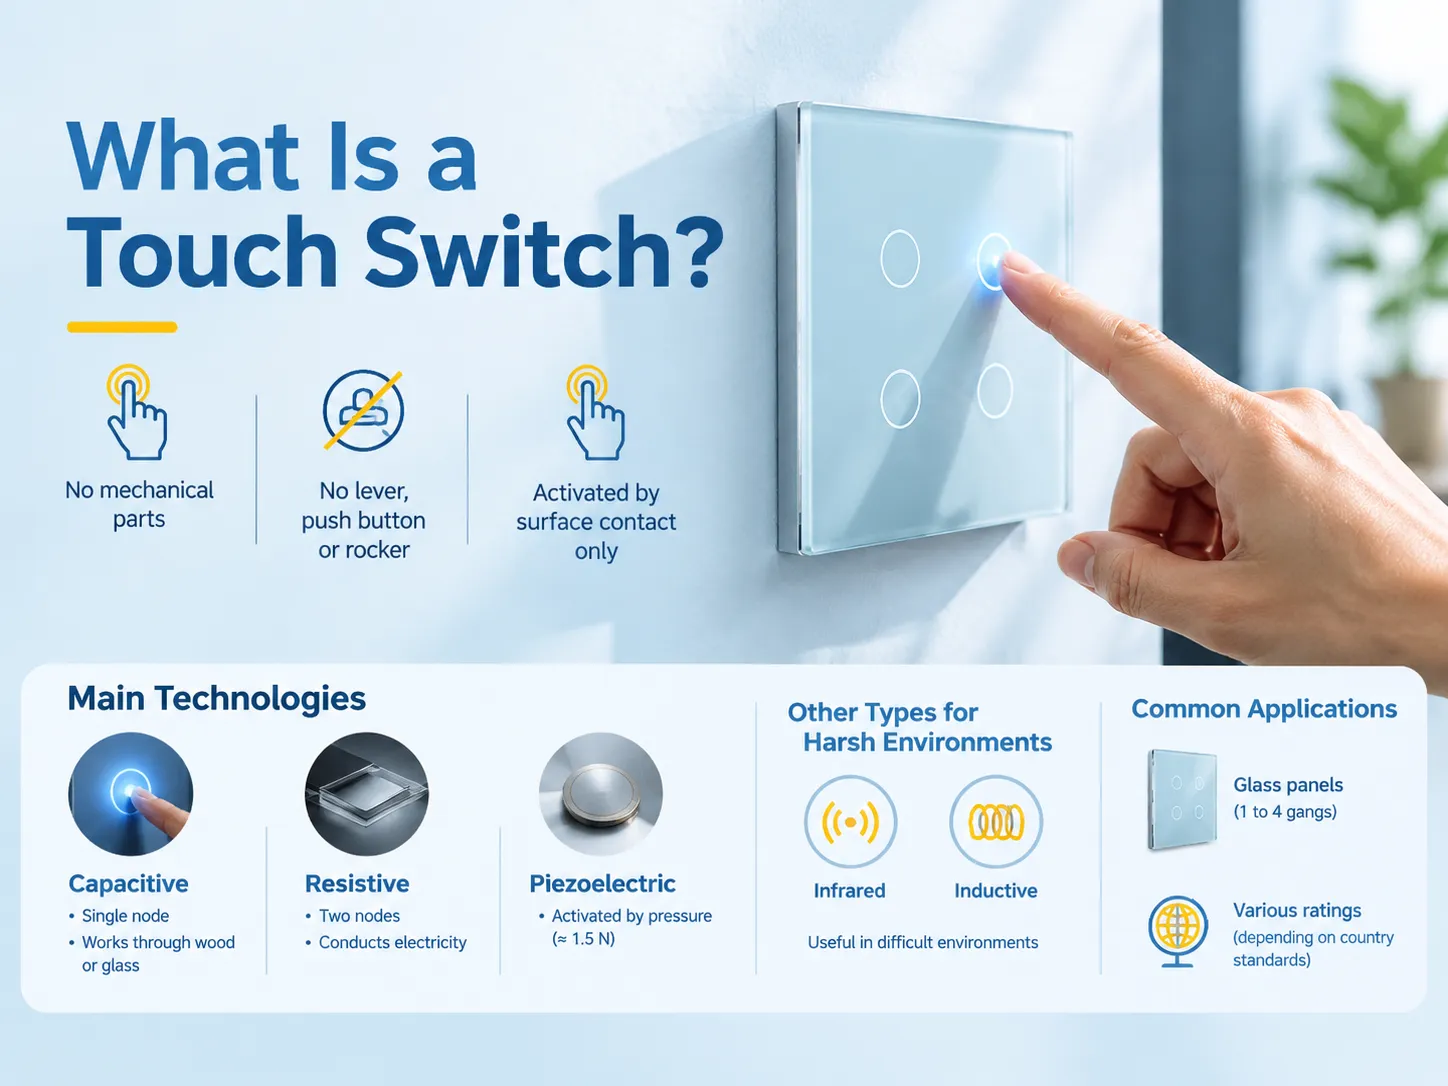
Also, consider whether you are replacing a switch with a new one of the same type (like-for-like replacement) or if you are upgrading a switch or moving from a plain switch to a dimmer switch or smart switch (which will have wiring implications with the dimmer/load compatibility and whether or not you have a neutral wire).
The Complete Tool List
| Tool | Why You Need It |
|---|---|
| Voltage tester (non-contact or multimeter) | The most important tool — verify power is off |
| Flathead screwdriver | Remove the faceplate screws |
| Phillips screwdriver | Most switch terminal screws |
| Wire stripper/cutter | Strip and cut wires if needed |
| Needle-nose pliers | Bend wire hooks and pull wires |
| Phone/camera | Photograph the wiring before disconnecting |
| Flashlight | Boxes are dark and shallow |
That’s the entire kit — no special skills or exotic tools required for a basic replacement.
Safety First: The Rules That Never Change
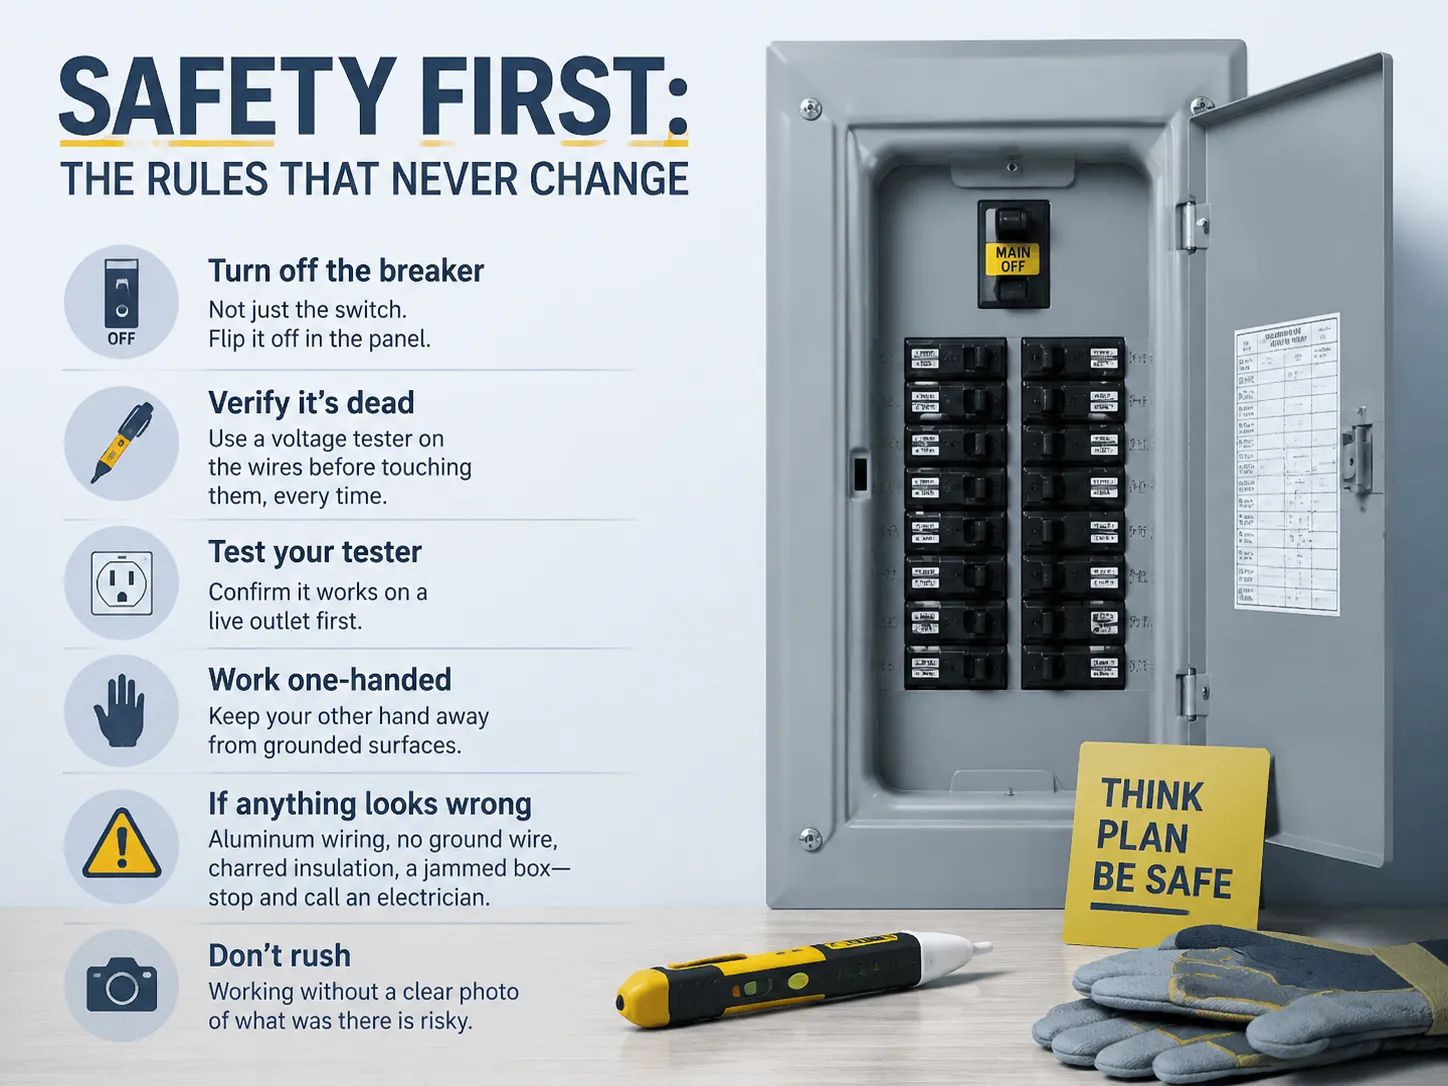
- Ensure the breaker is off — not just the switch. Identify the switch from the panel and switch it off.
- Verify the circuit is inactive — use the voltage tester on the wires before you contact them.
- Test the device you intend to use — make sure the tester works on a live outlet before you proceed.
- Use one hand whenever possible in the box — this keeps your other hand away from grounded surfaces.
- If something appears unusual — for instance, if the insulation is burnt or the box is jammed, stop working and call an electrician.
- Take your time — the major reason for mistakes in wiring is not examining visual representations adequately.
Identify Your Switch Type First
Open the faceplate and look at the wiring before buying anything:
| Switch Type | How to Recognize It |
|---|---|
| Single-pole (SPST) | 2 screw terminals + ground; controls the light from one location |
| 3-way | 3 screw terminals (common + 2 travelers) + ground; two switches control one light |
| 4-way | 4 terminals; three or more switches control one light |
| Double-pole (DPST) | 4 terminals; switches a 240V circuit’s two hots |
| Dimmer | Usually 2 terminals + ground (or 3 for 3-way dimmers); knob/slider/paddle |
| Smart switch | Same terminal patterns + neutral connection + antenna/wires |
If you’re unsure, count the terminals and photograph them — that photo will guide the whole job. When in doubt about what you have, our guide to the four types of light switches helps you identify it.
Removing the Old Switch
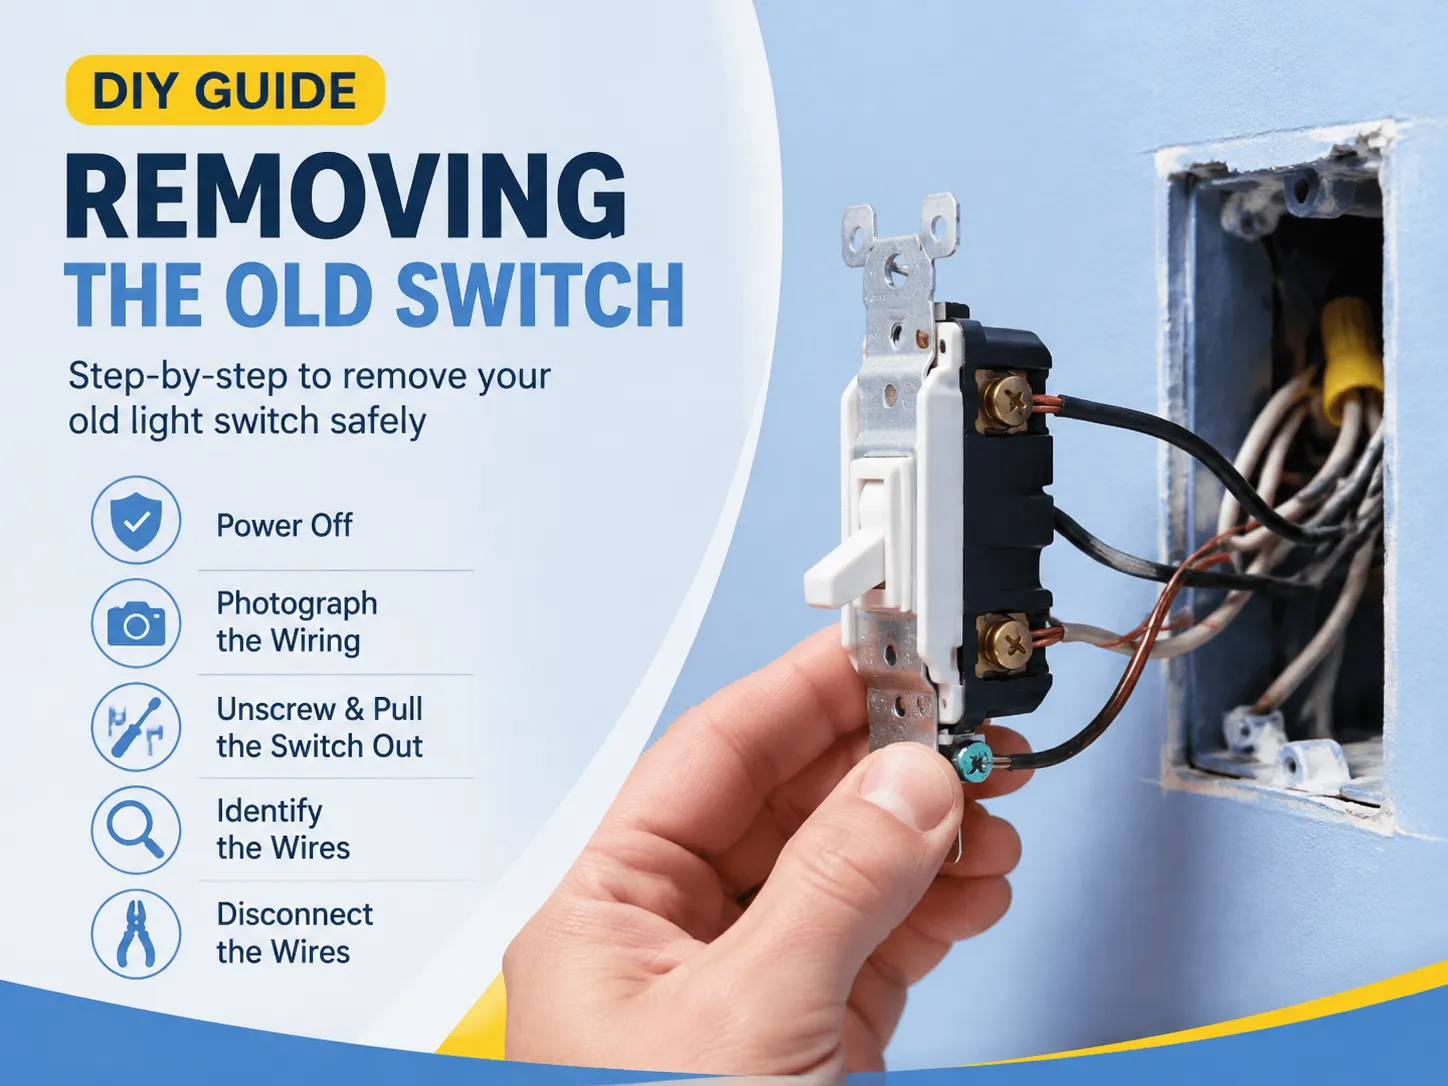
When confirmed that there is no power:
- Remove the covering: there are usually one or two screws; remember where they are put.
- Take a photo of the wiring: this is the step that is skipped and which people regret later on; show which wire goes to which terminal.
- Take the switch out, loosening the screws on the top and the bottom of the switch (the screws are used to attach the switch); pull the switch body by the tabs.
- Identify the wires that the switch has: in the case of a single-pole switch, there are two wires attached to the brass terminals (line and load) and a ground (bare copper or green). There might be other wires in the box; the wires that are attached to the switch are the ones that are important.
- Disconnect the wires: loosen the screws and take off each wire. Make hooks straight, using pliers to help you.
Connecting the New Switch
For a regular single-pole switch (which is what most of us would be familiar with):
- Strip the wires if there is a need for it — approximately ½ to ¾ of an inch of bare copper wire (as was the case with the old switch).
- Make hooks — using pliers, bend every wire in the clockwise direction so that screws grab the wires when in the position of tightening.
- Join the two hot wires by connecting one of them to every brass terminal. The fact is that there is no right or wrong way to do this with a single-pole switch as with it you only have to open or close the circuit.
- Connect the ground wire — either bare copper wire or green wire should be connected with the green screw and if there is a pigtail ground, make sure to connect it there.
- Tighten screws well — they should not be loose; loose terminals are the main cause of overheating of switches.
Mounting & Testing
- Put the wires in the box in such a manner that they are folded neatly, not crammed in. Keep the switches flat in position.
- Fasten the switches onto the box using a top and bottom screw in a straight and tight way.
- Attach the faceplate to the switches.
- Switch on the power at the breaker.
- Test the switch; if it has worked properly, then 3-way testing should be performed at both locations. If it does not work, or the breaker trips, switch off the power and double check the wiring to ensure it has been done correctly.
How Each Switch Type Differs
- Dimmer: same two terminals as a single-pole, but check load compatibility — LED dimmers must be LED-rated, and the total wattage must be within the dimmer’s rating. Our LED dimmer compatibility guide covers the matching logic.
- In the case of three-way switches, the common wire needs to be connected in the same manner as the wire used in the previous switch. Make sure you conduct tests in both locations after the installation.
- Smart switch: usually needs a neutral wire at the box (many modern boxes have one tucked behind) and a deeper box; some models need a hub. The neutral vs non-neutral smart switch guide explains what to look for before buying.
- For four-way switches, the same steps would apply except there is a higher number of wires involved. It is best to first capture the images of the wires so that there are fewer chances for errors in reconnection.
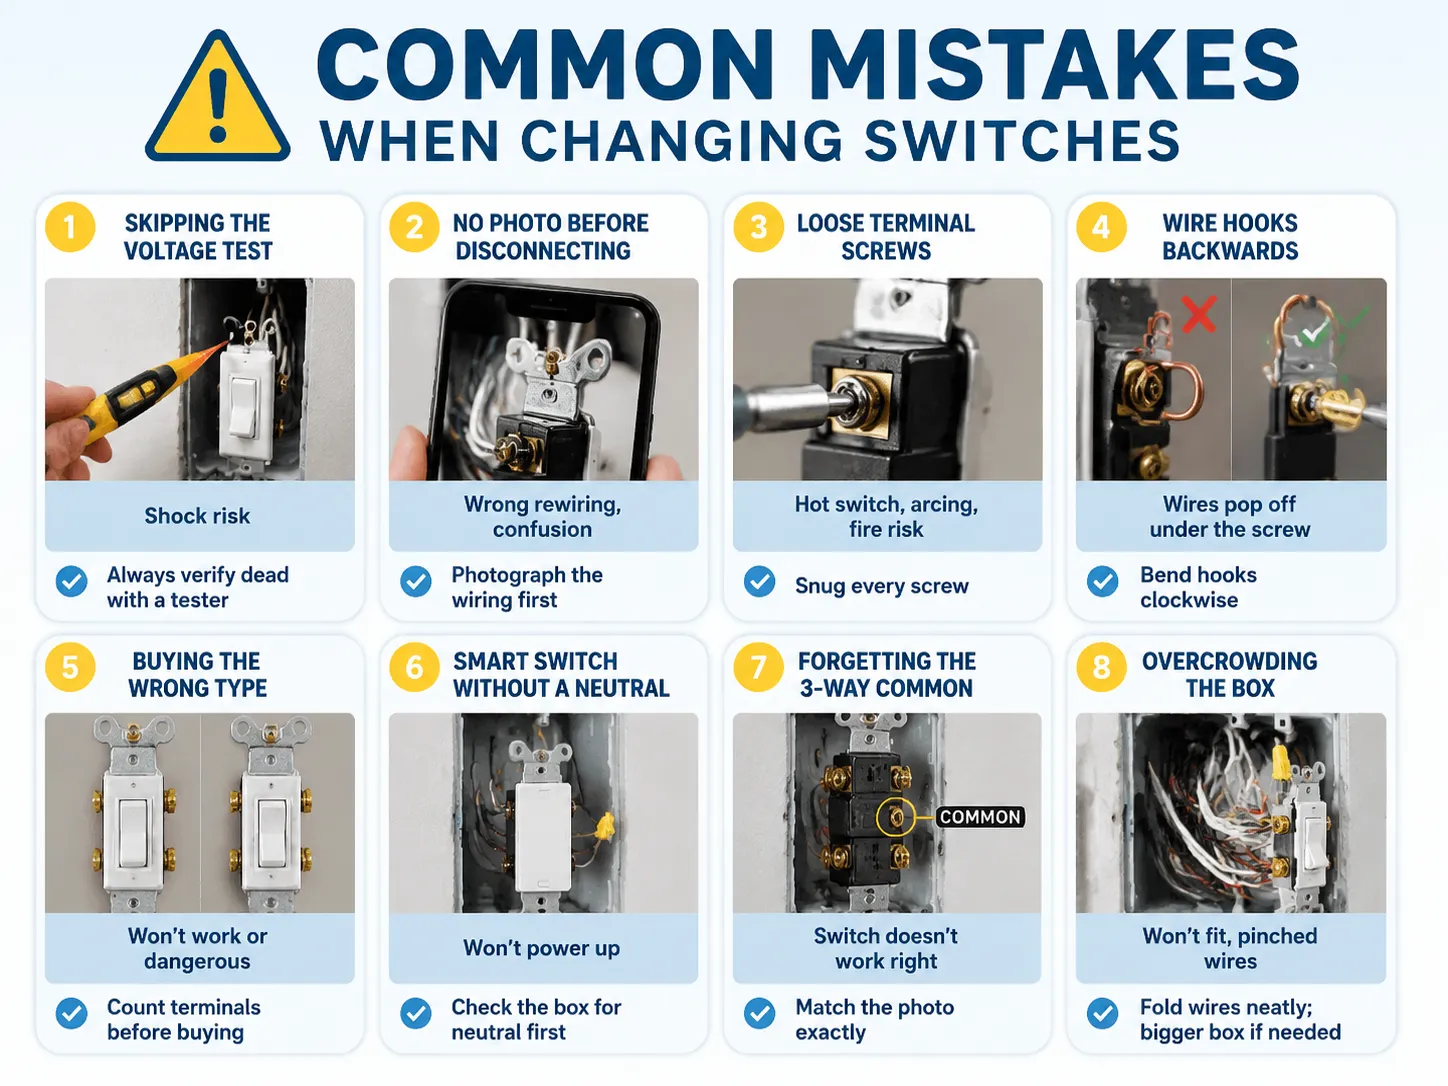
Common Mistakes When Changing Switches
| Mistake | Result | Prevention |
|---|---|---|
| Skipping the voltage test | Shock risk | Always verify dead with a tester |
| No photo before disconnecting | Wrong rewiring, confusion | Photograph the wiring first |
| Loose terminal screws | Hot switch, arcing, fire risk | Snug every screw |
| Wire hooks backwards (counterclockwise) | Wires pop off under the screw | Bend hooks clockwise |
| Buying the wrong type (single-pole vs 3-way) | Won’t work or dangerous | Count terminals before buying |
| Smart switch without a neutral | Won’t power up | Check the box for neutral first |
| Forgetting the 3-way common terminal | Switch doesn’t work right | Match the photo exactly |
| Overcrowding the box | Won’t fit, pinched wires | Fold wires neatly; bigger box if needed |
When to Call an Electrician
If you notice any of the following cases, take a break and consult with someone who knows about it.
- Aluminum cables (silver wires marked AL) – require specific devices and installations.
- No earth wire in the metal box – with older systems, it is possible that grounding is non-existent.
- Burnt up insulation, black marks – indicative of a more serious issue.
- More wires than you anticipated or something that confuses you.
- Changing a 4-way switch or double-pole switch if you are in a state of doubt.
- If the breaker keeps tripping even after it has been changed, the issue is likely deeper than the switch.
Cost: DIY vs Electrician
| Item | Cost |
|---|---|
| Standard single-pole switch | $2-$8 |
| Dimmer switch | $10-$40 |
| Smart switch | $15-$50 |
| Voltage tester (one-time) | $10-$30 |
| DIY total (typical) | $2-$50 + 30 minutes |
| Electrician call-out | $75-$150 (typically $50-75 labor + parts for a simple swap) |
It is evidently less costly to use the do-it-yourself (DIY) method for a basic repair; and with the safety measures noted, it is well worth the effort. However, for jobs which are slightly more complicated, hiring a certified electrician for anywhere between $75-150 can be worth the money.
Frequently Asked Questions
Can I replace my light switch myself?
Indeed, changing a standard single-pole switch is something that anyone could do without prior experience. Just shut off the circuit and make sure the power is off, take a photo of the existing connections, remove the switch, connect the new switch (the color of the wire does not matter), and reinstall the switch plate. The entire process takes no more than 30 minutes and will cost $2 to $8. When it comes to 3-way switch or any other special devices or materials (such as aluminum wires or no ground), it is better to consult with a professional or read more about the working procedures.
What are the common mistakes when changing switches?
The important mistakes include: not taking a voltage reading, failing to take photos of the wiring before disconnecting, not tightening the terminal screws, making hooks twist counterclockwise, getting the wrong kind of switch and putting a smart switch where there is no neutral wire. On three-way switches, the error is reversing the common wire. However, taking a picture and bringing a manual with you is enough to guarantee that the mistakes won’t happen.
How much would an electrician charge to change a light switch?
Generally, a simple replacement may cost between 75 and 150 USD. This amounts to the service call and/or minimum charge (50-100 USD), in addition to some labor cost and the part defect (2-25 USD). More complicated situations require a lot more financing, e.g., 3-way and smart switch wiring where neutral is missing, old wiring. The cost of a do-it-yourself activity for the replacement may be 2-50 USD and it takes approximately 30 minutes, given that the wiring is done according to standard.
When replacing a light switch, which wire goes where?
In the case of a single-pole switch, the connections can be made using either hot wire; it makes no difference because the purpose of the switch is to either allow or prevent flow of electricity. The ground wire will always go to the green screw. However, in the case of a 3-way switch, the common wire should be connected to the COM terminal (often marked with a darker screw) and the two traveler wires should be connected to the other terminals. The position of switching terminal wires must match their previous positions exactly. In case you are not sure about any details, make sure to take a picture before removing the wires and use the wire stickers.
References
- NFPA 70 (NEC) — Article 404 Switches, Installation Requirements
- OSHA — Electrical Safety for DIY and Workplace Tasks
- UL — UL 20 General-Use Snap Switches Standard
- IEC 60669 — Switches for Household and Similar Fixed Installations
- Leviton — Switch Installation and Wiring Resources
- Angi — Electrician Pricing Guide for Switch Replacement
Conclusion
One of the easiest occupations you may do around the house is to replace a light switch. This is done by gathering necessary tools, turning off the power, taking a picture of the wiring, removing the old switch and putting in the new one, making sure the positions of the 3-way switches and the grounding are the same. It costs $2-50 if you do it yourself or $75-150 if you hire an electrician, and the entire process will take about thirty minutes of your time. Despite that, the safety regulations must be complied with strictly, and the common mistakes you may encounter can be avoided.