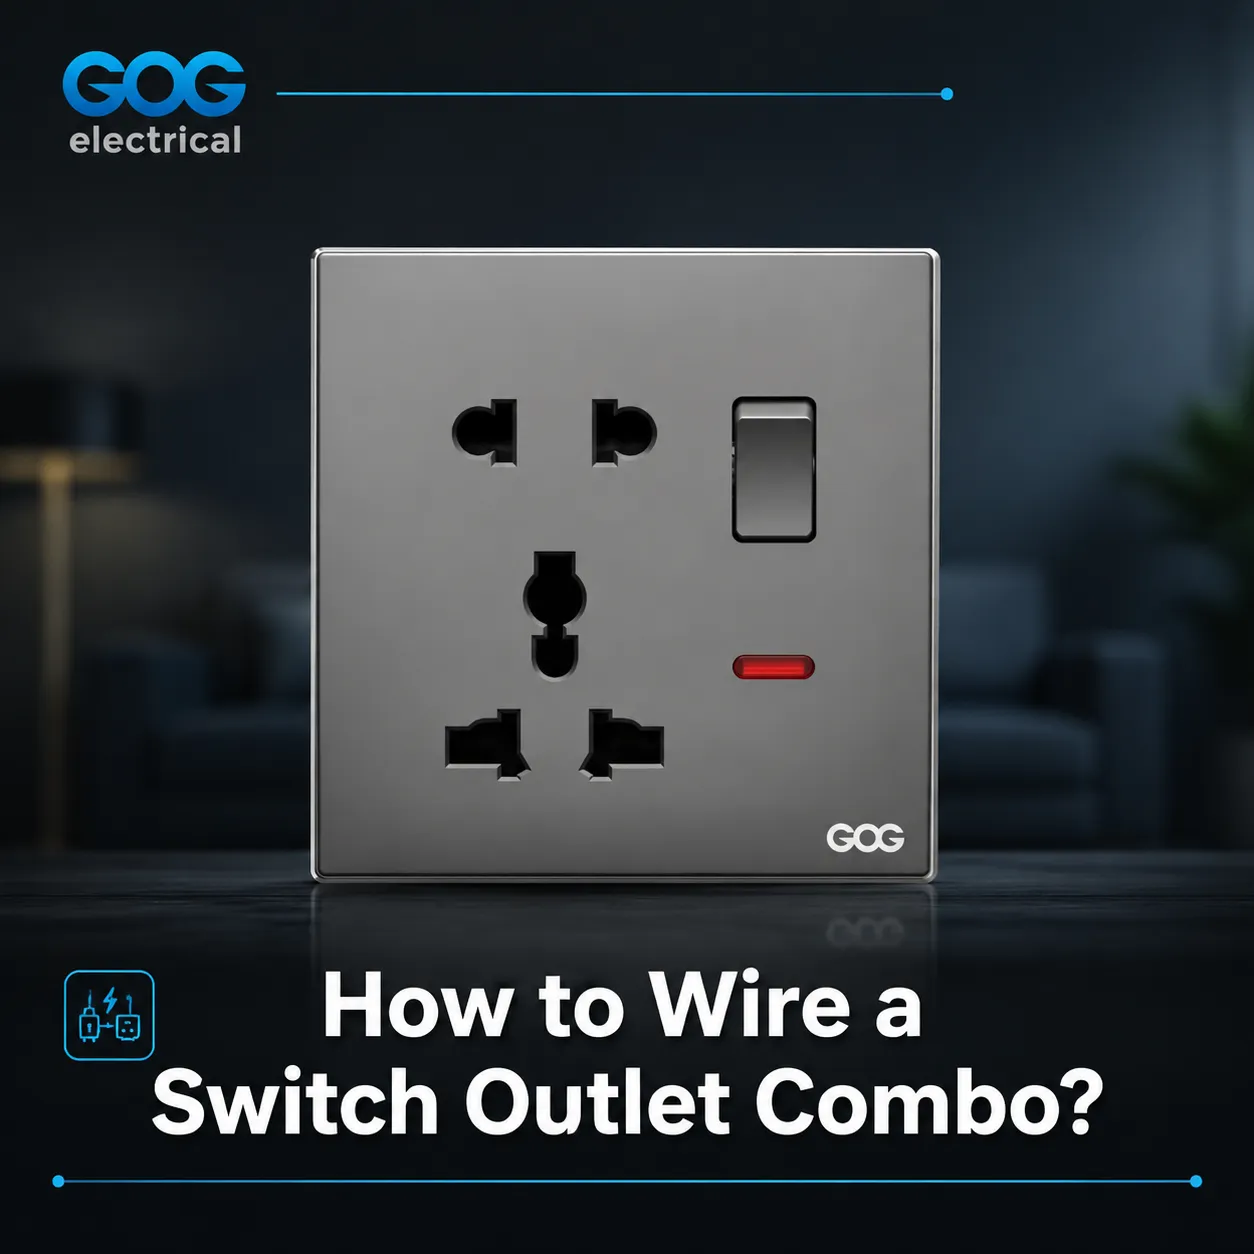
The combination switch/outlet offers maximum flexibility by allowing you to control a light fixture and have access to an available electrical outlet from one location. Combination switch/outlet units take up less space than separate switches/outlets, which is why they are in such high demand in contemporary homes with limited areas where function matters a lot, like in bathrooms or kitchens or offices that may be restricted in terms of space as well. In this guide, we will go through the proper wiring method for your combination outlet/switch unit; provide a list of benefits associated with using them; and answer questions you may have regarding this type of installation.
What Are Combination Switch Outlet Devices?
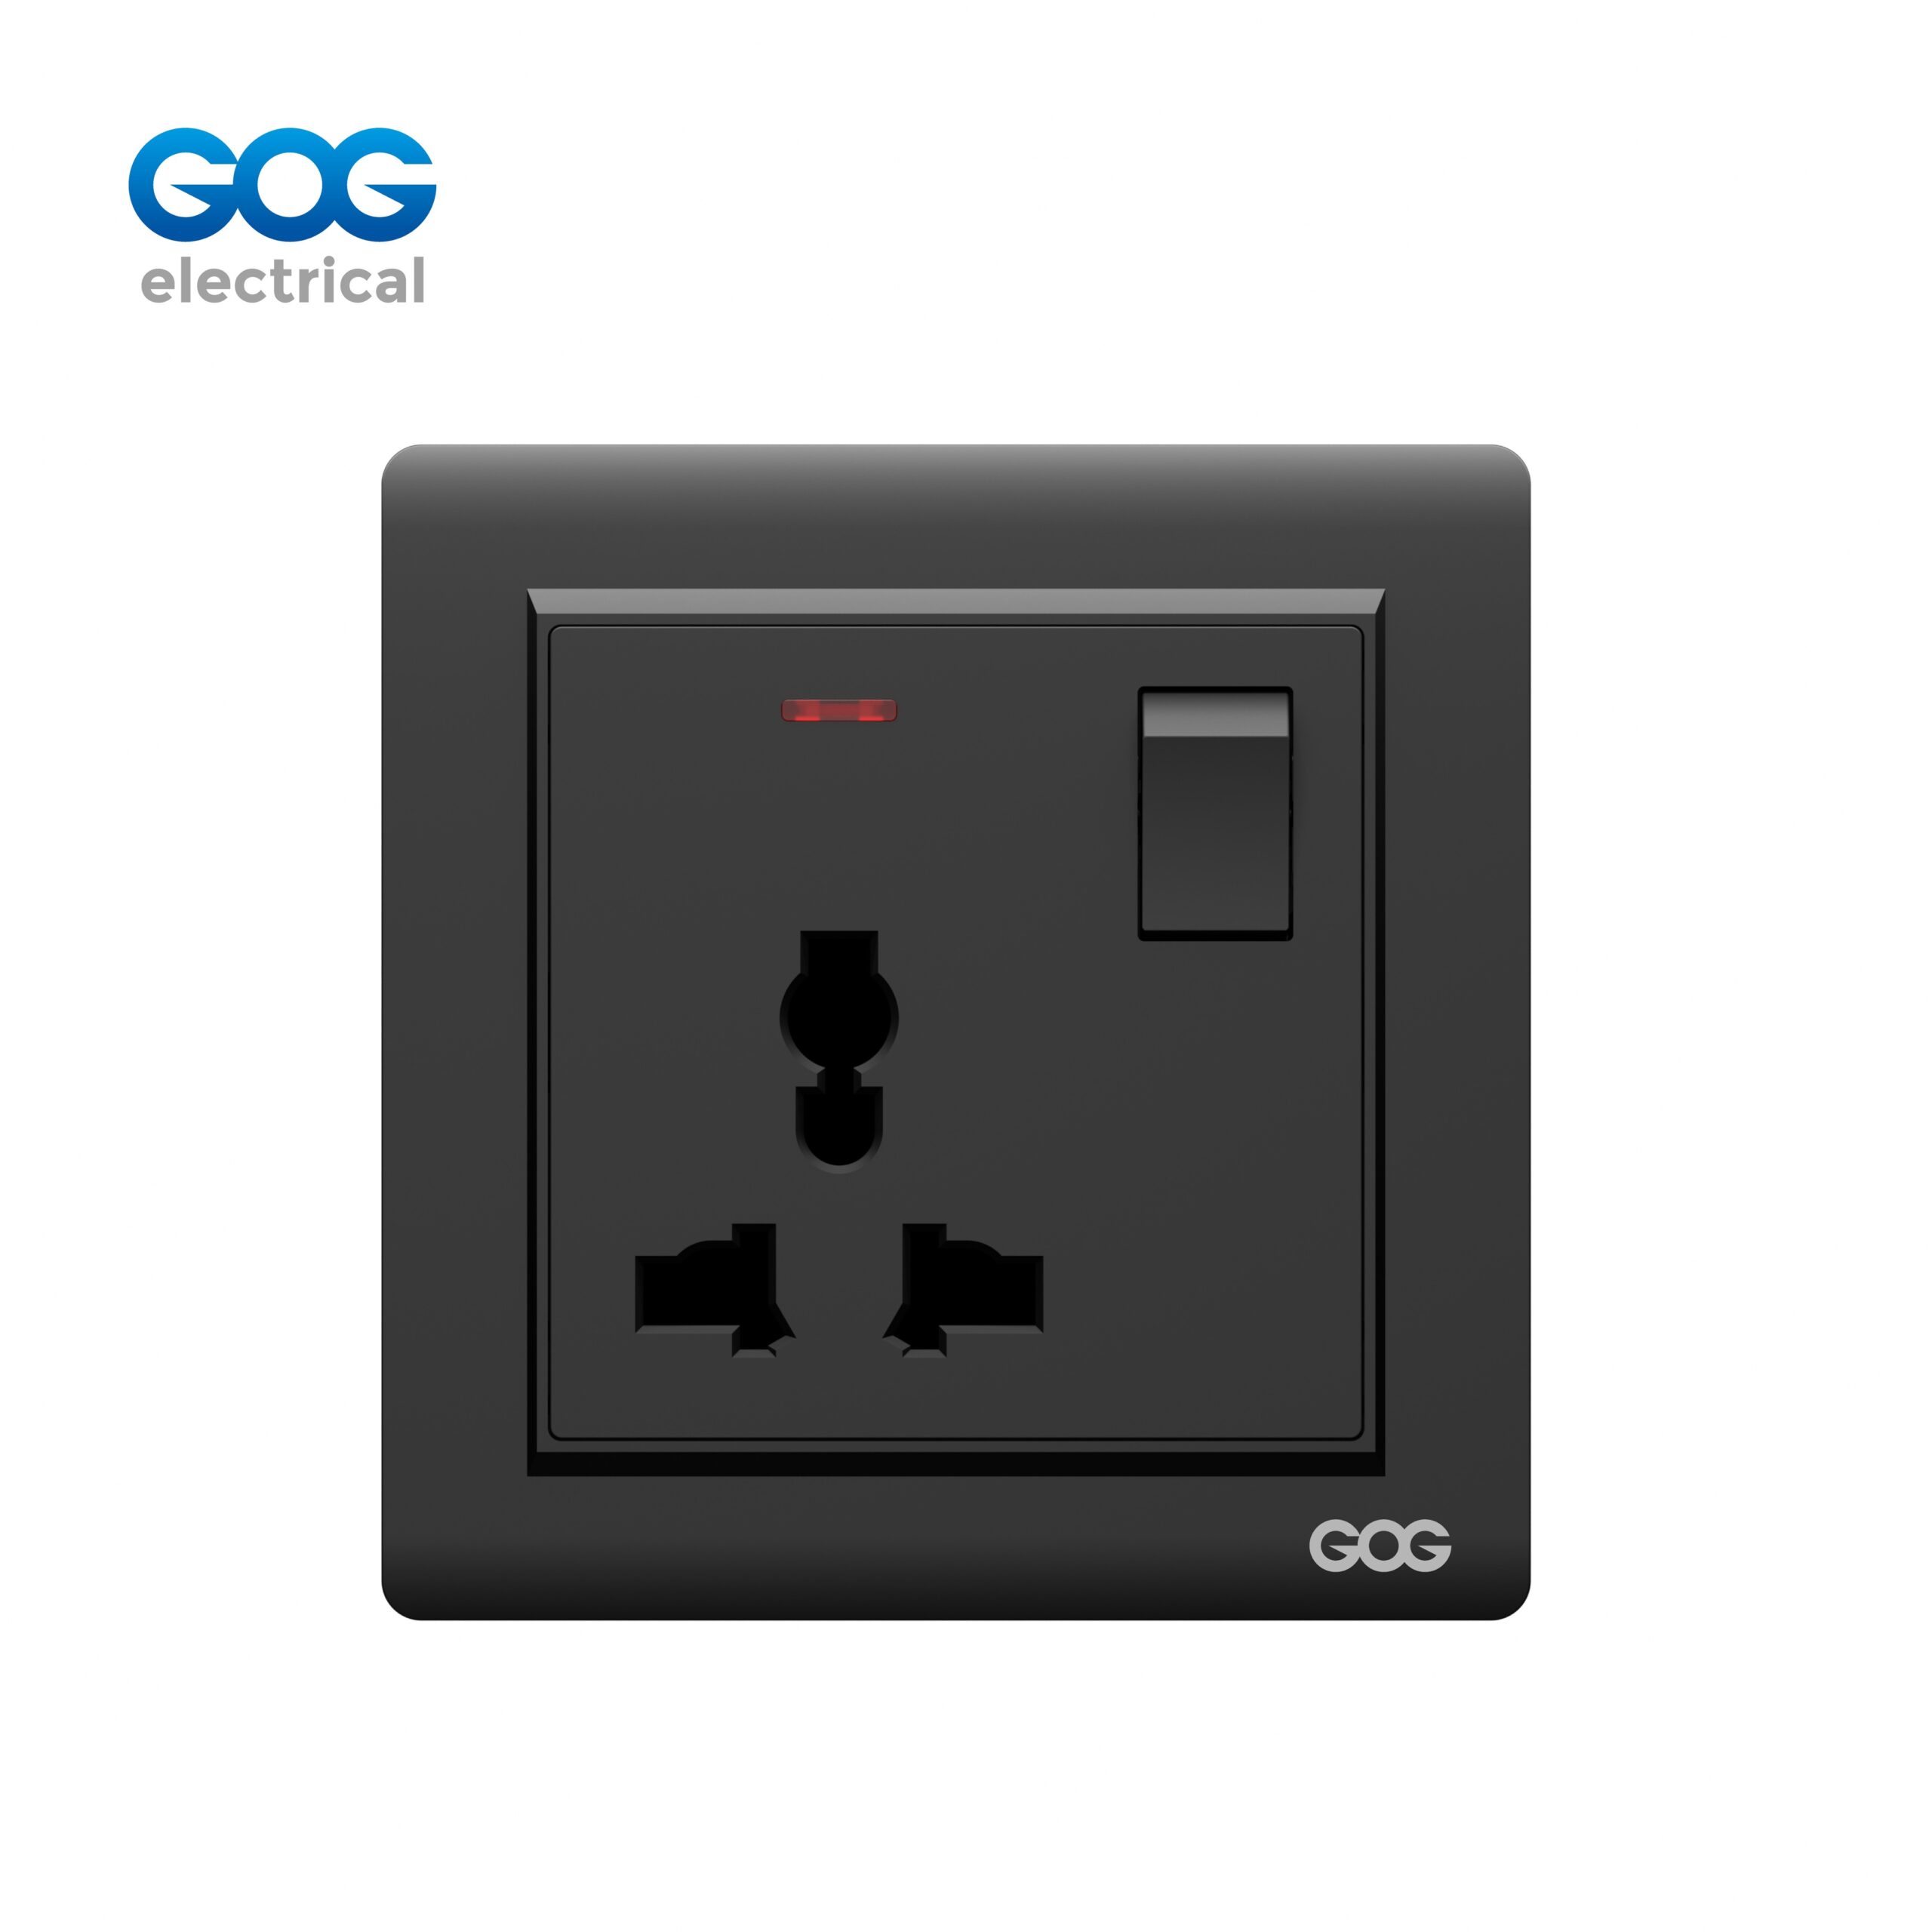
Another way to refer to a combination light switch/outlet or combination light switch combo outlet is as a device that allows you to operate a lighting fixture via the switch while supplying power to other items via the outlet portion of the fixture. This combination of two devices into one creates increased efficiency in smaller locations through functionality. You can turn the light on or off without needing to unplug a device that is plugged into the same outlet that has the correctly wired light switch outlet combo.
Benefits of Using a Light Switch Outlet Combo
Some of the reasons that most homeowners will use a light switch outlet combo include:
- Compactness: Instead of having electricity supplied through two separate wall plates, a light switch outlet combo only uses one wall plate.
- Convenience: It is much easier to turn on a light while simultaneously plugging in an appliance using a light switch outlet combo.
- Safety: A lot of light switch outlet combos come with safety features such as being GFCI (ground fault circuit interrupter) protected; this prevents accidents from happening from water coming in contact with electrical items in places like kitchens and bathrooms.
What Supplies and Tools Do I Need?
Make sure you have everything handy before beginning wiring your light switch outlet combo:
- Voltage tester (extremely important for your safety)
- Wire strippers
- Screwdrivers
- Needle nose pliers
- Electrical tape
- Wire connectors
- Correct gauge electrical wire (usually 12 or 14 depending on the circuit you are working on)
Also, make sure you learn the local electrical codes before doing this project so that you do not violate them or get in trouble with the law.
How to Wire a Switch Outlet Combo
Below are the steps that you need to follow to successfully install and wire your electrical wiring switch outlet combo:
Step One – Turn Off Power
Locate the breaker that supplies power to the area where you will be installing your switched outlet combo. Before beginning, turn off the circuit breaker and use a voltage tester to verify that there is no power to the area you’re working in.
Step Two – Remove the Existing Fixture
Next, if you’re replacing an existing outlet or light switch, you’ll need to remove the existing fixture by unscrewing the face plate from the wall and pulling the device out of the box. Before disconnecting the existing wires, make note of which wires connect where on that device to help guide you when you connect your new fixture.
Step Three – Identify the Wires
Most homes will be built with standard wiring which consists of:
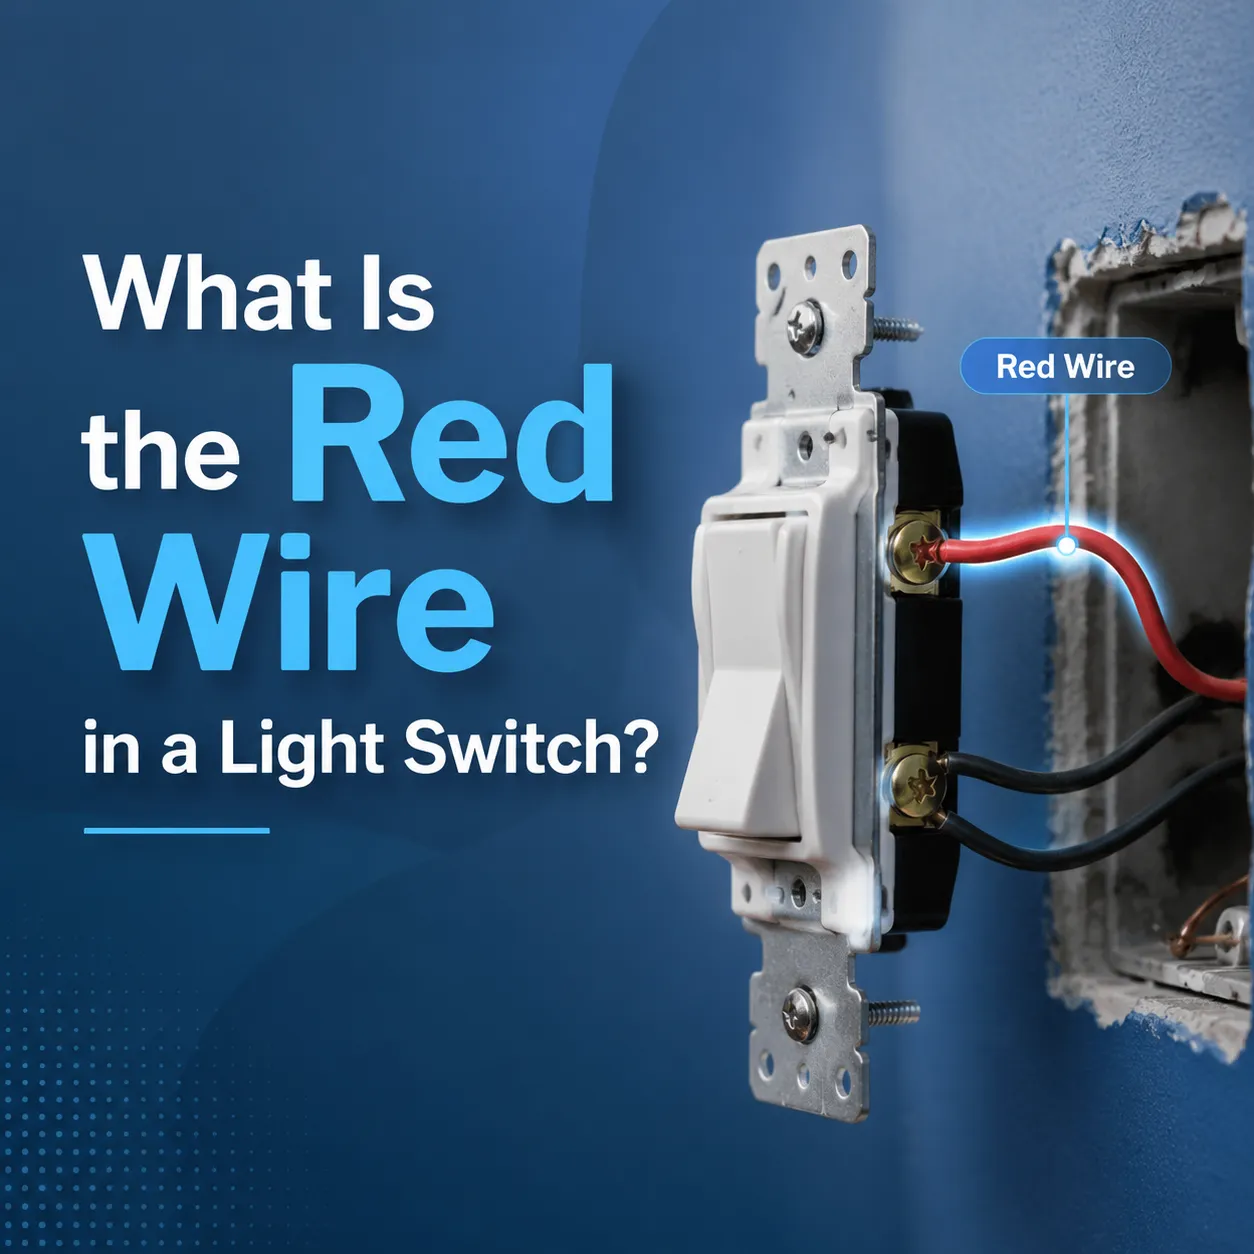
- Hot wire: Black or red wire providing power to the switch/outlet.
- Neutral wire: White wire.
- Ground wire: Bare copper or green wire used for safety measures.
Step Four – Connect the Ground Wire
After you’ve disconnected your old fixture, connect your ground wire to the green grounding screw on the light switch outlet combo. Additionally, if you have a metal electrical box, be sure that it’s grounded as well.
Step Five – Wire the Hot and Neutral Wires
Next, connect the black (hot) wire to the brass screw and the white (neutral) wire to the silver screw — whether they’ll connect like this depends on how your combo is utilized (whether as a regular outlet with a switch, or for controlling an exact fixture). To determine how you need to connect your combo, see the manufacturer’s wiring diagram.
Step Six – Wire the Light Switch
In order to ensure that the switch operates your light fixture properly, connect the “load wire” from the fixture to the correct terminal on the light switch. Some units might also come with jumper wires that need to be connected internally; refer to the device’s instruction sheet for clarification.
Step Seven – Secure the Device and Test
Carefully place the wires into the electrical box ensuring that there is no pressure or strain on any of the connections as you do so. Using the supplied mounting screws, attach the combo device to the wall. Place the faceplate back on your combo device. Turn your circuit breaker switch back to the ON position. Use the switch to turn on the connected light fixture, and verify that the outlet is working properly.
Frequently Asked Questions
How does a switch outlet combo work?
A switch outlet combo consists of both outlets and switches. The switch controls the power to the connected fixture, while the outlet serves as a standard electrical outlet for plugging in devices. Each component works independently, making this combination unit an excellent option for maximizing your available kitchen or bathroom space.
Can I use any electrical wire when wiring a combo switch outlet?
No. When selecting the appropriate wire gauge to use for your electrical wiring switch outlet combination, you must follow local electrical code requirements. Depending on the amperage of your circuit, you will use either 12 or 14 gauge wire for most residential circuits. Using the wrong size wire could create safety hazards including fire hazards due to excessive heat.
Where is a light switch outlet combo best used?
A light switch combo outlet is most appropriate for applications where you are limited on square footage such as in bathrooms, kitchens, garages and/or small workshops. They are also useful for office/bedroom applications and allow for more efficient organization of wiring and light switches.
If you want to improve the functionality and/or décor of an area, installing a switch outlet combination unit can be an excellent decision. By following installation guidelines and safety recommendations during this project, you will be able to take advantage of the benefits provided by controlling your light and powering your devices from one combined unit. If you feel uncomfortable doing the electrical wiring on your own, you should always contact a licensed electrician for assistance. As you can see from the above information, light switch outlet combinations are an incredible way to create additional usable square footage in any modern home while providing simultaneous functionality.