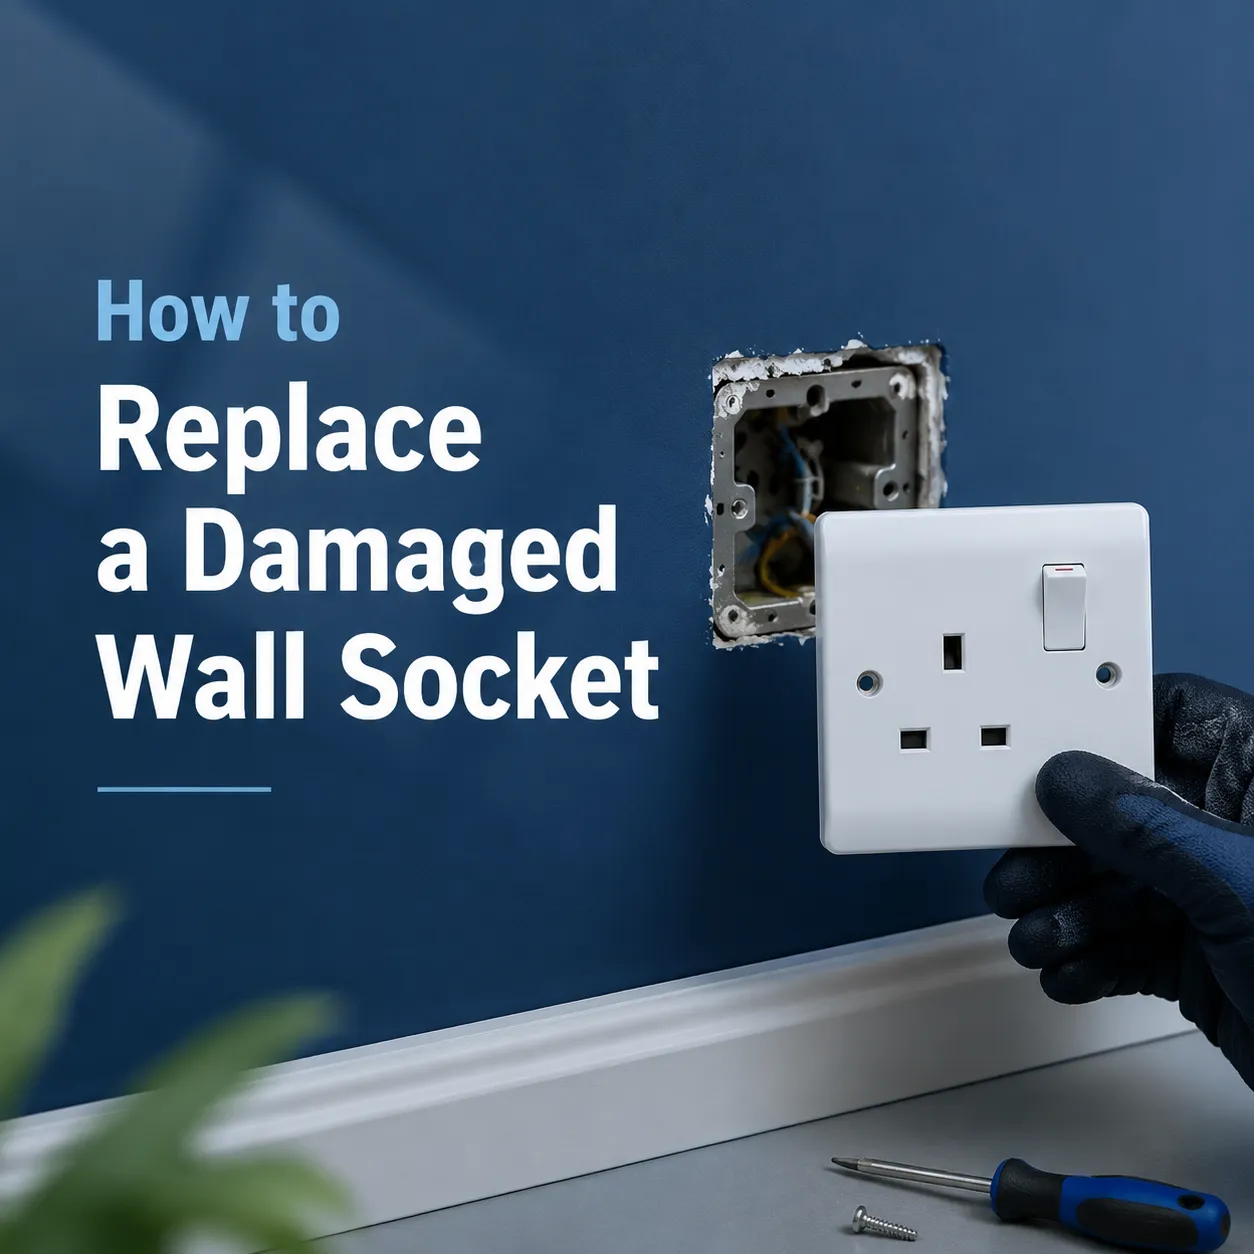
Last month while living in Portland, a woman found an unusual situation with her microwave. A brown burn on the wall where she plugged in the microwave was growing larger every time she turned on the microwave. After continually checking it and realizing that it was not hot enough to continue using, she now had the question that many people have had: Can I replace the broken wall receptacle myself or should I hire an electrician? If you have a straightforward proper installation of a grounded electrical box and outlet, yes, a careful and competent do-it-yourselfer can safely perform the repair. On the other hand, if your home is older with cloth-insulated conductors, an obsolete box, or there are indications of other serious electrical damage, the call you will make to a licensed professional is probably the best money you will spend. This article covers everything you need to know to safely change the wall socket, including recognizing if the outlet is truly damaged to turning the power back on after the project is complete.
Recognizing When a Wall Socket Must Be Replaced
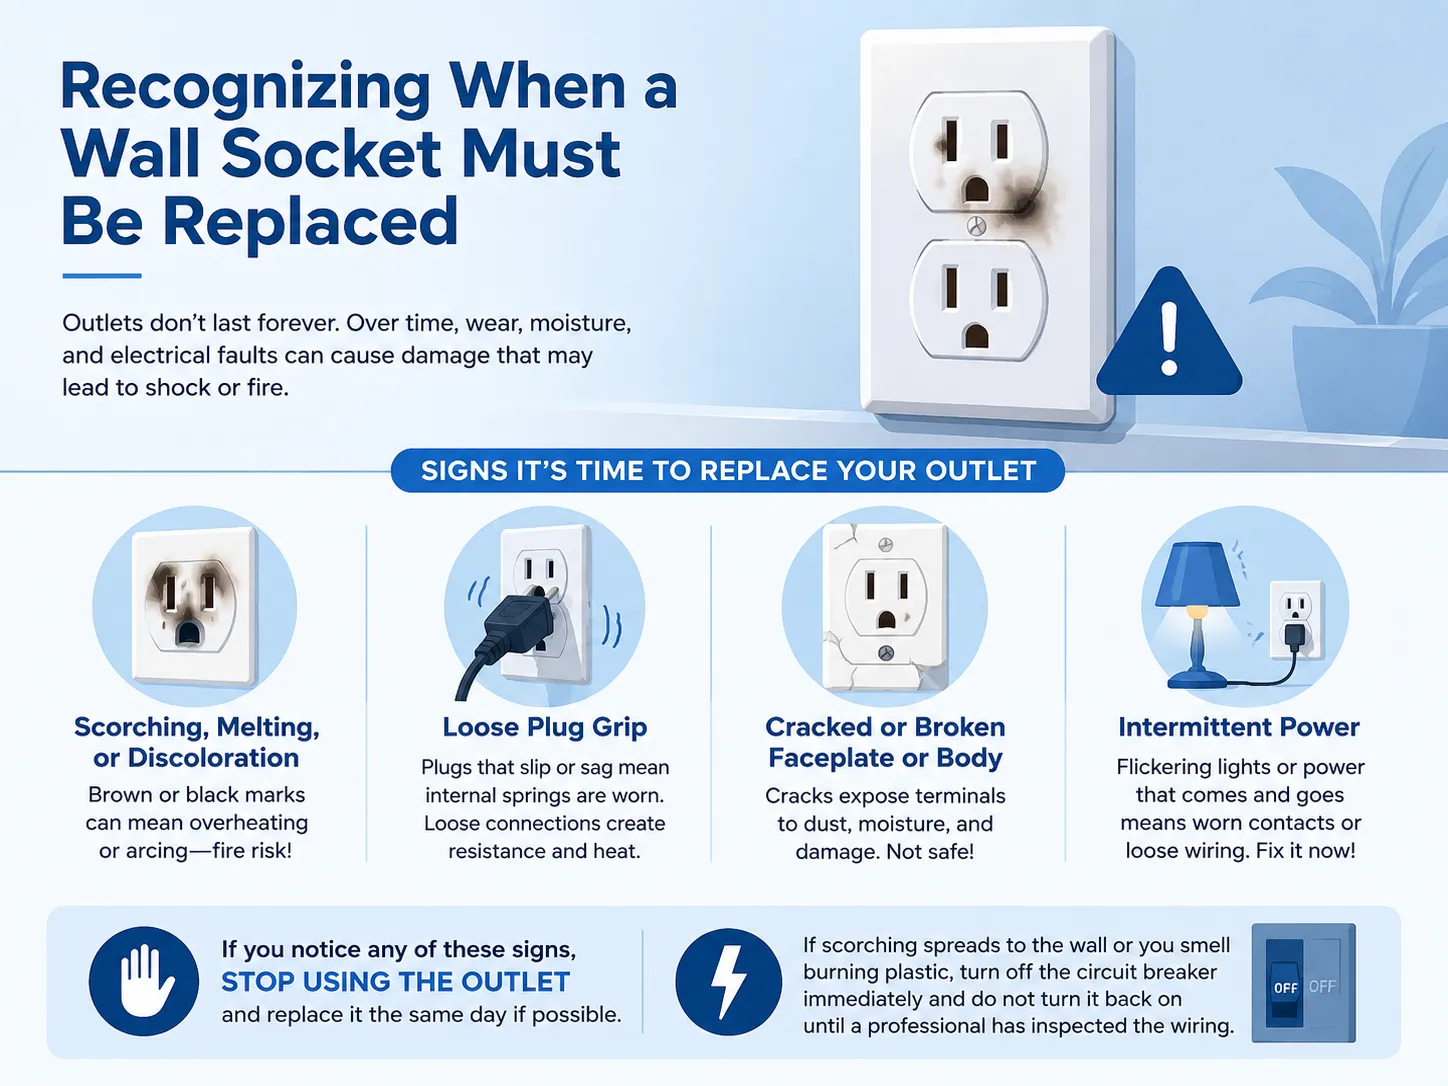
A wall outlet (often called a receptacle) is not good forever. A good receptacle can work for 20 years but eventually will stop working because of daily use, moisture, and electrical faults. There are also some other definite signs that you must replace your receptacle:
- Visible scorching, melting, or discoloration: If there are brown or black markings around your slots this may indicate overheating or arcing of the outlets. Even though they may appear to be working properly, the receptacles’ internal contacts have been damaged, and therefore they can cause a fire.
- Loose plug grip: When plugs sag or slip out of the receptacle, internal springs (the “wipers”) are no longer functioning correctly or providing adequate tension. The loosening of the electrical connection creates resistance, generating heat in the same manner as an electrical fire occurring within the wall.
- Cracked or broken faceplate or body: Exposed terminals due to crack allow for dust, moisture and those that want a look inside. If a fault occurs, a broken case will not be able to withstand the containment of an arc that will occur.
- Intermittent power: If you move the plug of a lamp and it flickers, then either the internal contacts inside the lamp have become worn out or the wire has come loose. It is very dangerous, therefore, you need to get this fixed right away!
Should you notice one of the provided indicators, discontinue using the outlet and aim to replace it during the current day if able. If scorching travels from the outlet onto the adjacent wall or burning odors of plastic are evident, turn off the circuit breaker right away and do not turn it back on until an expert has had a chance to evaluate the wiring.
Tools and Materials You’ll Need
Before starting, collect all materials needed to do this job. In general, you will need approximately 15-30 minutes for completion after verifying that the electricity has been turned off.
- Flathead and Phillips screwdrivers
- Needle-nose pliers
- Non-contact voltage tester (essential — never rely on the appliance not working)
- Wire strippers (if you need to trim damaged wire ends)
- Install a new wall outlet (with appropriate Amperage rating for the circuit: 15A for most circuits or 20A if the circuit uses a 12 gauge wire and a 20A circuit breaker) that is tamper resistant to meet current building code requirements.
- Wire nuts (for capping any unused wires, if necessary)
- (Optional) Electrical tape is often used to increase insulation of the new plug’s terminal screws.
Step One: Safe Power Isolation and Verification
First, turn off the circuit breaker operating the wall outlet to be replaced. If the circuit breakers are not labeled, plug a lamp into the outlet and turn it on. Then, flip each circuit breaker one at a time until the lamp no longer lights up. When the lamp has turned off, confirm there is no power at the outlet: take off the wall plate, put a non-contact voltage tester in each outlet slot (hot to neutral and hot to ground), and place the tester against each terminal screw of the old outlet. The tester should not go on or beep at any point. You can now continue working safely. This is a very important step that must be performed correctly and not by guessing. Many people have been injured doing work on “dead” circuits and could have avoided that injury if they had taken the time to make sure there was no power present.
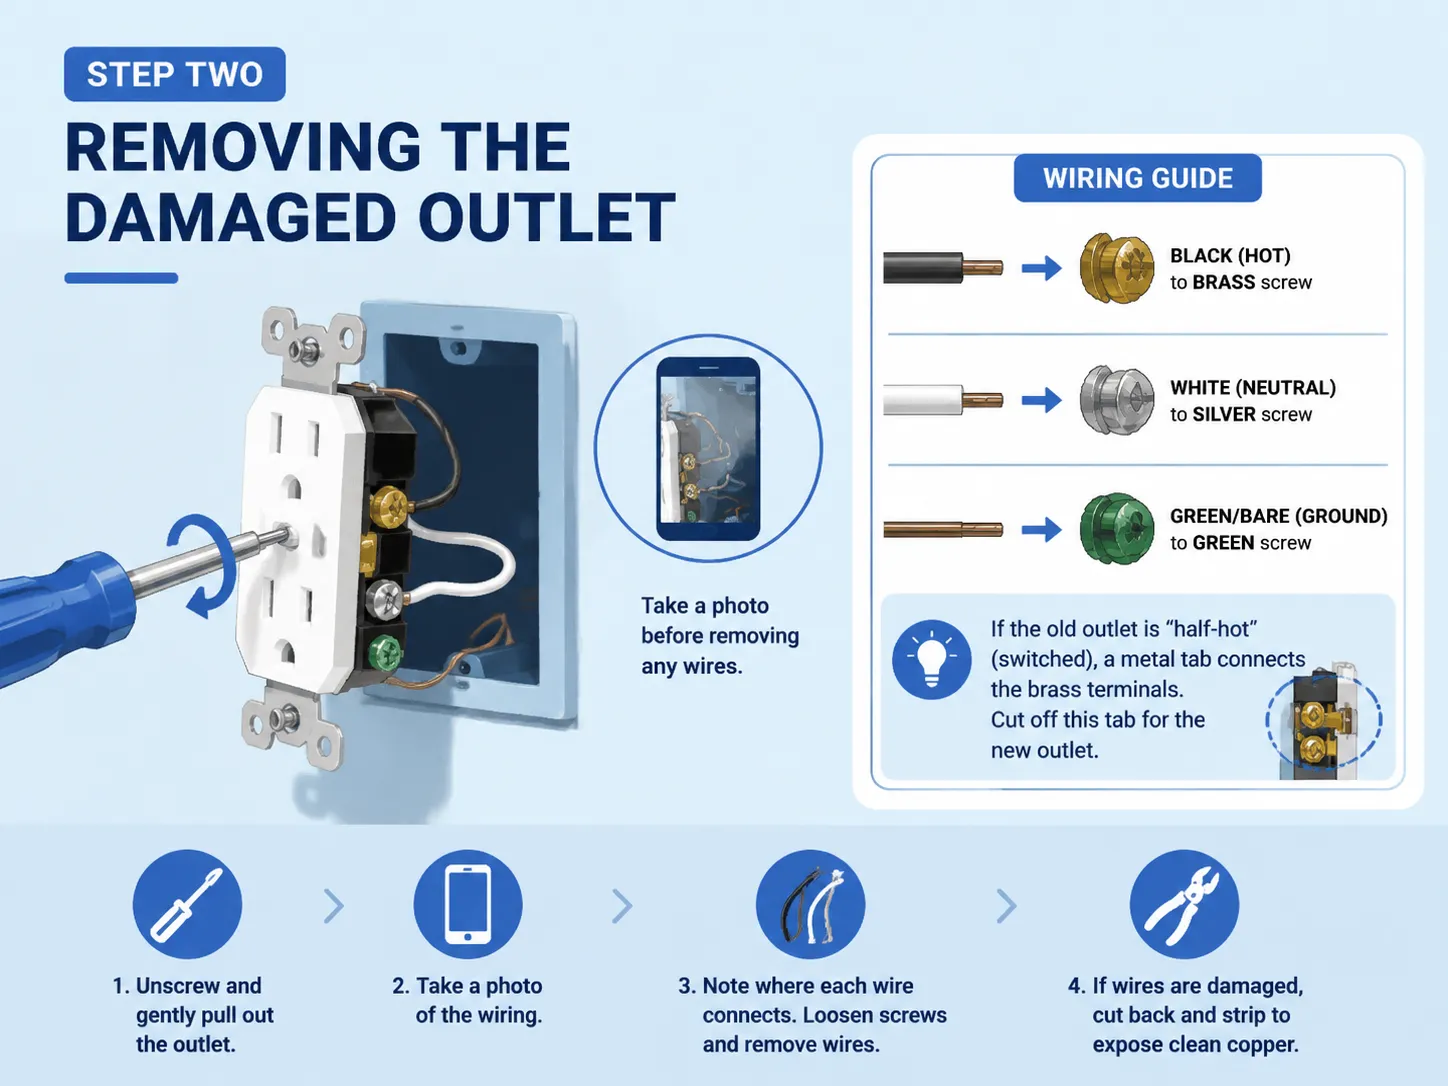
Step Two: Removing the Damaged Outlet
Take out the old wall socket from its electrical box by unscrewing it and removing it gently, without jerking it free. You have to look at how the wires connect so don’t yank; take a picture with your phone before you remove or disconnect anything. You’ll be using this as a guide to installing your new wall outlet. Arrange your wires, but notice where each type of wire attaches: a black (hot) wire connects to a brass screw; a white (neutral) wire connects to a silver screw; and a green or bare (grounding) wire connects to a green screw. If the previous outlet was a “half-hot” (one of the two sockets is wired to a switch), you will find that the brass terminals were connected by a piece of metal that needs to be cut off; this indicates how your new outlet needs to be wired. After you take your picture, loosen the screws on the terminals to remove the wires. If the wire is chipped, burned, or otherwise damaged, cut back before reattaching with the wire strippers to expose most of the copper conductor.
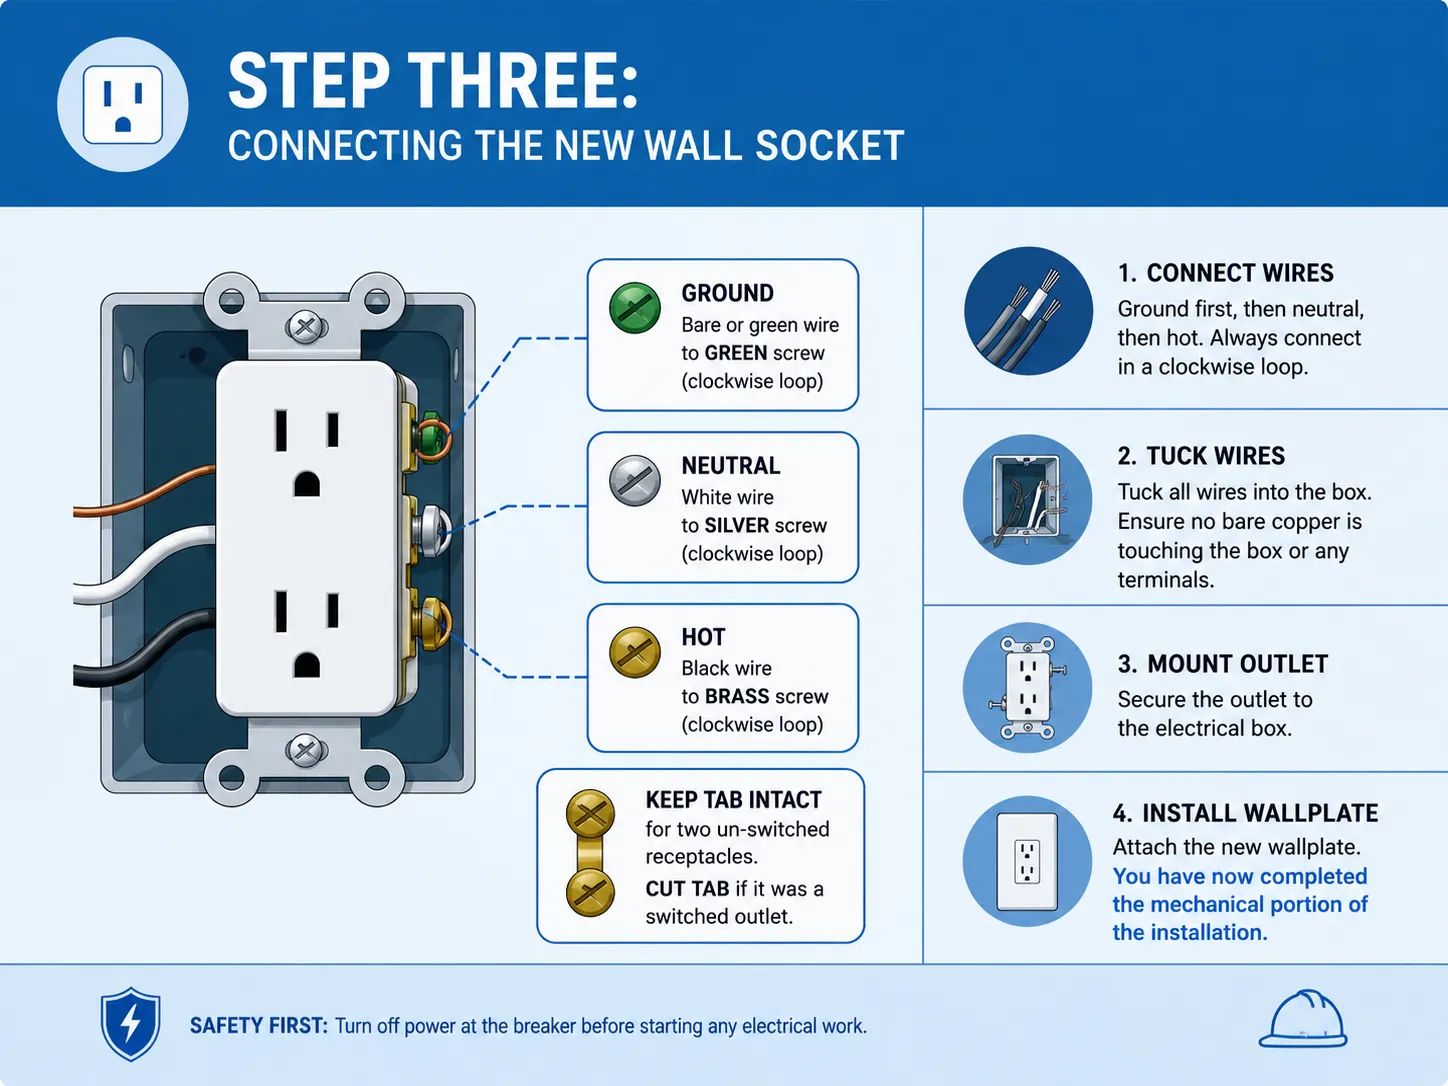
Step Three: Connecting the New Wall Socket
When installing a new outlet, the following guidelines apply to the connection and orientation of wires:
– Most electricians connect the ground wire of an outlet to the green terminal of an outlet in a clockwise direction. (However, some electricians will connect the ground wire to the green terminal of an outlet by using the ground hole of the outlet as an alignment point.) Connect the ground wire first by looping the bare or green wire around the green screw in a clockwise direction; then tighten the green screw.
– Next, connect the white neutral to the silver screw and the black hot to the brass screw.
– If you are replacing a standard outlet with one of two un-switched receptacles, ensure that the connecting tab connecting both brass screws was left usable (was not cut away) during the swap out of the existing outlet. If you replaced a switched outlet, refer to the photo for which brass screw had which wire connected to it in order to re-create it on the new outlet (the connecting tab between the two brass screws must be cut in order to maintain continuity). When connecting any wire to a terminal screw, always connect in a clockwise loop so that when you tighten the screw, it pulls the wire tighter to the terminal as opposed to . . . pushing out.
– Tuck all wires into the electrical box and make sure no bare copper is in contact with the electrical box or with any terminals.
– Mount the outlet to the electrical box and attach the new wallplate to the outlet. You have now completed the mechanical portion of the installation.
Step Four: Testing Your Work
Turn the circuit breaker back on. Use a voltage tester that does not come into contact with the outlet to check to see if the outlet has electricity running to it. Plug in a lamp or another small device into the socket(s) to see if both top and bottom of the outlet have power. If the outlet is a GFCI type, press the TEST button — it should click and cut off power — and then press RESET to restore power. If the outlet does not appear to be working again, turn off circuit breaker again and check for any loose or damaged terminal connections. Most times the problem will be a loose neutral and/or a wire connected to the wrong terminal. If everything works, you have successfully changed out a broken wall outlet and helped eliminate a real fire hazard in your residence.
When an Electrician Is the Right Call
Many homeowners can do outlet replacements themselves but some will require assistance from an electrician for the replacement of an outlet for a variety of reasons. If the electrical box is metal and has no ground fault circuit interrupter or if the insulation on the wire is made of cloth (this wire used in older homes) the wire may not be able to handle additional loads (usually associated with an outlet). Another reason for seeking assistance when replacing an outlet is that if the damage to the old outlet was caused by a fault in or leading to the outlet (this could be caused by excessive load on the circuit, a loose connection at an outlet, or a bad breaker), replacing the outlet will not fix the source of the problem, you will just create another issue at that location. When replacing an existing outlet with one that has an aluminum wire connection , there are specific methods of connecting aluminum wires and specific materials to use or corrosion will create an additional safety issue later. Overall, hiring an electrician to replace an outlet in any of these situations will provide you with the safest outcome as opposed to just simply being a source of added expense on your part.
Choosing a Replacement That Lasts
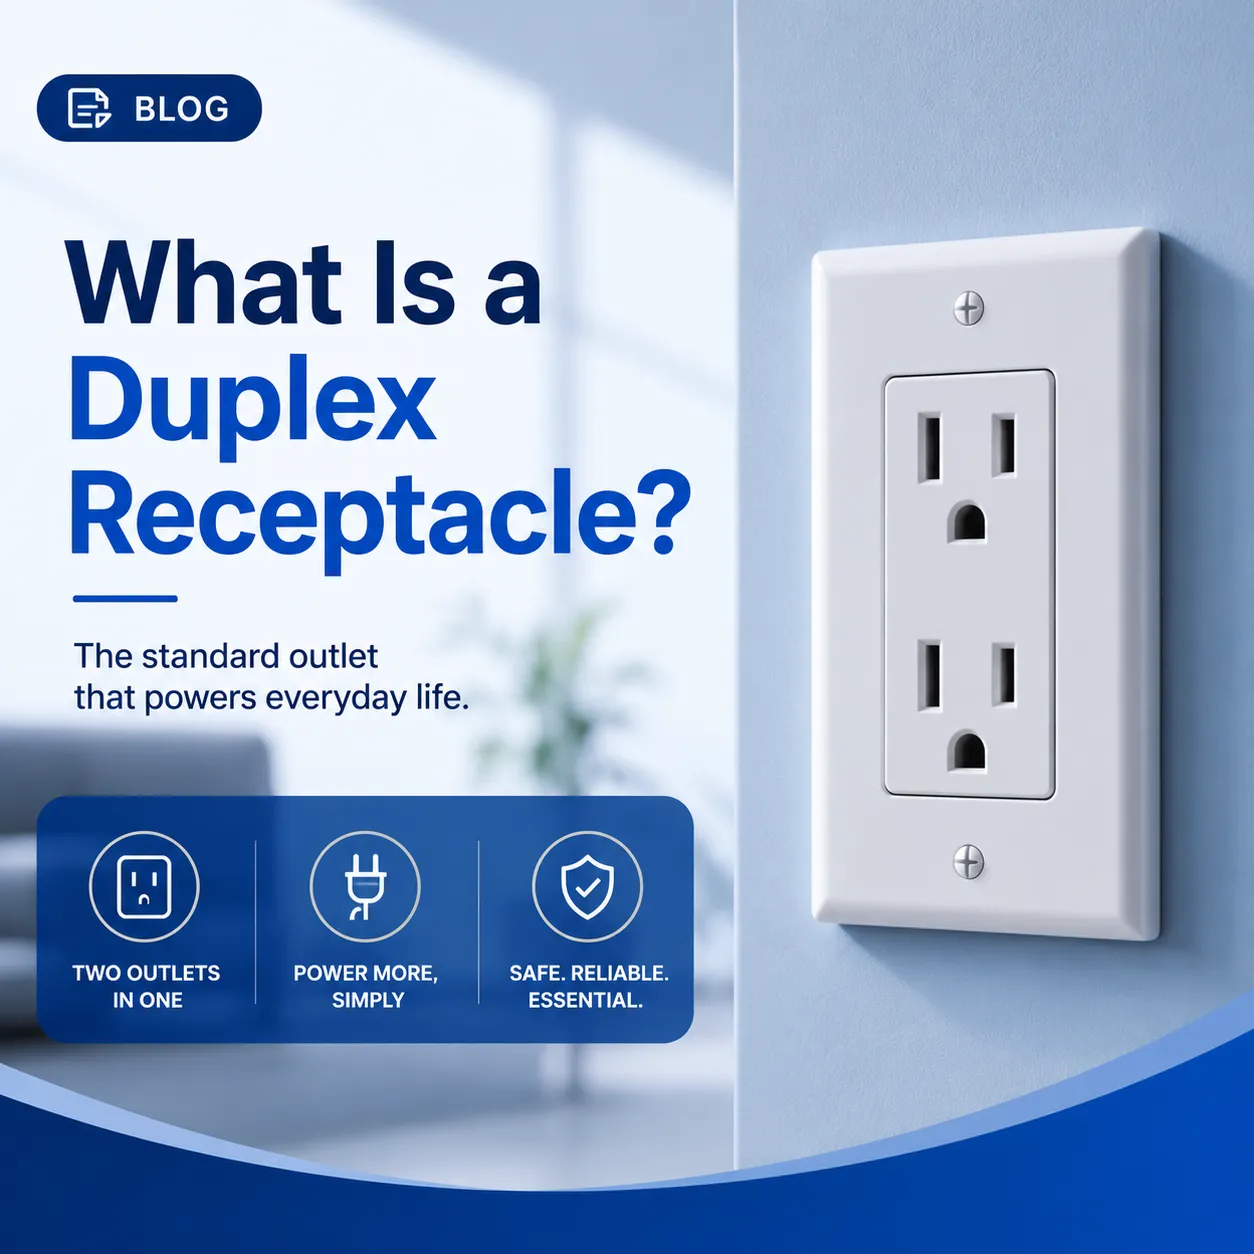
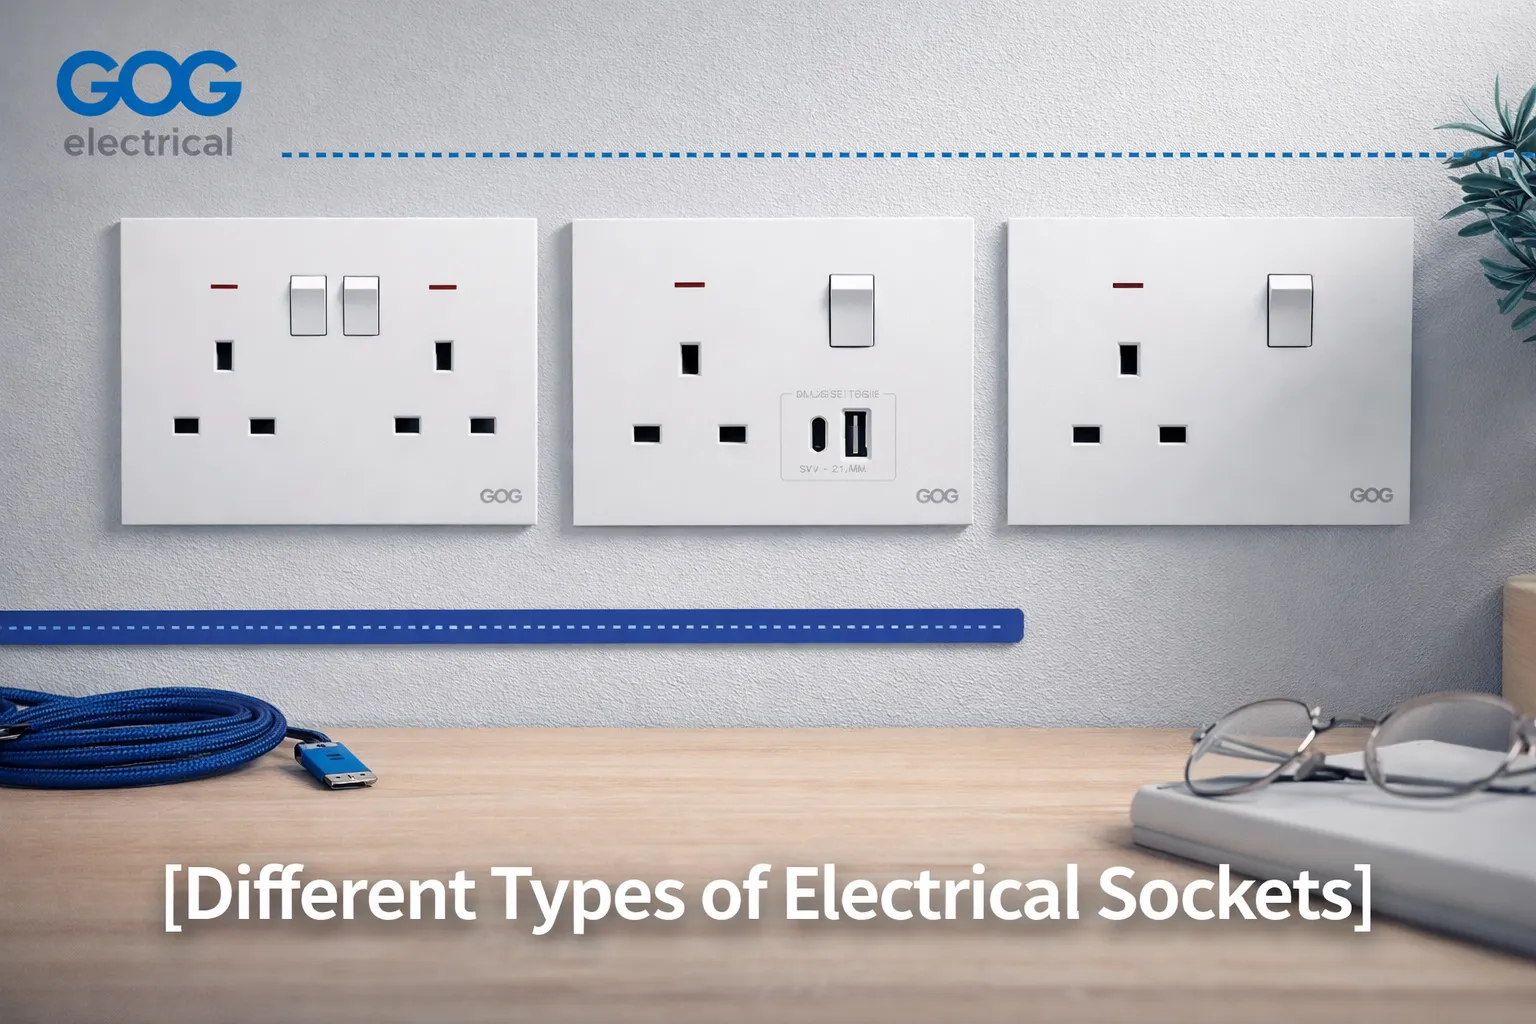
There are many types of wall sockets available for your new electrical outlet, ranging from basic, builder-grade units to high-end, tamper-resistant models with USB capability or smart features. The current National Electrical Code (NEC) requires that any standard replacement be a tamper-resistant (TR) duplex (double) outlet for residential use. Tamper-resistant duplex outlets have internal shutters that prevent a child from inserting something into the outlet.
GOG Electric makes tamper-resistant wall outlets that feature heavy-duty, thick gauge brass contacts to maintain grip force over many thousands of plug usages and have clearly defined terminal screws to make wiring easier.
The difference between a wall socket that lasts 5 years and one that lasts 20 years is generally in the quality of the internal wipers and strength of the plastic enclosure. If you use a certified, quality receptacle, your job will not have to be repeated for a very long time!
Frequently Asked Questions
Can I replace a wall socket myself?
If you follow safe electrical procedures, you can replace your standard wall outlet by turning off the correct breaker, verifying that the power is off using a non-contact voltage tester, and connecting the wires to the proper terminals. If you have old, damaged or aluminum wires or have a non-grounded electrical box, then you should hire an electrician to do it for you.
How much does an electrician charge to replace a wall outlet?
The average cost of replacing an individual wall outlet by an electrician is from $80-$200 (including both the service call fee as well as the cost of the new outlet). Costs will vary depending upon where you live and the ease with which the replacement can be accomplished. The repairs may also reveal any deficiencies in the wiring that must then be repaired.
How to replace a damaged socket?
Follow these steps to replace a damaged wall outlet: Shut off the breaker to the outlet and check with a tester to ensure that there is no voltage present. Remove the old outlet and take photos of how the wires are connected. Reconnect the new outlet in the same manner as the old (black->brass, white->silver, ground->green). Secure the new outlet to the wall plate with screws and restore power to the circuit. Finally, check your work by using your tester again on the new outlet. Always install a new outlet rated for the same amperage as the circuit it is being connected to.
Do you need an electrician to change a wall socket?
In most cases, an electrician is unnecessary to replace a wall outlet. In a modern-day electrical system with grounded and simple replacement capabilities, the user can perform their own installation. However, if the wire is aluminium, insulation is broken and/or the electrical outlet box is damaged or if the outlet is not working because of an unknown circuit failure, then you should consult an electric professional.
Homeowners enjoy replacing wall outlets. There may be many reasons for replacing an outlet, including safety from fire; reliable operation; and gaining the confidence to take on more minor electrical upgrades. You start and finish the project the same way by turning off the power at the breaker and checking for a lack of voltage before working with any wires, and testing the outlet again after you put away your tools. Work with the power, follow the steps, and you will end up with a flush, working outlet that can last for many years.